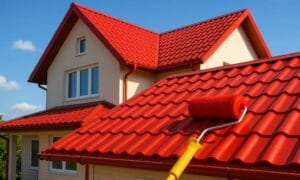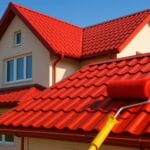
Fixing your RV roof yourself is simple and cost-effective. Inspect for leaks. Clean the roof. Apply a sealant to any cracks. Patch any holes with repair tape. Let it dry. Test for leaks again. Maintain it regularly for a longer life.
Do you want to save money on RV maintenance? Try to do it yourself RV roof repair. It is simple and effective. You can fix leaks and extend the life of your roof. Learn the steps today.
Next, use repair tape for larger holes. Ensure it sticks well. Let the sealant and tape dry fully. Check your work by testing for leaks. Regular maintenance keeps your RV roof in good shape.
Key Takeaways
- DIY RV roof repair can save significant money compared to professional services.
- Regularly inspecting and maintaining your RV roof extends its lifespan and prevents costly repairs.
- Using high-quality sealants and materials ensures effective repairs and durability.
- Cleaning, inspecting for damage, and promptly repairing cracks or leaks are essential for a well-maintained RV roof.
Rubber RV Roof Repair and Maintenance
Rubber RV roof repair and maintenance start with regular inspections. Clean the roof often to remove dirt. Apply rubber sealant to cracks and holes. Use repair tape for larger damages. Let everything dry and check for leaks. Regular upkeep ensures a long-lasting roof.
Safely Working on Your Rubber Roof
When working on your rubber RV roof, safety comes first. Use a sturdy ladder for access. Wear non-slip shoes to prevent falls. Be cautious around edges to avoid accidents.
Cleaning Your Rubber Roof
Cleaning your rubber roof is crucial for maintenance. Regularly remove debris and dirt. Use a gentle cleaner and soft brush. Rinse thoroughly with water afterward.
Leaky Roof Repair
For leaky roof repair, start by identifying the source of the leak. Clean the area thoroughly to ensure a good seal. Apply rubber sealant generously to cover the leak. Allow the sealant to dry completely. Regularly check and maintain to prevent future leaks.
How We Got A Tear In The Roof Of Our Rv?
While on a cross-country journey, our RV encountered an unexpected challenge: a tear in the roof. We suspect it happened during a drive through a heavily wooded area where branches may have scraped the top.
The tear became evident when rain started seeping into the interior during a particularly heavy downpour. Swiftly assessing the situation, we knew immediate repair was crucial to prevent further water damage.
Addressing the tear promptly, we cleaned the area around the damage and applied a strong adhesive patch. After allowing sufficient time for it to set, we conducted thorough testing to ensure the repair was effective.
This experience taught us the importance of regular inspections and quick responses, such as knowing how to repair a hole in the roof, to maintain the integrity of our RV, especially during extended travels across diverse terrain.
Rv Roof Repair Steps And Materials
Repairing an RV roof typically involves several steps and requires specific materials to ensure a proper fix. Here’s a general guide to help you out:
Materials Needed:
RV Roof Sealant: Choose a sealant appropriate for your roof type (rubber, fiberglass, aluminum, etc.).
Patch Material: Depending on the damage, you might need patching material such as RV roof patch kits or appropriate materials for your roof type.
Cleaning Supplies: Isopropyl alcohol or a specialized cleaner to clean the roof surface.
Safety Gear: Gloves, safety goggles, and possibly a respirator depending on the products used.
Tools: Screwdrivers, caulking gun, utility knife, paint roller or brush (for applying sealant).
Steps to Repair an RV Roof:
Clean the Roof: Thoroughly clean the damaged area and the surrounding roof to ensure good adhesion of the sealant.
Inspect for Damage: Identify the areas that need repair. Look for cracks, tears, or other signs of damage.
Prepare the Surface: Trim any loose edges or protruding materials. Use a cleaner like isopropyl alcohol to remove dirt, grease, and old sealant from the area.
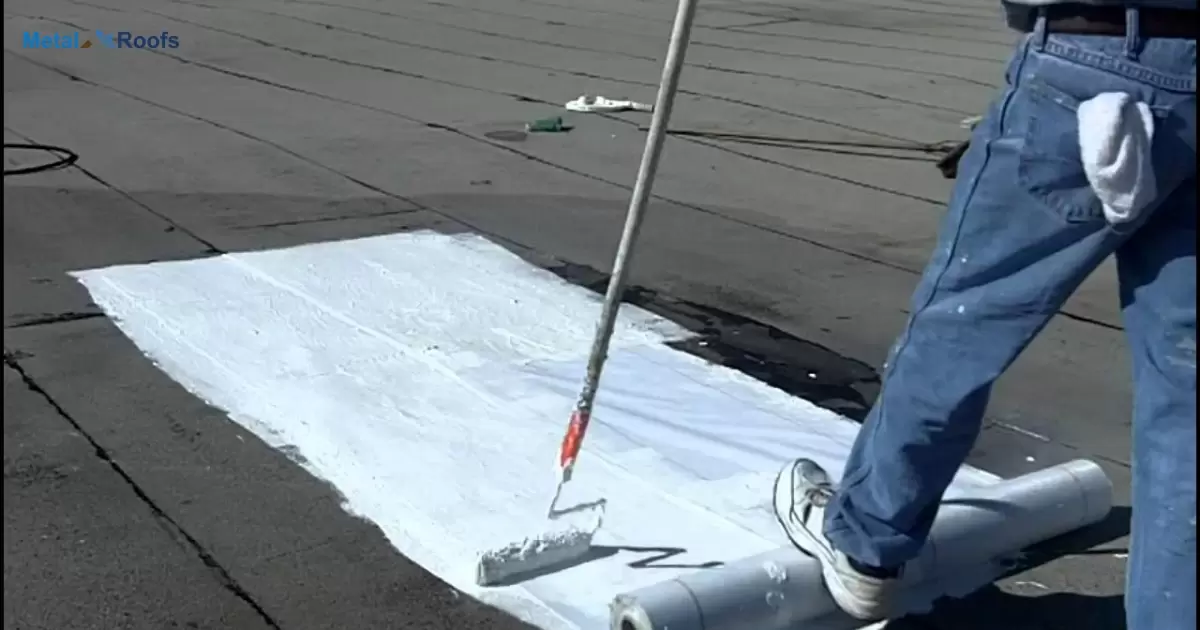
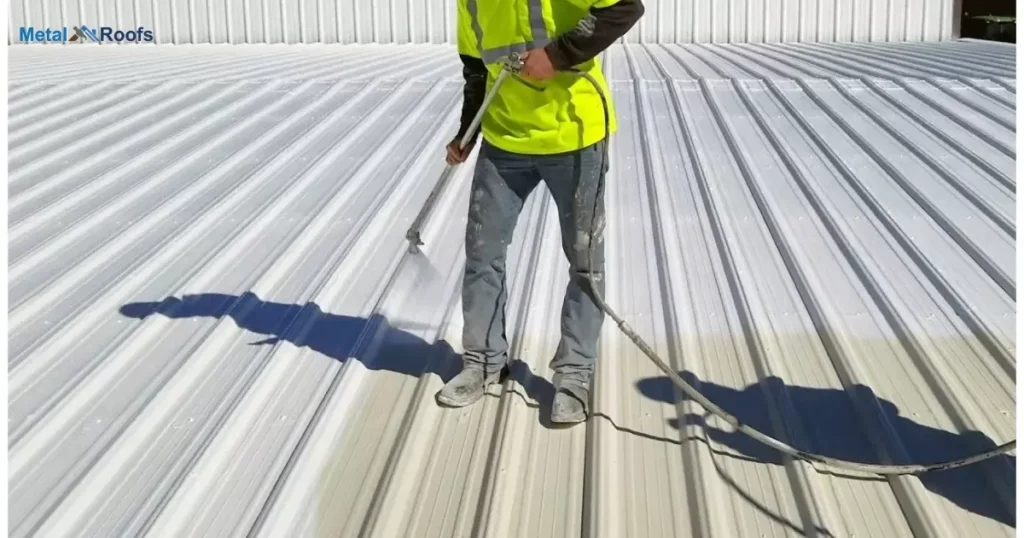
Apply Sealant: Apply the roof sealant according to the manufacturer’s instructions. Typically, this involves using a caulking gun to spread the sealant over the damaged area. Ensure even coverage and overlap onto the surrounding undamaged roof surface.
Smooth and Flatten: Use a roller or a brush to smooth out the applied sealant, ensuring there are no air bubbles or gaps.
Allow to Cure: Let the sealant cure completely as per the manufacturer’s instructions. This might involve waiting for several hours or even a day, depending on the product.
Inspect and Touch Up: After curing, inspect the repair to ensure it’s properly sealed. Apply additional sealant if needed.
Test for Leaks: Once everything is dry, test for leaks by spraying water onto the repaired area and checking for any signs of water penetration inside the RV.
Clean Up: Clean your tools and dispose of any waste materials properly.
By following these steps and using the right materials, you should be able to effectively repair most common types of damage to an RV roof.
Rv Roof Repair Rotted Wood
Repairing rotted wood on your RV roof is crucial for longevity. Start by locating the rotted areas carefully. Remove the damaged wood completely.
Replace it with new, treated wood. Seal and protect the repaired area effectively. Regular inspection prevents future issues.
Rv Roof Repair Sealant
Choosing the right sealant for RV roof repair is crucial for effective maintenance. Opt for flexible, UV-resistant sealants designed specifically for RV roofs. Silicone-based products offer durability and weather resistance, ideal for sealing seams and cracks.
Ensure the sealant adheres well to various roof materials like EPDM rubber or fiberglass. Apply generously but evenly, following manufacturer instructions for best results. Regularly inspect and reapply sealant as needed to prevent leaks and prolong the life of your RV roof.
Cheapest Way To Replace Rv Roof
Replacing an RV roof on a budget requires strategic planning and DIY effort. Begin by assessing the extent of damage to determine if a partial or complete replacement is needed. Opt for cost-effective materials such as EPDM rubber or TPO, which are durable and relatively inexpensive compared to other options.
Next, ensure you have the necessary tools and equipment for the job, such as adhesive, sealant, and a utility knife. Remove the old roof carefully, taking care not to damage the RV structure.
Install the new roofing material meticulously, following manufacturer guidelines for a secure fit. DIY projects can save significantly on labor costs, but attention to detail is crucial to ensure a watertight seal and long-term durability.
Camper Roof Repair Cost
The cost of repairing a camper roof varies based on factors like the extent of damage and chosen repair method. Simple fixes such as patching small leaks with sealant can be quite inexpensive, typically ranging from $50 to $200 depending on materials used.
For more extensive repairs involving replacing sections of the roof or using specialized materials like EPDM rubber or fiberglass, costs can range from $300 to $1500 or more, factoring in both materials and labor if professional assistance is required.
Frequently Asked Questions
What is the cheapest way to repair a camper roof?
The cheapest way to repair a camper roof is to use DIY methods like applying sealant or patching small leaks with repair tape and ensuring regular maintenance.
How do I fix a hole in my RV roof?
To fix a hole in your RV roof, clean the area thoroughly, apply RV roof repair tape or patch, and ensure it adheres tightly for a waterproof seal.
How can I make my RV roof last?
Regularly inspect and maintain your RV roof with sealants and repairs to ensure longevity and prevent leaks.
Conclusion
In conclusion, fixing your RV roof yourself is easy and saves money. Start by inspecting for damage and cleaning the surface. Use sealant on cracks and repair tape for bigger holes. Make sure everything dries completely.
After repairs, test for leaks to ensure success. Regular maintenance helps your RV roof last longer. You can handle these repairs with simple tools and materials. Take care of your RV roof for worry-free travels.