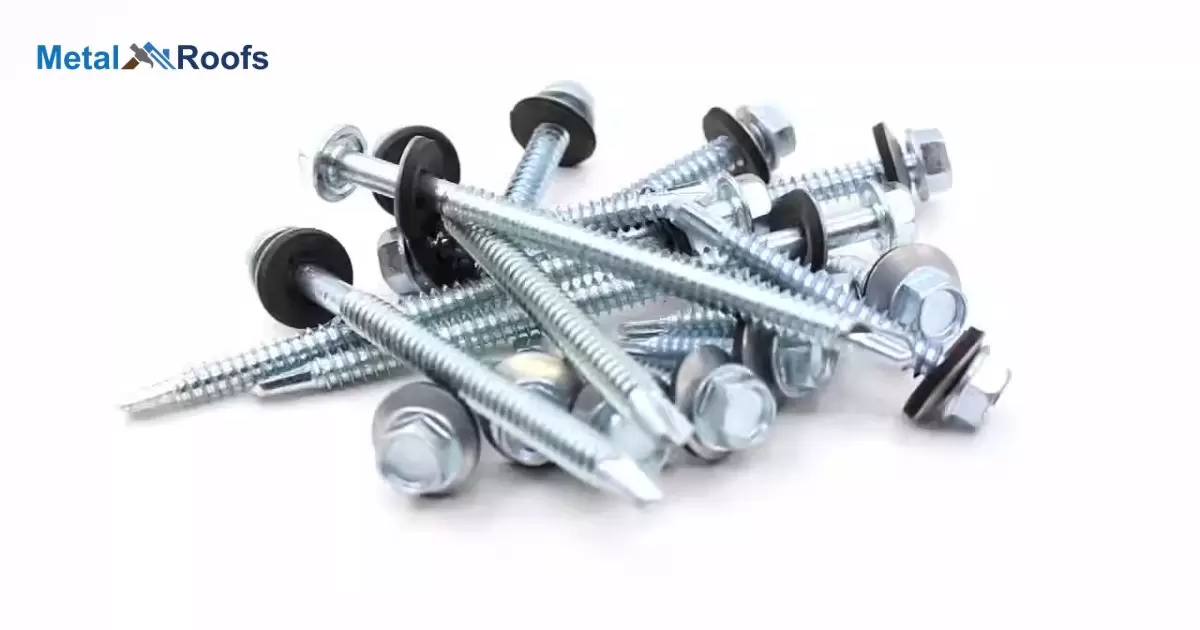
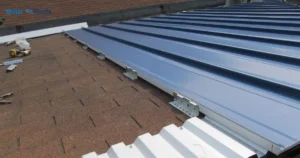
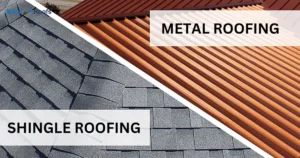
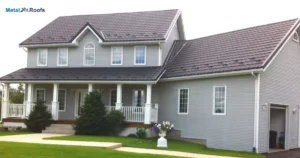
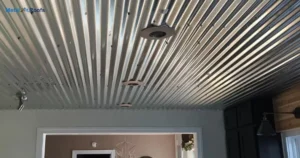
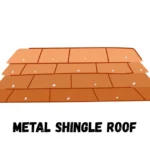
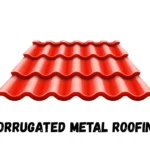
Screws metal roofing refers to metal roof panels that are held in place by screws which penetrate the roof decking material. The screws anchor the roofing to withstand strong winds while allowing for expansion and contraction of the metal panels.
Metal roof screws resist wind, seal panels. How many screws needed depends on wind/snow load, panel width, roof slope/material. Proper screw spacing, length, gauge and amount secure strong, waterproof panels. Too few invite leaks, damage.
If you notice the gutter pulling away from house, it suggests structural issues or poor installation. Thicker panels require more screws to prevent this. Proper screw length and spacing are crucial to avoid gutter detachment. Follow manufacturer guidelines to prevent such problems.
Key Takeaways
- Aim for 4 screws per square foot, adjusting for factors like pitch and panel length.
- Longer panels may need extra screws to prevent sagging.
- Pay special attention to edges and ends, using extra screws if needed.
- Choose corrosion-resistant screws for durability and rust prevention.
- Follow manufacturer recommendations and local building codes for secure installations.
How To Calculate And Place Screws?
Two distinct screw lengths are available from Allsteel 1 1⁄2 inches and 2 inches. The ideal size for all purposes is the 1½ inch variety.
The following table can be used to estimate the number of screws needed for different roof sizes and purlin spacings. There are 250 pieces of screws in stock.
Screw (Purlin) Spacing
| Linear Ft Of Panels | |||
| In Your Order | 12 Inch | 18 Inch | 24 Inch |
| 50 | 270 | 180 | 135 |
| 100 | 540 | 360 | 270 |
| 200 | 1080 | 720 | 540 |
| 300 | 1620 | 1080 | 810 |
| 400 | 2160 | 1440 | 1080 |
| 500 | 2700 | 1800 | 1350 |
| 600 | 3240 | 2160 | 1620 |
| 700 | 3780 | 2520 | 1890 |
| 800 | 4320 | 2880 | 2160 |
| 900 | 4860 | 3240 | 2430 |
| 1000 | 5400 | 3600 | 2700 |
| 1100 | 5940 | 3960 | 2970 |
| 1200 | 6480 | 4320 | 3240 |
What Is The Screw Pattern For ⅞” Corrugated Metal Roofing?
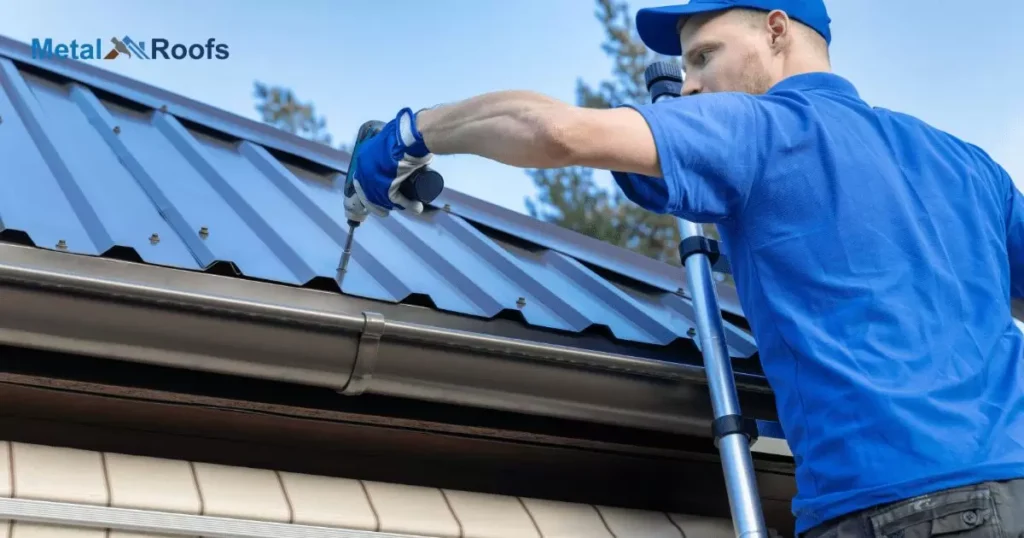
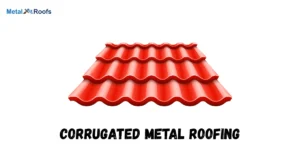
For ⅞” corrugated metal roofing, stick to 4 to 6 screws per square foot as per the manufacturer’s instructions. Confirm the specifics for your roofing system to ensure a secure and weather-resistant setup.
A proper screw pattern is vital for stability. Following the recommended screw count enhances the roof’s resilience to diverse weather conditions, ensuring durability over time.
⅞” Corrugated Screw Location For Metal Roofing
When installing ⅞” corrugated metal roofing, screw placement matters. Follow the guidelines from the manufacturer for the right location. Typically, aim for 4 to 6 screws per square foot.
Securely fasten the panels using the recommended screws to ensure stability. Adhering to these guidelines guarantees a robust metal roofing installation that can withstand various weather conditions. Always refer to the manufacturer’s instructions for the best results.
What Is The Correct Panel Side lap For ⅞” Corrugated Metal Roofing?
When installing ⅞” corrugated metal roofing, get the panel side lap right. Follow the manufacturer’s specs for a watertight seal. Generally, aim for a side lap of about 1.5 inches.
This ensures proper coverage and helps keep the elements out, making your metal roof sturdy and reliable. Always check the product guidelines for the exact side lap measurement to ensure a secure fit.
⅞” Corrugated Screw Location For Wall Panels Or Metal Siding
When installing ⅞” corrugated metal panels on walls or siding, make sure to place screws strategically. Position screws at the panel’s center, edges, and valleys to ensure a secure fit. Follow the manufacturer’s guide for the right number and spacing of screws based on your specific project.
Proper screw placement helps prevent leaks and ensures your metal panels stay in place, resisting the elements. Check the installation instructions for the exact details and guidelines to guarantee a sturdy and durable metal siding or wall panel setup.
Metal Roof Screw Pattern & Spacing Guide
When it comes to putting up metal roofing, the right screw pattern is key. Follow the guide from the manufacturer it’s like a roadmap. Use 4 to 6 screws per square foot – that’s the sweet spot for a sturdy roof.
Check the manual for specifics on the gap between screws. Proper spacing keeps everything snug. Don’t guess, just follow the plan – it’s the surefire way to get that metal roof on tight and right.
What Happens When You Don’t Use Enough Metal Roof Screws?
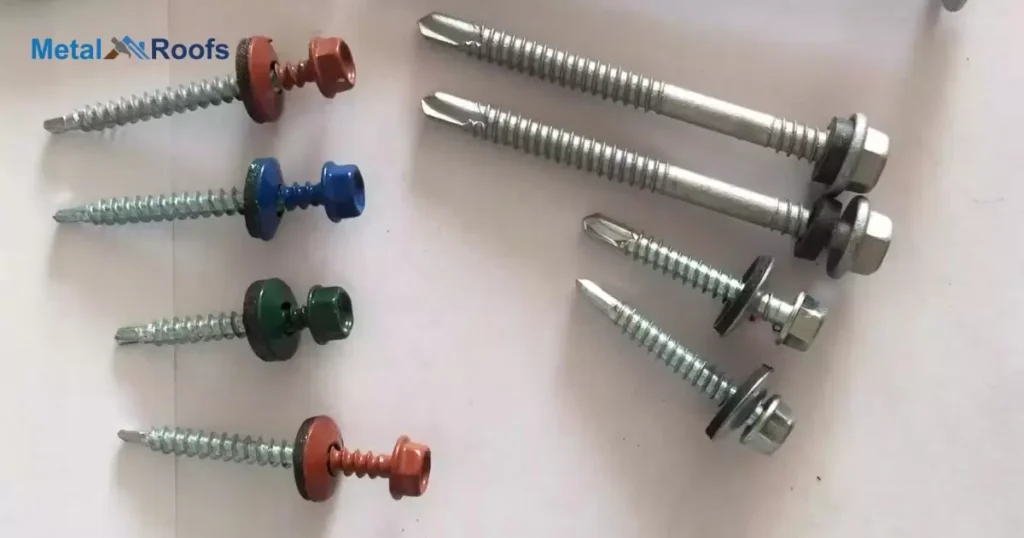
When you skimp on metal roof screws, trouble brews. Too few screws mean your roof isn’t locked tight. Storms hit, winds whip, and your roof might just take flight.
Not enough screws invite leaks. Gaps form, rain sneaks in. Water stains spread, and suddenly, a cozy home becomes a soggy headache. Use those screws wisely – they’re the unsung heroes holding your roof together.
Screws Go in the Ribs or in the Flats
When putting screws in metal roofing, aim for the ribs. Ribs are the raised parts between flat sections. This ensures a secure grip and sturdy installation. Avoid placing screws in the flat areas, as it may lead to leaks or weaker attachment.
Follow the manufacturer’s guidelines for the right placement and quantity of screws. This simple step ensures your metal roof stays put, facing the weather with confidence.
Screw Pattern For Metal Roofing
When installing metal roofing, the screw pattern matters. Begin by placing the first screw near the edge of the panel. Space screws evenly along the panel’s length, about 12 to 24 inches apart. This spacing ensures stability and prevents leaks.
Follow the manufacturer’s guidelines for the recommended screw pattern. Typically, you’ll use 4 to 6 screws per square foot of roofing. Adjust spacing as needed for the specific roofing material and local building codes. Proper screw placement ensures a secure and durable metal roof that can withstand weather and time.
Metal Roof Screws On Rib Or Flat
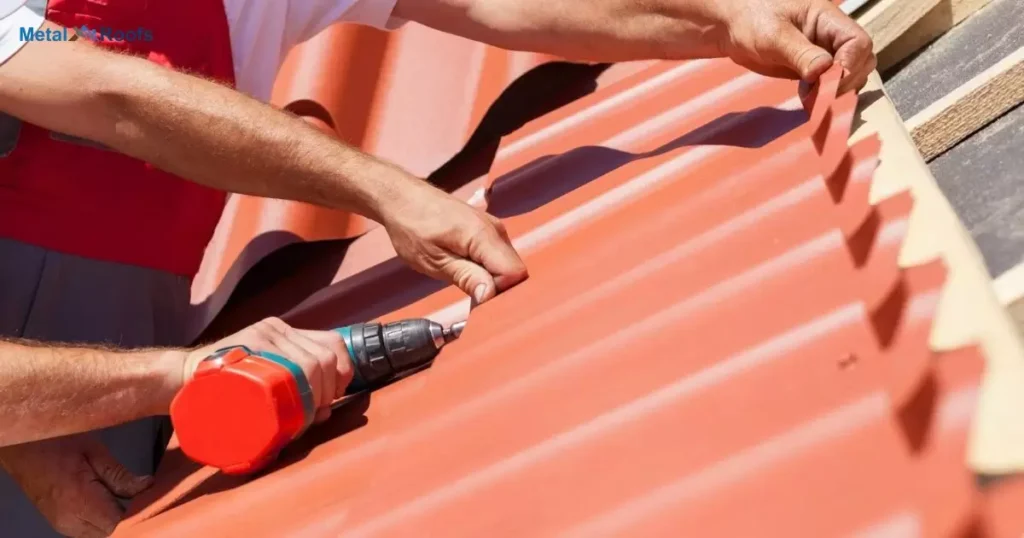
When installing metal roofing, consider placing screws on ribs or flat surfaces. The choice depends on the type of metal roofing panels. Ribbed panels often require screws on the ribs for secure attachment. This method ensures stability and prevents water penetration.
For flat metal roofing panels, screws can be placed on flat areas between the ribs. This provides adequate support while maintaining a smooth appearance. Following manufacturer guidelines is crucial for proper installation.
Frequently Asked Questions
How many screws do you put in a metal roof?
For a metal roof, typically use 4 to 6 screws per square foot. Follow the manufacturer’s instructions for the specific roofing system you’re using.
How do I calculate how many roof screws I need?
Measure the square footage of your roof and use 4 to 6 screws per square foot, following the manufacturer’s recommendations for your specific metal roofing.
What is the spacing for stitch screws?
Stitch screws are typically spaced around 12 to 24 inches apart, ensuring even and secure attachment of metal panels. Follow manufacturer guidelines for specific spacing recommendations.
Conclusion
Enough properly installed screws secure metal roofing for years. Skimping risks panel detachment, damage, liability. Calculate needs using codes and manufacturers’ specs on type, spacing, depth. Invest in quality materials and certified installers.
Compromising on screws saves little but risks much. Use calculations for wind, snow loads over decades – not rules of thumb. Space and drive stainless steel as specified for waterproof, durable roofs. Do it right so metal roofing resists elements.
