Bubble insulation traps air pockets. It goes under metal roofing panels. Provides thermal and moisture barrier. Reflects radiant heat from sun. Rigid plastic bubbles sandwich air. Reduces energy costs for buildings. Simple installation for roofing crew. Durable and long-lasting insulation.
Metal roofs are energy-efficient. But they lack insulation. Installing bubble insulation helps. It’s easy and cost-effective. Bubble insulation reflects heat. It keeps your home cool. You save on energy bills. Let’s learn the installation process. How to install bubble insulation under metal roofing?
Installing insulation with bubble insulation is crucial for regulating indoor temperature. For added noise reduction from rain or hail hitting a metal roof, consider metal roof sound dampening materials. Let’s discuss requirements and installation steps.
Key Takeaways
- Bubble insulation, adhesive tape, tools, safety gear.
- Measure, cut insulation, prep roof surface.
- Tape edges, lay insulation flat.
- Overlap panels, secure with tape.
- Trim excess, install metal roofing.
- Inspect for gaps, test insulation effectiveness.
Insulating A Metal Roof
To insulate a metal roof, gather bubble insulation, adhesive tape, and basic tools. Measure and cut insulation to fit roof panels, leaving extra for overlap. Ensure the roof surface is clean and dry before applying insulation. Next, tape the edges of each insulation panel for a secure seal.
Lay the insulation flat, starting from one end of the roof. Overlap panels slightly and use tape to secure edges. Trim any excess insulation and install metal roofing over it. Inspect for gaps and test insulation effectiveness. Prioritize safety and consider professional help if needed.
Insulation Under Metal Roofing
| Benefits | Considerations |
| Energy efficiency | Proper installation is crucial |
| Temperature control | Compatibility with roofing material |
| Cost savings | Potential for condensation |
| Improved comfort | Insulation thickness |
| Long-term savings | Professional installation may be needed |
To install insulation under metal roofing, gather bubble insulation, adhesive tape, and basic tools. Measure and cut the insulation to fit your roof, ensuring a snug fit. Clean the roof surface thoroughly and apply adhesive tape along the edges of each insulation panel.
Lay the insulation flat on the roof, overlapping panels slightly for complete coverage. Secure the edges and seams with more adhesive tape to prevent air leakage. Trim any excess insulation carefully and then proceed to install the metal roofing panels over the insulation.
Double Bubble Insulation
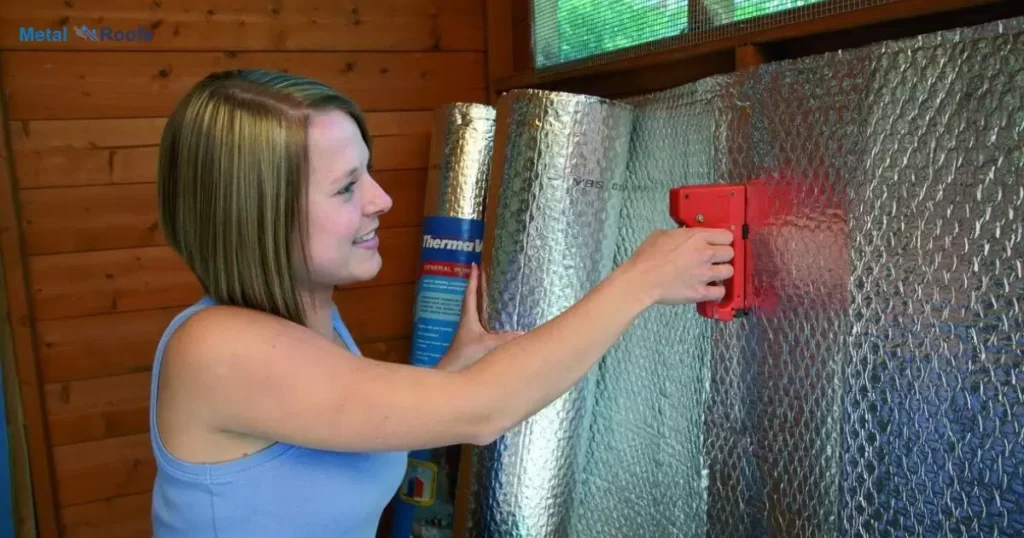
Double bubble insulation is a smart way to enhance energy efficiency in your building. It consists of two layers of bubble wrap with a layer of reflective material in between. This design traps air pockets, providing insulation against heat transfer.
To install double bubble insulation, start by measuring and cutting the material to fit your roof panels. Clean the roof surface thoroughly and lay the insulation flat, ensuring no wrinkles. Secure the edges with adhesive tape, overlapping panels for complete coverage.
Preparing The Roof For Installation
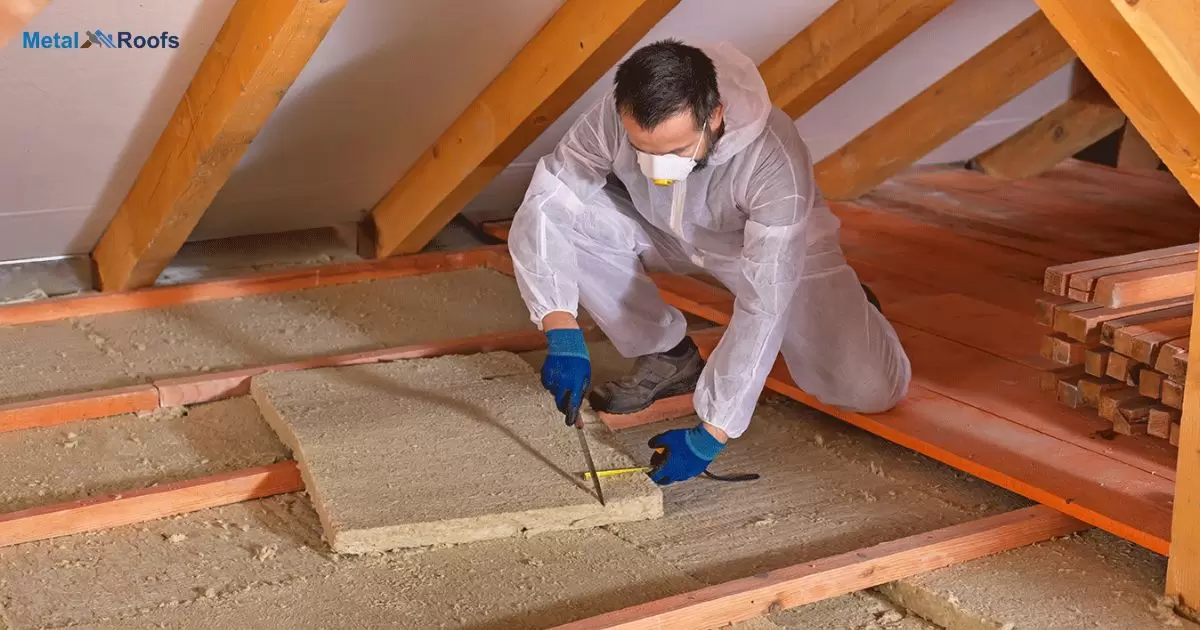
Before installing bubble insulation under a metal roof, it’s crucial to prepare the roof surface. Start by measuring the roof panels accurately. Then, cut the bubble insulation to fit, leaving some extra for overlap. Next, ensure the roof surface is clean and dry, free from any debris. Sweep or power wash if necessary and let it dry completely.
Once the roof surface is ready, apply adhesive tape along the edges of each insulation panel. Lay the insulation flat, starting from one end of the roof and working your way across. Overlap the panels by a few inches to ensure complete coverage. Secure the edges and seams with more adhesive tape to prevent air leakage.
Benefits Of Proper Ventilation
Proper ventilation is crucial for maintaining a healthy and comfortable indoor environment. Here are some key benefits:
Improved Air Quality: Ventilation helps remove pollutants, allergens, and stale air from indoor spaces, thereby improving indoor air quality. This can reduce the risk of respiratory problems and allergic reactions.
Healthier Environment: Proper ventilation helps control moisture levels, which can prevent the growth of mold, mildew, and bacteria. This is especially important in spaces like bathrooms, kitchens, and basements where moisture buildup is common.
Odor Control: Good ventilation helps to dissipate odors from cooking, pets, and other sources, keeping the indoor environment fresh and pleasant.
Temperature Regulation: Ventilation helps to regulate indoor temperatures by allowing the exchange of indoor air with outdoor air. This can reduce the need for excessive heating or cooling, leading to energy savings.
Comfort: Adequate ventilation creates a more comfortable indoor environment by reducing stuffiness and promoting air circulation. This is particularly important in crowded or enclosed spaces.
Increased Productivity: Proper ventilation in workplaces and educational institutions has been linked to improved cognitive function and productivity. Fresh air can help keep people alert and focused.
Prevention of Structural Damage: Ventilation helps to control humidity levels, which can prevent condensation and moisture buildup on surfaces. This reduces the risk of structural damage such as rot and decay in buildings.
Compliance with Building Codes: Many building codes and regulations require proper ventilation to ensure the health and safety of occupants. Compliance with these standards is essential for legal and insurance purposes.
Overall, proper ventilation plays a vital role in creating a healthy, comfortable, and safe indoor environment for occupants.
How To Insulate Metal Roof With Purlins?
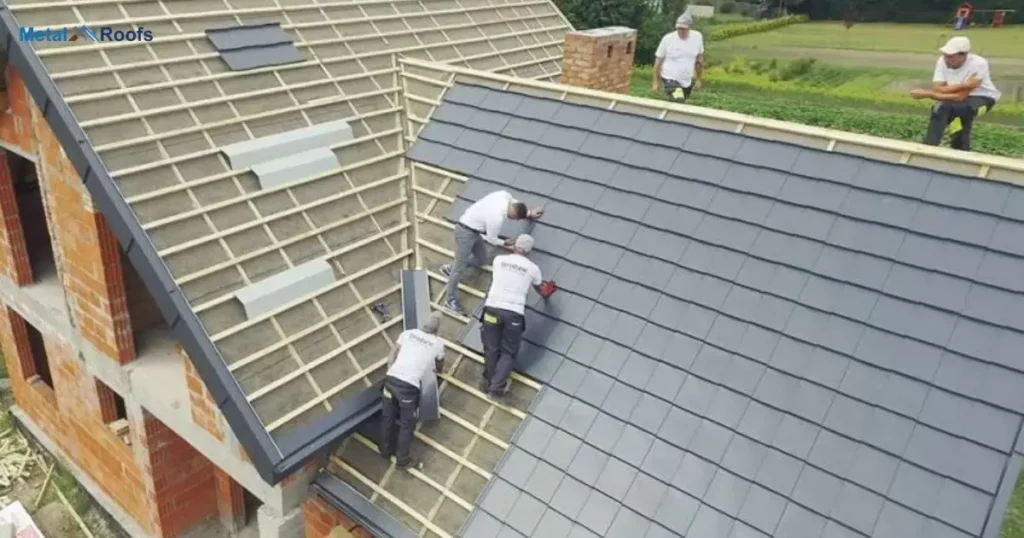
To insulate a metal roof with purlins, start by measuring and cutting the insulation to fit between the purlins. Clean the roof surface thoroughly and lay the insulation flat on top of the purlins. Secure the insulation in place using screws or adhesive tape, ensuring it covers the entire roof area.
Once the insulation is installed, you can then install the metal roofing panels over it, fastening them to the purlins as usual. Inspect the roof to ensure there are no gaps or areas where the insulation is not properly sealed, and test its effectiveness by monitoring indoor temperature changes.
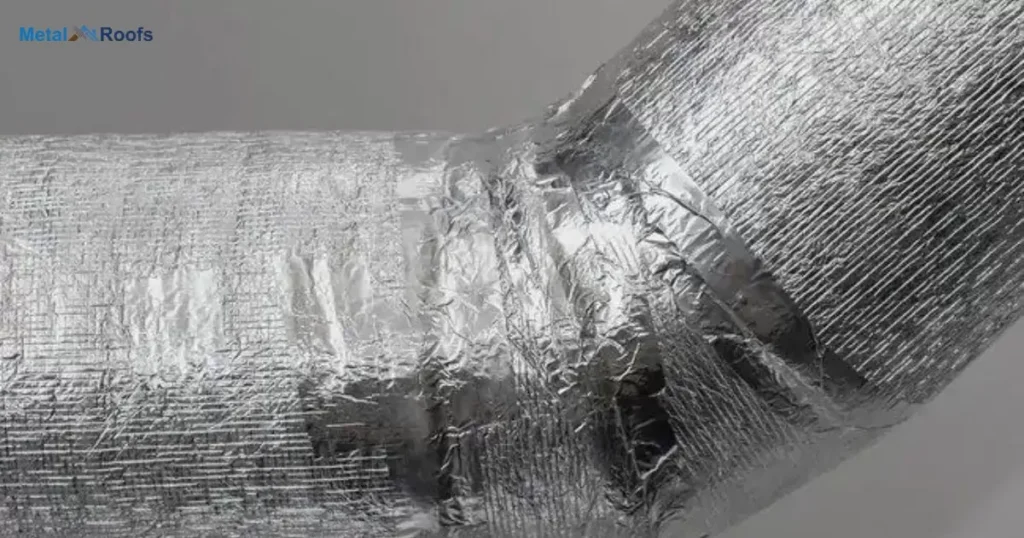
Radiant Barrier Under Metal Roof
To install a radiant barrier under a metal roof, start by gathering materials radiant barrier foil, staples, staple gun, utility knife, and safety gear. Measure and cut the foil to fit between the roof rafters, leaving an inch of space around the edges. Staple the foil to the underside of the roof rafters, ensuring it’s flat and smooth.
Overlap the foil sheets by a few inches to create a continuous barrier. Trim any excess foil with a utility knife. Once installed, the radiant barrier helps reflect heat away from the roof, keeping the building cooler in hot weather. Inspect the installation for any gaps or tears, and make necessary repairs.
Preparing The Metal Roofing
Before installing bubble insulation, ensure the metal roof is clean and dry. Sweep or wash away any debris. Next, measure the roof panels accurately. Use a utility knife or scissors to cut the bubble insulation to fit the measurements. Lay the insulation flat on the roof surface, starting from one end and working across.
Overlap the insulation panels slightly to ensure complete coverage. Secure the edges and seams with adhesive tape to prevent air leakage. Trim any excess insulation carefully, maintaining a proper seal. Finally, proceed to install the metal roofing panels over the insulation following the manufacturer’s instructions.
Cutting And Measuring The Bubble Wrap
First, measure the length and width of your roof panels. Use a measuring tape for accuracy. Next, roll out the bubble insulation and cut it to fit the measured size. Make sure to leave a bit extra for overlap. After cutting, prepare the roof surface by cleaning it thoroughly. Remove any debris or dirt.
Then, apply adhesive tape along the edges of each insulation panel. This helps create a seal and prevents air leakage. Lay the insulation flat on the roof, starting from one end and working your way across. Ensure it’s smooth and without wrinkles. Finally, trim any excess insulation carefully using scissors or a utility knife.
Stapling The Bubble Wrap To The Roof
First, ensure the bubble wrap is cut to fit the roof’s dimensions. Then, using a staple gun, attach the bubble wrap to the underside of the roof. Start at one end and work your way across, stapling every few inches to secure it in place.
Once attached, inspect the bubble wrap to ensure it’s evenly distributed and securely fastened. After stapling, check for any gaps or loose areas that may need additional staples. If necessary, reinforce corners and edges for extra stability. Once the bubble wrap is securely stapled, you can proceed with installing the metal roofing panels over it.
Stapling The Bubble Wrap To The Roof
To staple bubble wrap to the roof, first, gather bubble wrap, staple gun, staples, and ladder. Measure and cut bubble wrap to fit roof size. Climb ladder, carefully staple bubble wrap to roof, starting from one end and working across. Ensure wrap is taut, without wrinkles. Overlap edges to cover gaps. Double-check staples are secure.
Ensuring A Tight Seal
When stapling the bubble wrap to the roof, ensure a tight seal. Overlap edges to cover any gaps and prevent air leakage. Double-check staple placement to secure the bubble wrap effectively.
Taping Seams And Edges
Once the bubble wrap is stapled to the roof, proceed to tape seams and edges. Use adhesive tape to ensure a secure seal along the edges and seams of the bubble wrap. This step helps prevent air leakage and enhances the effectiveness of the insulation.
Securing The Bubble Wrap
To secure the bubble wrap, use adhesive tape or staples. If using tape, apply it along the edges and seams of the bubble wrap. For staples, use a staple gun to affix the wrap to the roof. Ensure a tight fit without any loose areas.
Roof Ventilation And Airflow
Proper roof ventilation is crucial for maintaining a healthy and efficient home. It helps regulate temperature and moisture levels, preventing issues like mold and mildew. Without adequate airflow, hot air can get trapped in the attic, leading to increased energy costs and potential damage to the roof structure.
To ensure good ventilation, it’s essential to have intake vents at the lower part of the roof and exhaust vents at the top. These vents allow air to flow freely, carrying heat and moisture away from the attic space.
Frequently Asked Questions
How To Attach Foam Board Insulation To Metal Roof?
To attach foam board insulation to a metal roof, measure, cut, clean, apply adhesive, press firmly, secure with screws or nails, trim excess, then install metal roofing.
How To Install Foil Insulation Under A Metal Roof?
Gather materials, measure and cut insulation, prep roof, apply tape, lay flat, overlap, secure, trim, install roofing, inspect, test, prioritize safety.
Can You Put Insulation Directly Under A Metal Roof?
Yes, you can install insulation directly under a metal roof for energy efficiency and temperature control.
Conclusion
Installing bubble insulation under metal roofing is straightforward. Following these steps ensures proper insulation and energy efficiency. Take care to measure accurately, secure edges tightly, and trim excess. Regularly inspect and maintain the roof for optimal performance.
If unsure, consider hiring a professional for installation assistance. Safety is paramount during installation. Use appropriate safety gear and tools. With proper installation, bubble insulation can significantly improve comfort and energy savings.