Bubble wrap insulation is a type of insulation made from air pockets trapped between two layers of plastic film bonded together to form bubbles. The air trapped in the bubbles provides thermal insulation and cushioning for fragile items during shipping.
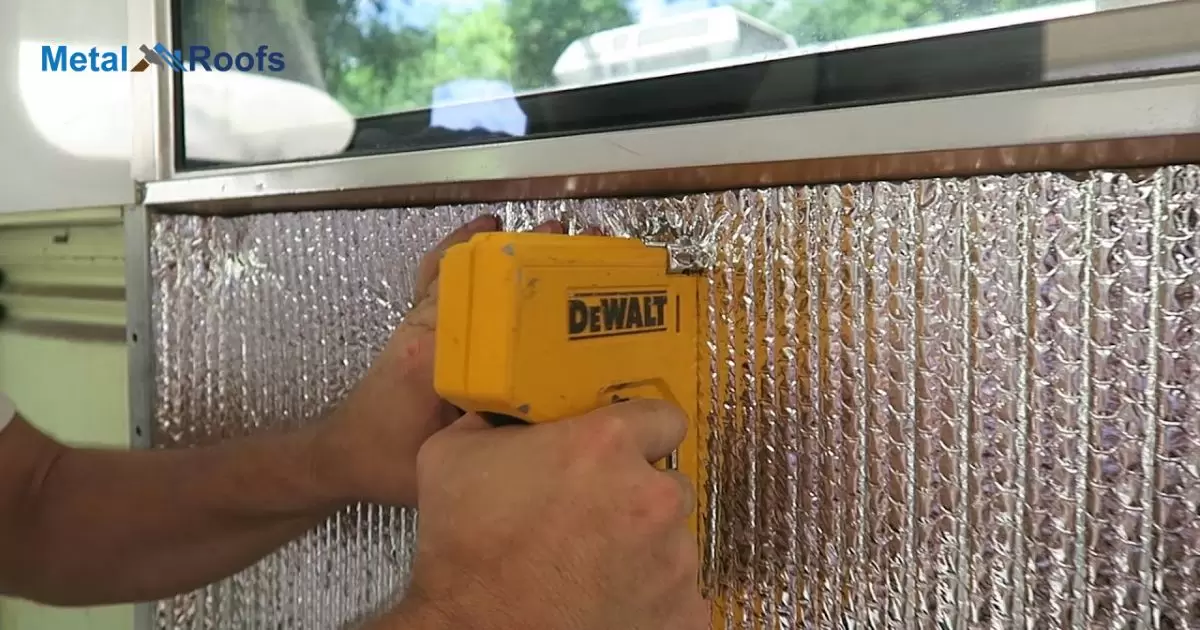
Wondering how to install bubble wrap insulation? It’s an easy DIY project. Just cut sheets to fit between wall studs or roof rafters and staple into place. The trapped air in the bubbles provides insulation and a moisture barrier. Get the benefits of insulation with this simple installation.
Bubble wrap’s air pockets provide insulation. The bubbles trap air, slowing heat transfer. Better insulation means lower energy bills. Bubble wrap is an affordable option. Just staple sheets between studs or rafters. Easy to install yourself. Provides cushioning too. Useful for walls, attics, packaging. A multipurpose insulator.
Key Takeaways
- Clean the surface thoroughly.
- Cut the insulation to fit.
- Apply adhesive or use water for adhesion.
- Press firmly to ensure good contact.
- Inspect for air bubbles or wrinkles.
- Trim excess if necessary.
- Enjoy improved insulation and energy efficiency.
Purpose Of Bubble Wrap Insulation
Bubble wrap insulation serves a simple purpose: to keep heat inside and cold air out. It acts as a barrier against drafts, reducing energy loss through windows during colder months. By trapping a layer of air between the bubbles and the window, it helps to insulate the space and maintain a more comfortable indoor temperature.
Bubble wrap insulation is an affordable and easy-to-install solution for improving the energy efficiency of homes. It can be applied to windows quickly using double-sided tape or water, making it accessible to anyone looking to reduce heating costs.
Bubble wrap insulation is versatile and can be removed easily when no longer needed, allowing for seasonal use without any permanent alterations to windows. This is especially beneficial when considering factors like a 2×4 span for a metal roof, where adaptability and flexibility are key.
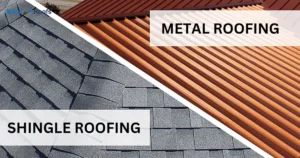
Benefits Of Using Bubble Wrap Insulation For Metal Roofing

- Bubble wrap adds an extra layer, reducing heat transfer through the metal roof.
- Minimizes heat loss in winter and heat gain in summer, lowering energy bills.
- Acts as a barrier, preventing condensation buildup and potential water damage.
- Lightweight and flexible, it’s quick to install with minimal effort.
- Resistant to wear and tear, providing long-lasting insulation benefits.
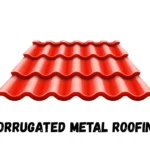
- Suitable for various metal roofing types and structures.
- Cost-effective solution compared to other insulation materials.
Steps To Prepare The Metal Roofing Surface For Bubble Wrap Insulation
Clean the Surface: Begin by thoroughly cleaning the metal roofing surface to remove any dirt, debris, or grease. Use a broom or brush to sweep away loose particles and then wash the surface with soap and water to ensure it’s free from any contaminants that could affect adhesion.
Inspect for Damage: Check the metal roofing surface for any signs of damage such as rust, corrosion, or loose panels. Repair any issues found before proceeding with the insulation installation to ensure a smooth and effective application.
Allow Surface to Dry: After cleaning, allow the metal roofing surface to dry completely before applying the bubble wrap insulation. Moisture on the surface can affect the adhesive properties of the insulation, so ensure the surface is dry to the touch before proceeding.
Measure and Cut Insulation: Measure the dimensions of the metal roofing surface and cut the bubble wrap insulation to fit accordingly. It’s recommended to cut the insulation slightly larger than the surface area to ensure complete coverage and overlap with adjacent pieces.
Apply Adhesive (Optional): Depending on the type of bubble wrap insulation used, you may need to apply adhesive to the metal roofing surface before installing the insulation. Follow the manufacturer’s instructions for the specific adhesive application method.
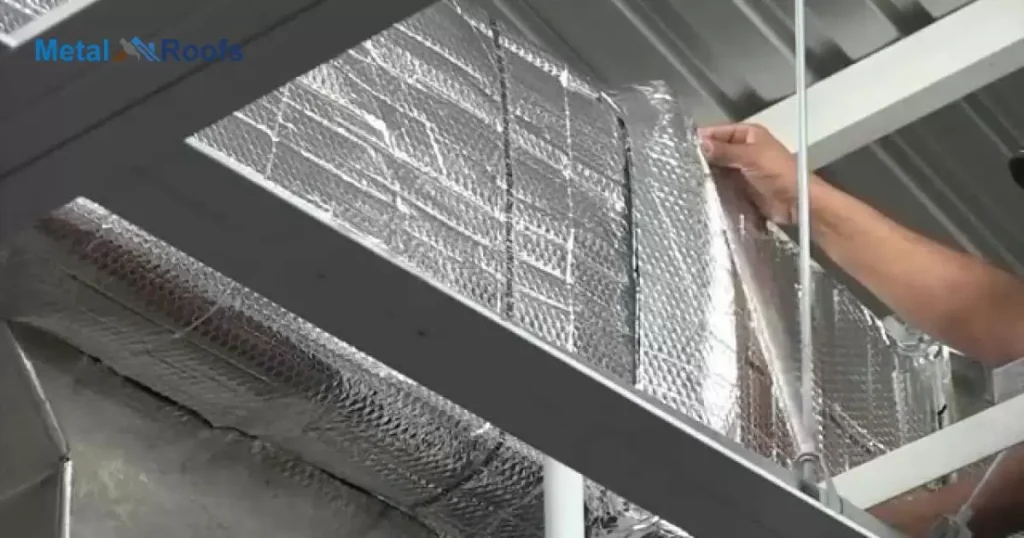
Install Bubble Wrap Insulation: Place the cut pieces of bubble wrap insulation onto the metal roofing surface, starting from one end and working your way across. Press the insulation firmly onto the surface to ensure good adhesion and smooth out any air bubbles or wrinkles.
Secure Edges: Secure the edges of the bubble wrap insulation with tape or additional adhesive to prevent lifting or shifting over time. Ensure that all edges are securely sealed to maintain the insulation barrier effectively.
Inspect and Test: Once the bubble wrap insulation is installed, visually inspect the surface to ensure it’s properly adhered and free from any gaps or defects. You can also perform a test by gently pressing on the insulation to ensure it’s securely attached to the metal roofing surface.
By following these steps, you can effectively prepare the metal roofing surface for bubble wrap insulation, enhancing its thermal insulation properties and energy efficiency.
List Of Materials Required For The Installation
- Bubble wrap insulation
- Adhesive (double-sided tape or spray adhesive)
- Soap and water (for cleaning)
- Broom or brush (for surface cleaning)
- Tape measure
- Scissors or utility knife (for cutting insulation)
- Optional: Primer or sealant (for metal surface preparation)
- Optional: Protective gloves and safety goggles
Step-By-Step Guide For Installing Bubble Wrap Insulation On Metal Roofing
Sure, here’s a step-by-step guide for installing bubble wrap insulation on metal roofing:
Gather Materials: Collect all the necessary materials, including bubble wrap insulation, adhesive (double-sided tape or spray adhesive), soap and water for cleaning, a broom or brush for surface cleaning, tape measure, scissors or utility knife for cutting insulation, and any optional items like primer or sealant.
Prepare the Surface: Clean the metal roofing surface thoroughly using soap and water to remove any dirt, debris, or grease. Inspect for damage and repair any issues before proceeding.
Allow Surface to Dry: Let the metal roofing surface dry completely before applying the bubble wrap insulation. Moisture on the surface can affect adhesion, so ensure it’s dry to the touch.
Measure and Cut Insulation: Measure the dimensions of the metal roofing surface and cut the bubble wrap insulation to fit accordingly. It’s advisable to cut the insulation slightly larger than the surface area for complete coverage.
Apply Adhesive: Depending on the type of bubble wrap insulation used, apply adhesive to the metal roofing surface as per the manufacturer’s instructions. This may involve applying double-sided tape around the edges or spraying adhesive evenly across the surface.
Install Insulation: Place the cut pieces of bubble wrap insulation onto the metal roofing surface, starting from one end and working your way across. Press the insulation firmly onto the surface to ensure good adhesion, smoothing out any air bubbles or wrinkles as you go.
Secure Edges: Secure the edges of the bubble wrap insulation with tape or additional adhesive to prevent lifting or shifting over time. Ensure all edges are securely sealed to maintain the insulation barrier effectively.
Optional Finishing Touches: Depending on your preference and specific requirements, you may apply a primer or sealant to further enhance the insulation’s durability and effectiveness.
Inspect and Test: Once the bubble wrap insulation is installed, visually inspect the surface to ensure it’s properly adhered and free from any gaps or defects. You can also perform a test by gently pressing on the insulation to ensure it’s securely attached to the metal roofing surface.
By following these step-by-step instructions, you can effectively install bubble wrap insulation on metal roofing, improving its thermal insulation properties and energy efficiency.
Safety Guidelines And Precautions For The Installation Process
Safety is paramount during any installation process. Here are some safety guidelines and precautions to follow when installing bubble wrap insulation on metal roofing:
Wear Protective Gear: Wear appropriate protective gear such as gloves and safety goggles to protect your hands and eyes from potential injuries.
Work on a Stable Surface: Ensure you’re working on a stable surface when installing insulation on metal roofing. Use proper ladder safety techniques if you need to access elevated areas.
Avoid Working in Extreme Weather: Avoid installing insulation during extreme weather conditions such as high winds, heavy rain, or extreme temperatures, as these conditions can increase the risk of accidents or injuries.
Watch Out for Sharp Edges: Metal roofing may have sharp edges or protruding screws, so be cautious to avoid cuts or punctures while handling the insulation material.
Use Caution with Tools: Handle cutting tools such as scissors or utility knives with care to avoid accidental cuts or injuries. Always cut away from your body and keep your fingers clear of the blade.
Follow Manufacturer’s Instructions: Adhere to the manufacturer’s instructions and guidelines for the specific type of bubble wrap insulation you’re using, including any recommended safety precautions.
Avoid Contact with Hazardous Materials: Be mindful of any hazardous materials that may be present on the roofing surface or in the surrounding area. Take necessary precautions to avoid contact or exposure.
Take Breaks as Needed: Installing insulation can be physically demanding work, so take regular breaks as needed to prevent fatigue and ensure you’re able to work safely and effectively.
Work with a Partner if Possible: If possible, work with a partner who can assist you with handling materials, climbing ladders, or performing tasks that require extra caution.
Clean Up Properly: Clean up any debris or waste materials from the installation site to minimize tripping hazards and keep the work area safe and organized.
By following these safety guidelines and precautions, you can help ensure a safe and successful installation process when installing bubble wrap insulation on metal roofing.
Impact Of Bubble Wrap Insulation On Metal Roofing In Various Climates
Installing bubble wrap insulation on metal roofing can have a significant impact on energy efficiency across various climates. In colder climates, the insulation helps retain heat inside buildings by minimizing heat loss through the roof. This can result in reduced heating costs and improved comfort during chilly weather.
Conversely, in warmer climates, bubble wrap insulation acts as a barrier against heat transfer, keeping interiors cooler by reflecting sunlight away from the roof. This helps reduce the need for excessive air conditioning, leading to lower energy bills and a more comfortable indoor environment.
Maintenance Tips For Bubble Wrap Insulation On Metal Roofing
- Regularly inspect insulation for damage such as tears or detachment.
- Keep metal roofing and insulation clean from dirt and debris.
- Reinforce edges and seams as needed to prevent shifting.
- Protect insulation from physical damage and harsh weather conditions.
- Monitor performance by checking indoor temperature and energy usage regularly.
Common Mistakes To Avoid During The Installation Process
Avoiding common mistakes during the installation process is crucial for ensuring the effectiveness of bubble wrap insulation on metal roofing. Here are some mistakes to steer clear of:
Incomplete Surface Preparation: Skipping thorough cleaning and surface inspection can lead to poor adhesion and compromised insulation effectiveness.
Incorrect Measurement and Cutting: Inaccurate measurement and cutting of insulation may result in gaps or overlap issues, reducing its insulation properties.
Improper Adhesive Application: Applying adhesive incorrectly or using the wrong type can cause the insulation to detach or not adhere properly to the metal roofing surface.
Neglecting Edge Sealing: Failing to properly seal the edges and seams of the insulation can allow air infiltration, diminishing its insulation performance.
Overlooking Protective Measures: Ignoring safety precautions and failing to protect the insulation from physical damage during installation can lead to premature wear and tear.
Not Monitoring Performance: Forgetting to monitor the performance of the insulation over time can result in missed opportunities to address issues or make improvements.
By avoiding these common mistakes, you can ensure a successful installation of bubble wrap insulation on metal roofing, maximizing its effectiveness in improving energy efficiency and thermal insulation.
Insulation With Relevant Building Codes For Metal Roofing
Insulating metal roofing must comply with relevant building codes, ensuring safety and efficiency. Building codes outline specific requirements for insulation materials, installation methods, and thermal performance. Compliance with these codes helps maintain structural integrity and energy efficiency standards for buildings.
Following building codes also ensures that the insulation meets local climate conditions and environmental factors. By adhering to these regulations, property owners can avoid potential penalties and ensure the longevity and performance of their metal roofing insulation.
Consider When Selecting Bubble Wrap Insulation For Metal Roofing
When selecting bubble wrap insulation for metal roofing, consider the insulation’s thickness and R-value. Thicker insulation with a higher R-value provides better thermal resistance, improving energy efficiency.
Choose bubble wrap insulation with a durable outer layer to withstand harsh weather conditions and ensure longevity. Properly fitting the insulation to the roof’s dimensions is crucial for effective coverage and performance.
Impact Of Insulation On The Energy Efficiency Of Metal Roofing
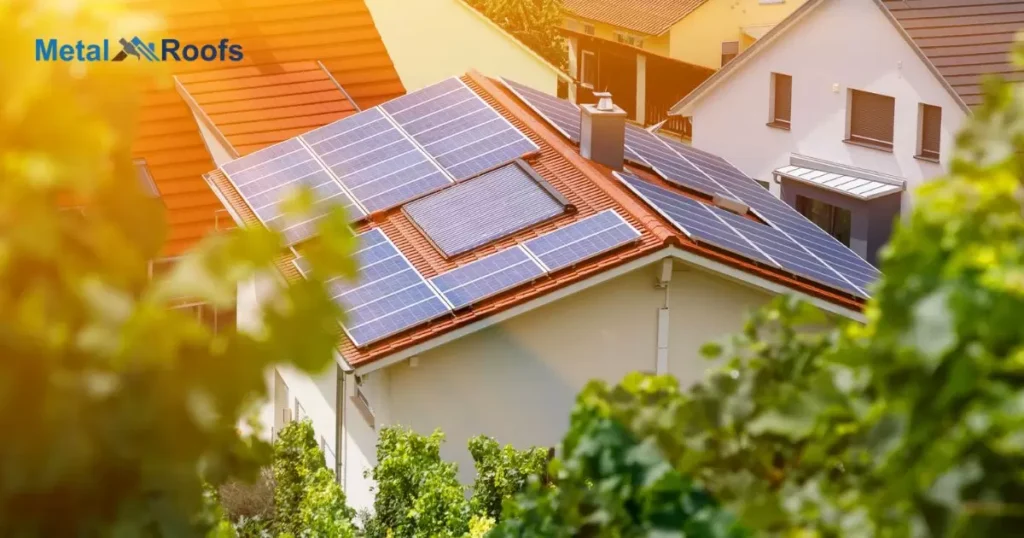
Insulation greatly improves the energy efficiency of metal roofing. By adding an extra layer of thermal resistance, it reduces heat transfer, keeping interiors cooler in summer and warmer in winter. This results in decreased reliance on heating and cooling systems, ultimately lowering energy bills.
Insulation helps prevent condensation buildup, reducing the risk of moisture-related damage. With improved temperature regulation and moisture control, metal roofing becomes more durable and energy-efficient, offering long-term savings and comfort.
Frequently Asked Questions
Which side of bubble insulation faces out?
The reflective side of bubble insulation faces outward to maximize its effectiveness in reflecting heat away from the surface.
How do you install thermal wrap insulation?
To install thermal wrap insulation, clean the surface, cut the insulation to size, then apply adhesive and press firmly into place.
Will bubble wrap work as insulation?
To install thermal wrap insulation, clean the surface, cut the insulation to size, then apply adhesive and press firmly into place.
Conclusion
Bubble wrap insulation is an innovative way to insulate your home. The trapped air slows heat transfer through walls and attics. Installation only requires basic tools like a staple gun. Bubble wrap’s air pockets provide effective insulating properties at a fraction of the cost of other insulations. Consider bubble wrap for your next insulation project.
Insulation bubble wrap has other uses like cushioning fragile items. The same bubbles that slow heat transfer also protect breakable goods in shipping. Bubble wrap is truly a versatile material.