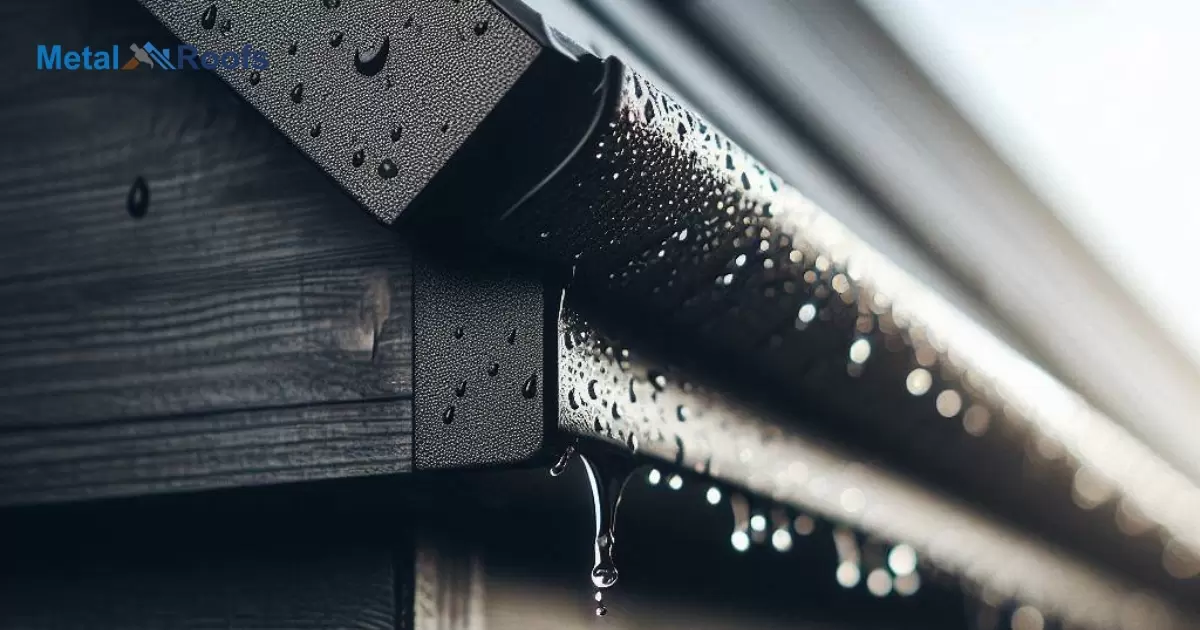
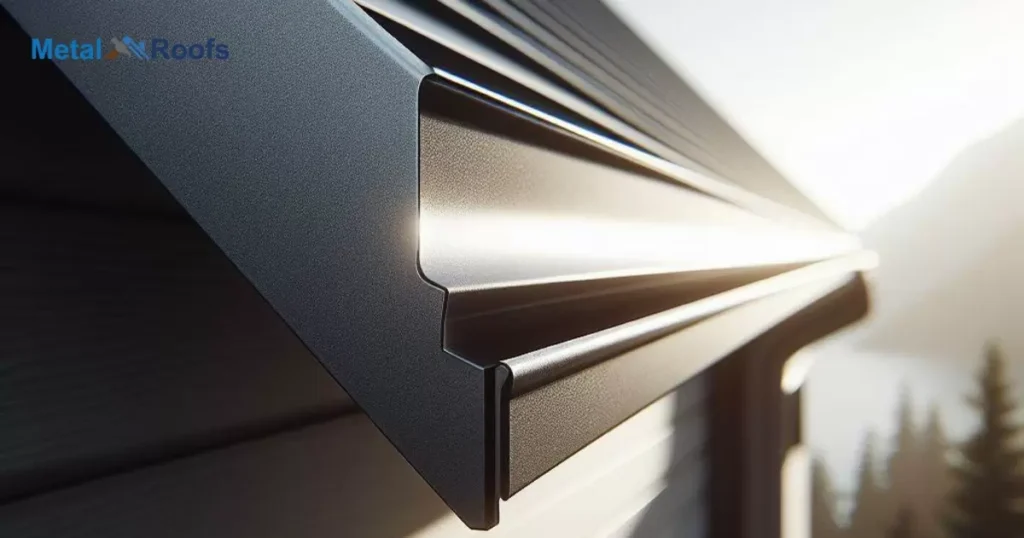
A drip edge on a shed roof is like a superhero cape for your building. It’s a metal strip that hangs out at the edge of the roof, protecting it from water damage. Think of it as a shield against rain, making sure water doesn’t sneak under the roof and cause trouble.
Transforming your shed into a fortress against rain is a cinch thanks to drip edge installation. Nail it along the eaves, letting it hang like a vigilant guardian. Slide it under the roofing material with stealthy precision, sealing the deal for a watertight shelter.
To keep your shed dry, install a drip edge. This metal strip shields the roof from rain. Just nail it along the eaves, letting it hang. Slide it under the roofing, and voilà, a waterproof shield for your shed. Here’s a general guide on how to install a drip edge on a shed roof:
Key Takeaways
- Accurate measurements and precise cuts are crucial for a proper fit.
- Install the drip edge along eaves and gables with appropriate overhangs.
- Overlap sections adequately to ensure effective water runoff.
- Securely nail and miter corners to prevent water seepage.
- Consider using roofing cement for additional protection.
- Prioritize safety during installation to prevent accidents.
- Follow the manufacturer’s instructions for optimal performance.
- If unsure, seek advice from roofing professionals for a reliable installation.
Materials and Tools:
Make sure you have all the tools and materials needed before starting the installation process. For this undertaking, you will require:
- Drip edge
- Roofing nails
- Hammer or roofing nail gun
- Tin snips or aviation snips
- Measuring tape
- Chalk line
- Roofing cement or adhesive (optional)
Preparation Getting Ready For Drip Edge Installation
| Step | Description |
| Clean Eaves | Thoroughly clean the eaves to remove debris and ensure a clean surface for a snug drip edge fit. |
| Gather Tools | Collect the necessary tools, including nails and a hammer, for securing the drip edge in place. |
| Position Drip Edge | Position the drip edge along the eaves, ensuring it hangs over the edge for proper installation. |
| Secure with Nails | Use roofing nails and a hammer or nail gun to secure the drip edge to the roof decking. |
Getting ready for drip edge installation is a simple yet crucial step. Start by cleaning the eaves thoroughly. Remove any debris or dirt that might play spoilsport. A clean surface ensures a snug fit for the drip edge, keeping your shed water-resistant.
Once the eaves are spotless, gather your tools; nails and a hammer will do the trick. Position the drip edge along the eaves, making sure it hangs over the edge.
Now, get ready to secure it in place with those trusty nails. With a clean surface and the right tools, your shed is well on its way to becoming a rainproof fortress.
Drip Edge Installation On Shed Roof
Gather Materials: Ensure you have all the necessary materials and tools before starting the installation.
Safety First: Wear appropriate safety gear, including gloves and safety glasses, especially when working with sharp materials.
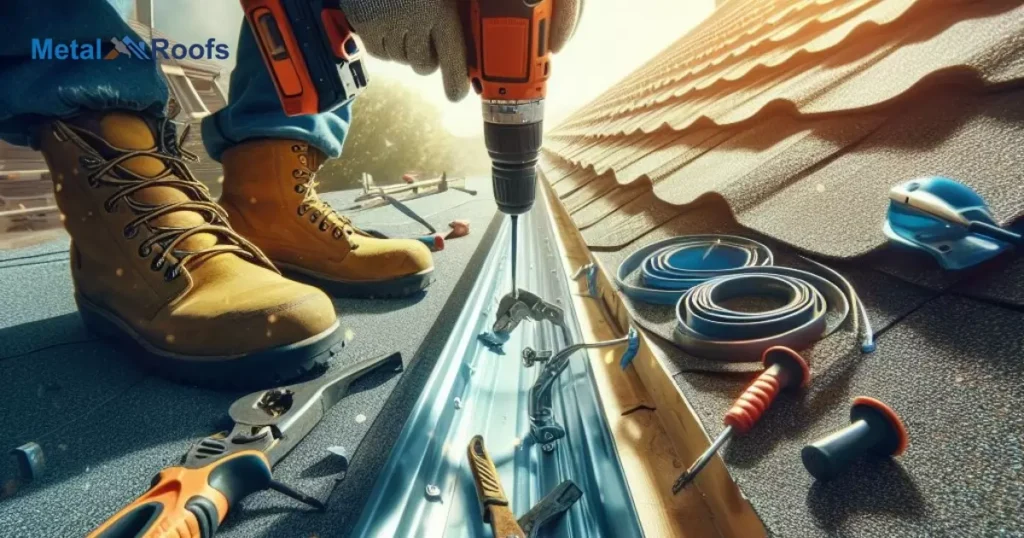
Measurements: Measure the length of each roof edge where you plan to install the drip edge. Cut the drip edge to match these measurements using tin snips.
Start at the Eaves: Begin installing the drip edge at the eaves (bottom edge) of the roof. Place the drip edge along the edge of the roof, with the lower flange facing outward and the angled upper flange against the roof.
Nailing: Secure the drip edge in place by nailing it to the roof decking. Space the nails approximately 12 to 18 inches apart. Use roofing nails, a hammer, or a roofing nail gun.
Overlapping Joints: If the length of your roof requires multiple sections of drip edge, overlap the joints by at least 1 to 2 inches. This ensures proper water drainage.
Corner Installation: When you reach a corner, cut the drip edge at a 45-degree angle to allow for a smooth transition around the corner. Nail it in place, as before.
Valley Installation: If your shed roof has valleys, make sure the drip edge is installed properly in those areas. The drip edge should follow the contour of the roof.
End at the Gable: Continue installing the drip edge along the entire perimeter of the roof, finishing at the gables (top edges). Trim the last piece as needed.
Optional Sealant: If desired, you can apply a bead of caulk or roofing cement along the top edge of the drip edge for added waterproofing. This step is optional but can provide additional protection.
Inspect and Test: Once the drip edge is installed, inspect the entire roof edge to ensure everything is secure. Test the water runoff to make sure it flows properly without any issues.
Proper installation of a drip edge is crucial for preventing water damage to your shed roof. If you’re uncertain about any step, it’s advisable to consult with a roofing professional or refer to specific instructions provided by the manufacturer of the drip edge you’re using.
Common Mistakes To Avoid Ensuring A Smooth Drip Edge Installation
When installing a drip edge, don’t forget the basics. Some make the mistake of nailing it too tight or too loose. Keep it snug without squeezing. Think of it as a firm handshake for your shed.
Another pitfall is forgetting the slide under move. People often miss this step, letting water sneak in. So, ensure that the drip edge slides under the roofing material like a silent guardian, ensuring a flawless defense against rain.
Using Drip Edge on Your Shed Roof
When it comes to using a drip edge on your shed roof, start by nailing it along the eaves. This ensures a sturdy attachment, like fitting armor onto a warrior. Let the drip edge hang with confidence, ready to deflect rainwater and keep your shed dry.
To complete the process, slide the drip edge under the roofing material. This undercover maneuver prevents water from finding its way in, securing a watertight defense.
Why Would You Need To Use Drip Edge On Your Shed Roof?
Rain, the sneaky intruder, can wreck havoc on your shed. Here’s where the drip edge steps in as the hero. Nailed along the roof edges, it prevents water from seeping in, ensuring your shed stays dry and damage-free.
Without a drip edge, rainwater might find a way to sneak beneath the roof. This could lead to leaks, rot, and other unpleasant surprises. So, a humble strip of metal becomes your shed’s first line of defense against the relentless raindrops.
Drip Edge On High Side Of Lean Too Roof
For a lean-to roof, place the drip edge on the high side. Nail it along the eaves securely. This metal defender ensures rain won’t breach your roof’s defenses. Slide it under the roofing material, reinforcing the barrier against water.
The lean-to’s high side placement prevents water from sneaking in. With a simple installation along the eaves, the drip edge takes its post as a stalwart guardian. Sliding beneath the roofing, it guarantees a dry haven even when rain tries to challenge the lean-to’s resilience.
Drip edge installed wrong
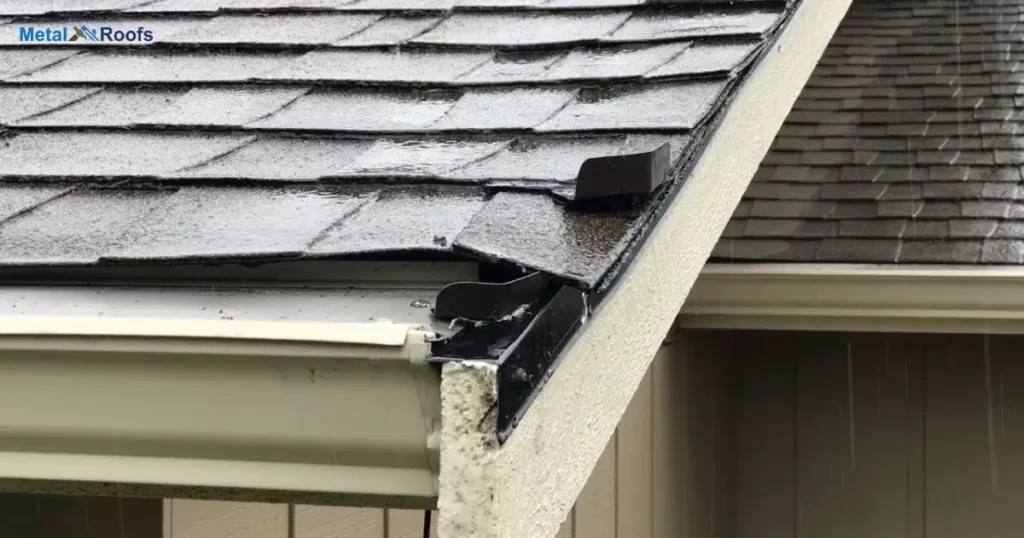
A drip edge installed wrong can cause serious water damage. It’s vital to ensure it’s properly aligned and secured. A misplaced drip edge may lead to leaks and structural issues. It’s crucial to address this promptly to prevent further damage.
Inspect your drip edge regularly for any signs of misalignment. Correct any issues immediately to avoid costly repairs. A properly installed drip edge is key to protecting your roof and home from water damage.
Frequently Asked Questions
Where does the drip edge go on a shed roof?
The drip edge goes along the eaves of a shed roof. Nail it there securely. Let it hang, acting as a rain defender. Slide it underneath the roofing material for a watertight shield.
Is a drip edge necessary on a shed?
Absolutely, a drip edge is crucial for a shed. It’s like a shield, keeping rain at bay. Nail it along the eaves, let it hang, and slide it under the roofing. This simple act ensures your shed stays dry, ready to face any downpour with confidence.
Should ice and water go under or over the drip edge?
Ice and water should go under the drip edge. This helps create a watertight seal, keeping your roof secure. Placing them over the drip edge can lead to potential leaks, so tuck them underneath for optimal protection.
Conclusion
The drip edge stands as your shed’s stalwart guardian. Nailed securely along the eaves, it forms an impenetrable barrier against rain. Placing it on the high side of lean-to roofs and sliding it beneath the roofing material ensures an extra layer of protection.
For ultimate defense, position ice and water under the drip edge. This tactical move solidifies your roof’s waterproof seal, fending off potential leaks. With these straightforward steps, your shed remains resilient, repelling rain with ease.