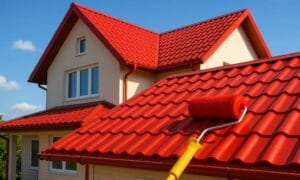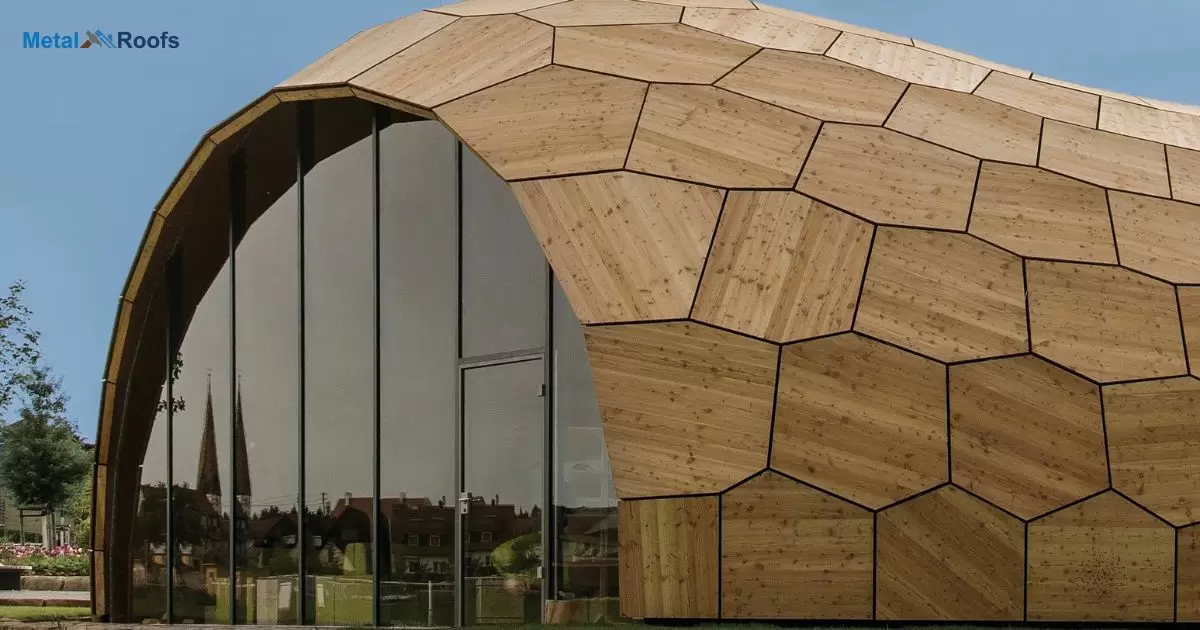
Curved metal roof shines bright. Overlapping metal panels curve gently. Durable material weathers all seasons. Stylish design enhances curb appeal. Lightweight yet sturdy construction. Eco-friendly option saves energy costs. Low-maintenance beauty lasts decades.
Curved metal roofs add flair. how to make a curved metal roof? Follow these straightforward steps. Measure roof area accurately. Order pre-curved metal roof panels. Prepare roof frame for installation. Secure panels with proper fasteners. Seal all joints and edges tightly.
Curved metal roofs, elegant and durable, come in various colors to complement different styles. While energy-efficient, they require proper installation and maintenance, including meeting the minimum slope for a metal roof, to enhance curb appeal.
Key Takeaways
- Determine curve radius and calculate material needs.
- Ensure roof structure supports the curve.
- Measure, mark, and cut metal panels accurately.
- Check alignment, secure fastening, and test for leaks.
- Wear safety equipment and use proper tools for high areas.
- Handle sharp edges carefully.
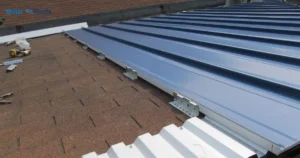
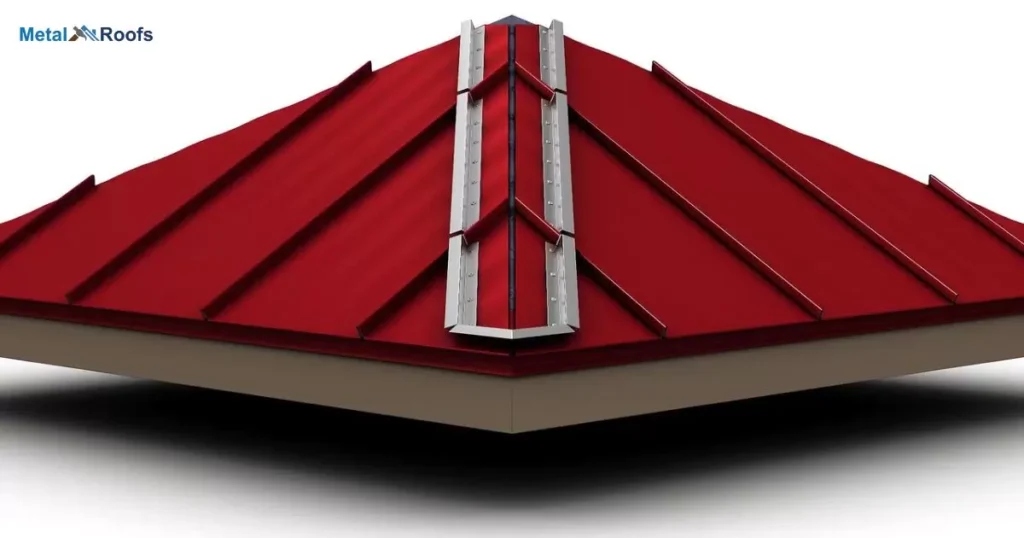
Metal Roof Standing Seam
A metal roof with standing seam panels is a popular choice for durability. It has long, vertical panels that interlock. This design keeps water out. The panels have raised seams. These seams make the roof strong and leak-proof.
To install, measure and cut the metal panels. Use a curving machine if the roof is curved. Align the panels and secure them with screws. Make sure each panel overlaps the previous one. Apply sealant to seams and joints. Finish with trim for a clean look.
Standing Seam Metal Roof Material
| Material | Description |
| Steel | Durable and commonly used for its strength |
| Aluminum | Lightweight and resistant to corrosion |
| Copper | Elegant appearance, develops a natural patina |
| Zinc | Long-lasting and environmentally friendly |
| Galvanized Steel | Affordable option with good corrosion resistance |
A standing seam metal roof uses metal panels. These panels have raised seams. The seams lock together. They provide a sleek look and durability. Common materials include steel, aluminum, and copper. These metals resist weather and wear.
Installers secure panels with hidden fasteners. This creates a smooth surface. It also helps prevent leaks. The roof lasts a long time with minimal maintenance. It reflects heat, lowering cooling costs. This type of roof suits both homes and businesses.
Standing Seam Tin Roof
A standing seam tin roof has raised seams running vertically. These seams interlock for a tight seal. The design helps keep water out. The sleek look adds a modern touch. It also lasts a long time. This type of roof needs little maintenance.
To install, measure and cut the tin panels. Use a crimping tool to bend the seams. Align the panels on the roof. Secure them with screws. Seal the seams to prevent leaks. Check your work to ensure it is watertight.
Standing Seam Roofs
Standing seam roofs are durable and attractive. They feature metal panels that run vertically. Raised seams interlock to form a watertight seal. This design helps prevent leaks and enhances durability. It works well for curved roofs too.
The installation starts with precise measurements and cutting. Curving the panels can be done by machine or by hand. Secure the panels with screws and overlap them. Seal the seams and add trim for a finished look. Inspect the roof to ensure no leaks.
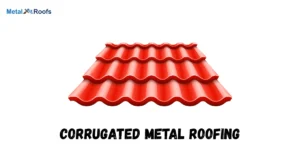
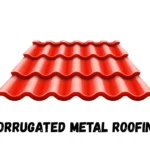
Curved Corrugated Metal Panels
Curved corrugated metal panels add a sleek look to buildings. They work well on roofs and walls. Measure and cut panels to fit the design. Use a curving machine or hand tools to shape them. Align the panels carefully on the structure. Secure them with screws and fasteners. Overlap edges to prevent leaks.
Ensure the roof frame supports the curved panels. Apply sealant to seams for extra protection. Install trim for a finished look. Check for proper alignment and secure fastening. Test for leaks after installation. Wear safety gear and handle sharp edges with care. This creates a durable and stylish roof or wall.
Curved Metal Roofing Sheets
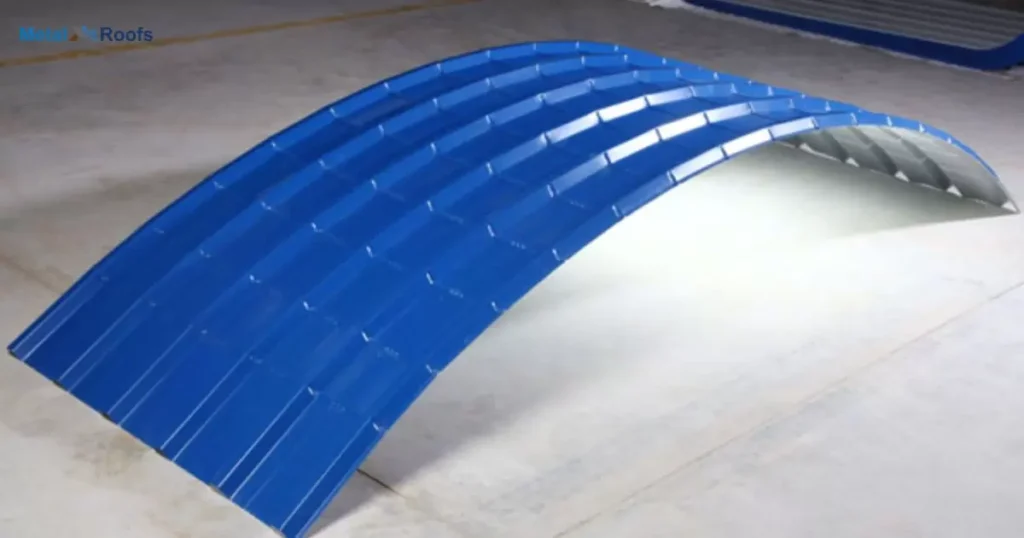
Curved metal roofing sheets add style and function to buildings. First, plan the curve and measure your materials. Cut the metal panels to size. Use a curving machine or hand tools to shape them. Align and secure each panel on the roof. Overlap panels to prevent leaks.
Install sealant on seams and add trim for a finished look. Check that all panels are tight and secure. Test for leaks by spraying water on the roof. Always wear safety gear and handle sharp edges with care. With careful steps, you get a strong and stylish curved roof.
Curved Standing Seam Metal Roof
Creating a curved standing seam metal roof involves careful planning. First, determine the radius of the curve and calculate materials needed. Make sure your roof structure can handle the curve. Measure and cut metal panels accurately.
Then, curve the panels using a machine or hand tools. Install the panels, ensuring they align and overlap for a watertight seal. Apply sealant to seams and add trim for a finished look. Inspect the installation to ensure alignment and secure fastening. Test for leaks by spraying water over the roof. Safety is crucial throughout the process.
Standing Seam Curving Machine
A standing seam curving machine is essential for shaping metal panels into curved forms for roofing. It’s like a giant roller that bends the metal smoothly. First, you set the desired curve radius on the machine. Then, you feed the metal panels through, and it curves them accurately.
It’s efficient and ensures consistent curves across all panels. With this machine, you can create beautiful, custom curved metal roofs with precision and ease. It’s a must-have tool for any roofing project requiring curved designs.
Tools Required For Making A Curved Metal Roof
For a curved metal roof, gather basic tools measuring tape, marking tools, metal cutters, a curving machine or hand-crimping tools, screws, a drill, safety gear, and a ladder or scaffolding. These tools ensure accurate measurements, precise cuts, secure panel installation, and safety throughout the process.
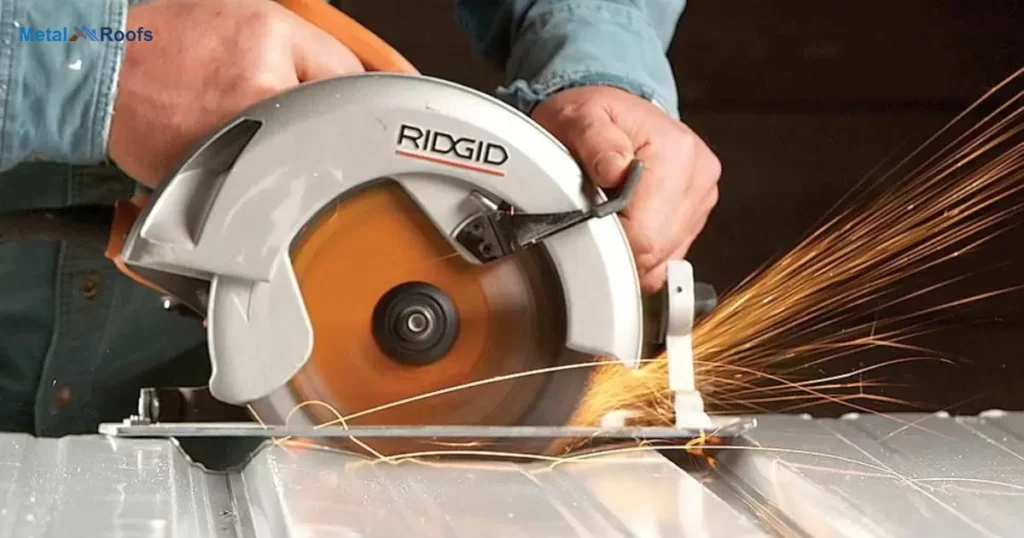
Metal Cutting Tools
As part of the tools needed for making a curved metal roof, metal cutting tools play a crucial role. Shears and nibblers are essential for cutting metal panels accurately to size. These tools ensure precise cuts, allowing for seamless installation of the curved roof.
Bending Equipment
To craft a curved metal roof, having bending equipment is crucial. It’s a curving machine or hand-crimping tools, they shape metal panels precisely to fit the desired curve radius. With bending equipment, you ensure the roof’s aesthetic appeal and structural integrity.
Fastening Tools And Materials
For fastening curved metal roof panels, gather screws and a drill. These tools secure panels tightly, ensuring a watertight seal. Choose screws designed for metal roofing to prevent corrosion. With the right fastening tools and materials, you can confidently install your curved metal roof securely and effectively.
Frequently Asked Questions
What Material Is Used For Curved Roofing?
Curved roofing commonly utilizes flexible and durable metal materials such as aluminum, steel, or copper for their ease of shaping and weather resistance.
Can You Bend Metal Roofing?
Yes, metal roofing can be bent using specialized tools like a curving machine or hand-crimping tools to shape the panels to fit the desired curve.
How Are Curved Roofs Constructed?
Curved roofs involve meticulous planning, precise panel measurement and cutting, followed by careful curving, secure installation, and thorough inspection for optimal construction.
Conclusion
Constructing a curved metal roof demands meticulous planning and precise execution at every step. From determining the curve radius to securely fastening panels, attention to detail ensures a watertight and aesthetically pleasing result.
Utilizing a curving machine or manual tools, each method requires careful handling for optimal curvature. Thorough inspection post-installation guarantees structural integrity and protection against potential leaks.