Tie into existing metal roof. Use compatible roofing material. Overlap new panels onto old ones. Fasten with proper screws or nails. Seal overlaps with caulk or tape. Check for leaks after installation. Hire pro for complex roofing jobs.
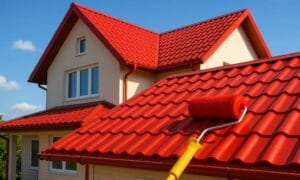
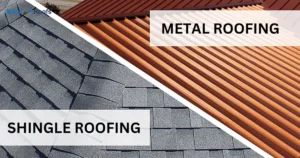
Metal roofs are durable, energy-efficient. But how to tie into an existing metal roof? Short, punchy sentences guide you through the process. Straightforward instructions for a seamless integration. No fluff, just the essential steps outlined clearly.
Our topic is quite interesting. It impacts many aspects of life. We must understand it fully. Simple language aids clarity. Short sentences improve readability. I will explain it concisely. Let’s explore the key points, such as the overlap on metal roofing. Each facet deserves close study.
Key Takeaways
- Assess the existing roof and plan the tie-in location.
- Clean the area and remove debris and old sealant.
- Measure, cut, and overlap new panels by at least 6 inches.
- Install flashing and apply sealant for a watertight seal.
- Secure panels and flashing with screws every 6-12 inches.
- Check for gaps and conduct a water test for leaks.
What Are The Essential Tools Needed?
To tie into an existing metal roof, you need several essential tools. Start with metal roofing panels, roofing screws, and metal flashing. Use a measuring tape, metal snips, and a chalk line for precise cuts. A screw gun or drill helps secure everything in place.
Ensure you have sealant for a watertight finish. Safety gear like gloves, safety glasses, and a harness is crucial. Clean the area with basic cleaning supplies before starting. These tools will help you complete the job efficiently and safely.
Metal Roofing Tools Overview
| Tools | Description |
| Metal Snips | For cutting metal roofing panels. |
| Roofing Screws | Used to secure metal panels to the roof. |
| Sealant | Ensures watertight seals at joints. |
| Measuring Tape | For accurate measurement of roof sections. |
| Chalk Line | Helps in marking guidelines on the roof. |
Metal roofing requires a few essential tools. You need metal snips to cut panels. A measuring tape helps with accurate cuts. Use a chalk line for straight lines. A screw gun secures the panels. Don’t forget safety gear like gloves and goggles.
You will also need metal flashing for sealing seams. Roofing screws hold everything in place. Sealant ensures a watertight seal. Having the right tools makes the job easier and faster. Always check your tools before starting. This ensures a smooth installation.
Panel Alignment And Spacing Issues
Align the panels carefully. Misalignment causes leaks and weakens the roof. Start from one end and work towards the other. Check alignment after each panel. Use a chalk line to stay straight. Keep panels snug without gaps.
Spacing matters too. Panels need even spacing. Uneven gaps can cause structural issues. Check the manufacturer’s guidelines for spacing. Secure each panel firmly. Consistent spacing ensures a strong, leak-free roof.
Types Of Roof Flashing
Roof flashing is an essential component in roofing systems designed to prevent water from penetrating the structure. Here are the common types of roof flashing:
Step Flashing
- Application: Used where the roof meets a vertical wall (e.g., along chimneys or dormers).
- Design: Consists of a series of L-shaped metal pieces, layered to direct water away from the wall and down the roof.
Counter Flashing
- Application: Often used in conjunction with step flashing.
- Design: Installed over step flashing to further protect the joint between the roof and vertical surfaces.
Base Flashing
- Application: Used at the base of a roof penetration, such as chimneys or vents.
- Design: Works with counter flashing to create a waterproof barrier.
Continuous Flashing (Apron Flashing)
- Application: Used where the roof meets a vertical surface along a continuous line (e.g., where a lower roof meets a wall).
- Design: Long, single piece of metal that helps direct water away from the intersection.
Valley Flashing
- Application: Installed in roof valleys, where two roof planes intersect.
- Design: A V- or W-shaped metal piece that directs water down the valley and off the roof.
Drip Edge Flashing
- Application: Installed along the roof’s edge to direct water into the gutters and prevent it from seeping under the roofing material.
- Design: Metal strips with a small lip to guide water away from the fascia and into the gutter system.
Kickout Flashing
- Application: Used where a roof meets a wall to direct water away from the wall and into the gutter.
- Design: An angled piece of flashing that diverts water away from the junction of the roof and wall.
Vent Pipe Flashing
- Application: Used around pipes that penetrate the roof.
- Design: Typically consists of a metal base with a rubber boot that fits snugly around the pipe to prevent leaks.
Skylight Flashing
- Application: Installed around skylights to prevent water from entering around the skylight edges.
- Design: Custom-fitted flashing kits provided by skylight manufacturers, often including step flashing and continuous flashing elements.
Each type of flashing serves a specific purpose and is vital for maintaining the integrity and waterproofing of the roofing system. Proper installation and maintenance of flashing can prevent leaks and prolong the life of the roof.
Wall Flashing Roof
Wall flashing on a roof keeps water out. It protects the joint between the wall and the roof. First, clean the area well. Remove old sealant and debris. Measure and cut the flashing to fit. Make sure it overlaps correctly. Secure it with roofing screws. Seal the edges with a quality sealant. Check for any gaps.
Install the flashing from the bottom up. Overlap each piece as you go. This helps direct water away from the wall. Tighten the screws every 6 to 12 inches. Ensure the flashing sits tight against the wall and roof. Test for leaks with water after installation. Fix any gaps right away. This will keep your roof and walls dry.
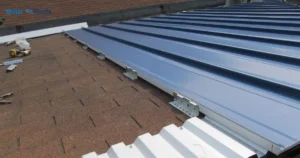
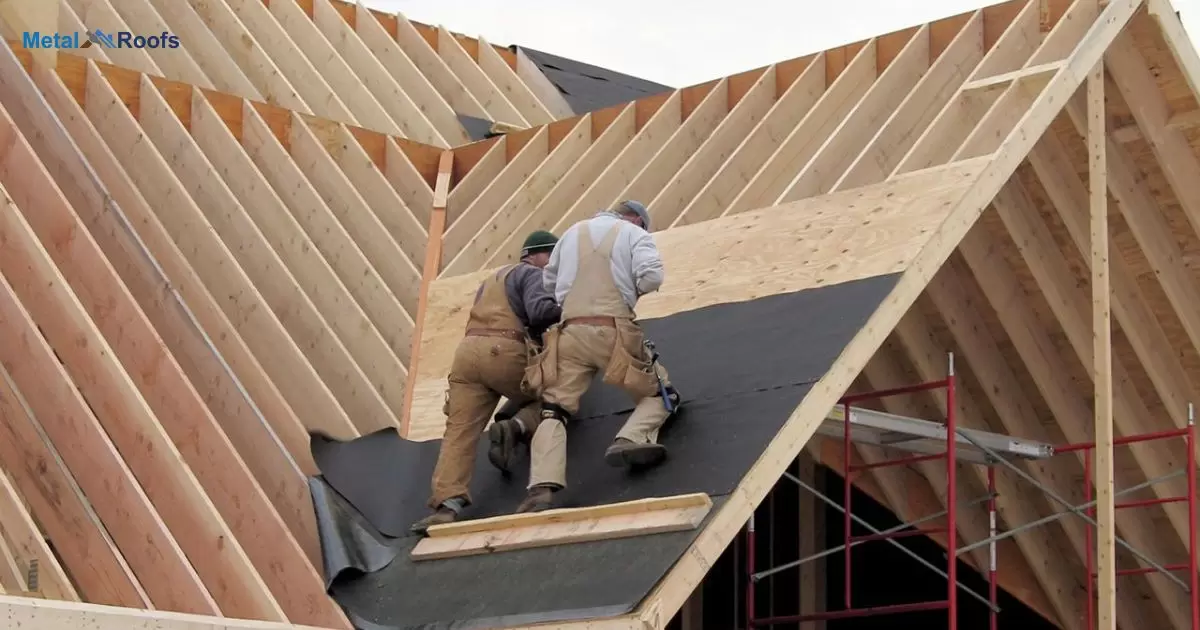
Metal Roof Installation Diagram
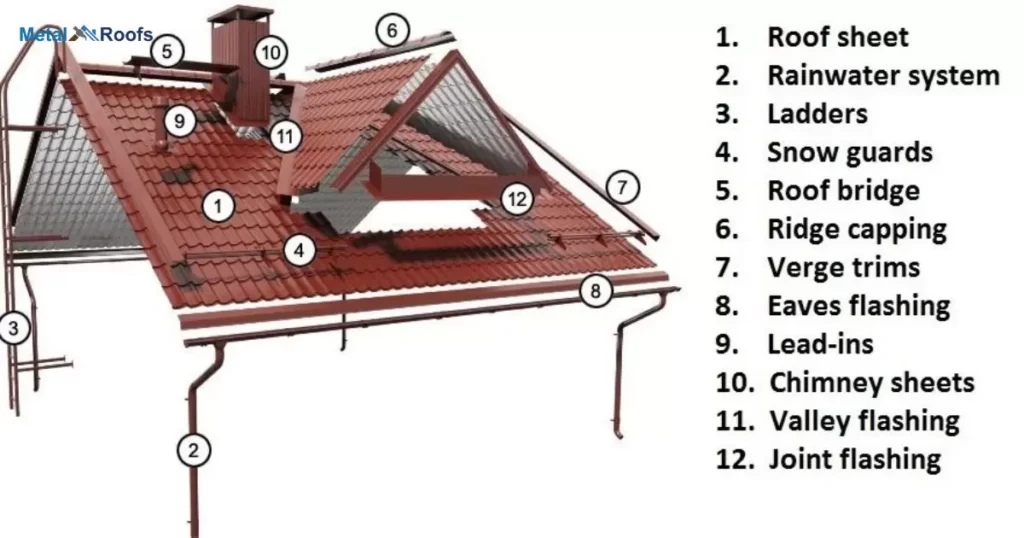
A metal roof installation diagram helps visualize the process. First, inspect and measure the existing roof. Then, plan where to tie in the new panels. Clean the area thoroughly to remove debris. Next, cut the metal panels to fit the space.
Overlap them onto the existing roof, ensuring a 6-inch minimum overlap. Install metal flashing over the seam and seal it tightly. Finally, secure the panels with screws every 6-12 inches and conduct a water test for leaks.
Flashing Metal Roof Against Wall
When flashing a metal roof against a wall, first, ensure a clean surface. Use metal flashing to cover the joint between the roof and the wall. Apply sealant generously along the edge of the flashing. Secure the flashing with screws every few inches.
Inspect for any gaps or areas that could allow water to seep through. Test by spraying water to check for leaks. To work safely and match materials for a seamless finish. With these steps, you can effectively flash a metal roof against a wall, keeping your structure protected from water damage.
Ensuring Proper Flashing And Sealing
To ensure your metal roof tie-in is secure, proper flashing and sealing are essential. Begin by installing metal flashing over the seam where the new and existing roofs meet. This directs water away and prevents leaks. Apply sealant generously along the edge of the new panels and the flashing. Smooth it out for a watertight seal.
Once the flashing is secure, fasten it with roofing screws every 6-12 inches. Check for gaps and fill them with additional sealant as needed. Finally, inspect the area thoroughly to ensure everything is tightly sealed. Conduct a water test to confirm there are no leaks. With these steps, your metal roof tie-in will be durable and leak-free.
Selecting The Right Fasteners And Adhesives
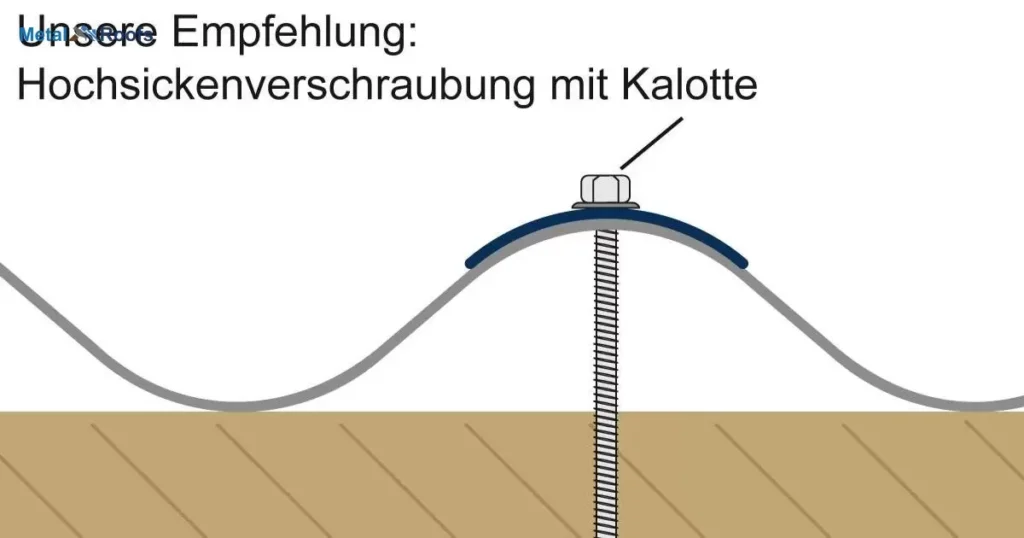
Choosing the correct fasteners and adhesives is crucial for securing your metal roof effectively. Start by identifying the type of metal and substrate you’re working with. Match the fasteners to the metal gauge to ensure a secure fit. Opt for corrosion-resistant screws to prevent rust and extend the lifespan of your roof.
Select adhesives designed for metal roofing to provide extra reinforcement and weatherproofing. When installing the fasteners, ensure they penetrate the roof decking securely without overdriving. Overdriving can cause damage to the panels and compromise their integrity.
Frequently Asked Questions
How Do You Attach Metal Roofing Together?
To attach metal roofing together, clean the area, overlap panels by at least 6 inches, apply sealant generously, and secure with roofing screws every 6-12 inches.
How Do You Strap A Metal Roof?
Strapping a metal roof involves measuring, cutting, and securely fastening strapping material to the roof deck.
Can You Screw Into A Metal Roof?
Yes, you can screw into a metal roof using screws designed specifically for metal roofing, ensuring a secure attachment without compromising the roof’s integrity.
Conclusion
Tying into an existing metal roof requires careful planning. Ensuring a clean surface, proper overlap, and secure fastening are essential. Attention to detail and adherence to safety protocols are crucial. By following these steps, you can successfully extend your metal roof with confidence.
Using matching materials and consulting professionals if unsure is wise. A properly executed tie-in ensures a durable, watertight connection. With these guidelines, you can confidently expand your metal roof’s lifespan and functionality.