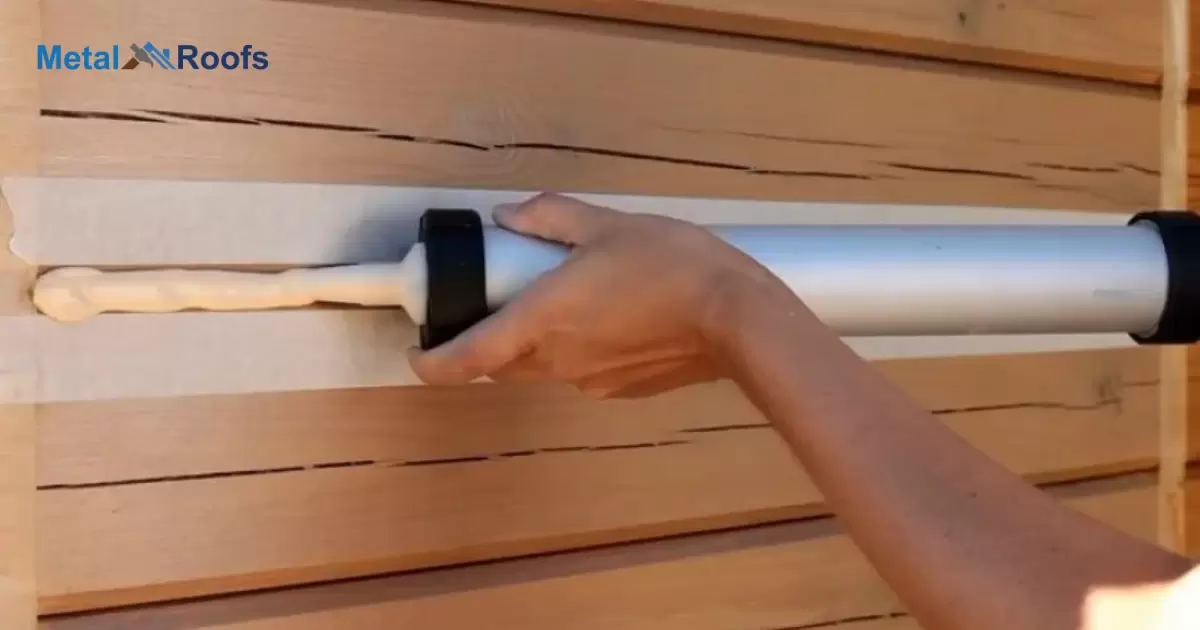
Caulk comes in tubes that can be applied manually by cutting the tip open, then squeezing out and smoothing the caulk with your finger over gaps and joints in walls, around windows or doors to seal surfaces and prevent air leaks or water damage once it dries.
Caulking gaps saves money. But caulk guns are clumsy. How to use caulk without gun? Cut open caulk tubes instead. Then squeeze out by hand. Smooth with a finger. Dries to a waterproof, airtight barrier. Useful trick for small jobs.
When installing rain gutters with a metal roof, a caulk gun isn’t always needed. You can use tubes of caulk manually by cutting the tip with a utility knife, squeezing out caulk, and applying it wherever there are gaps or cracks. Use your finger to spread it evenly for a secure seal.
Key Takeaways
- Apply caulk directly with your finger.
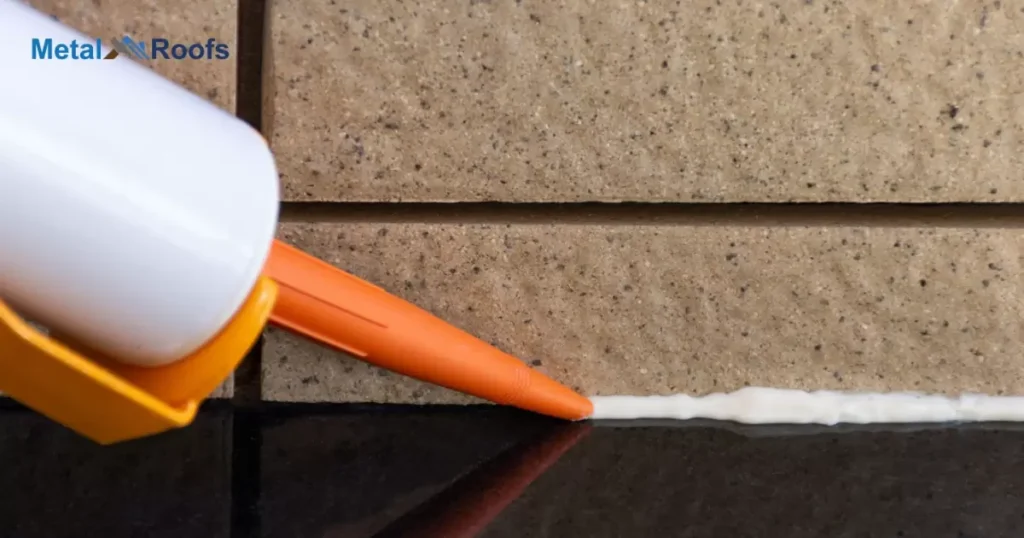
- Some caulk tubes are gun-free; check the packaging.
- Cut the nozzle at a 45-degree angle for controlled application.
- Handy for small tasks or touch-ups.
- Finger application allows easy cleanup with a damp cloth.
A Putty Knife To Apply Caulk Without A Gun?
| Advantages | Disadvantages |
|---|---|
| Requires manual pressure | Requires manual pressure |
| Affordable and readily available | Limited precision |
| Useful for small-scale projects | Slower application |
| No need for additional equipment | May require more skill |
| Easier to control the amount of caulk | Not suitable for large areas |
| Ideal for touch-up and detailed work | Can be more time-consuming |
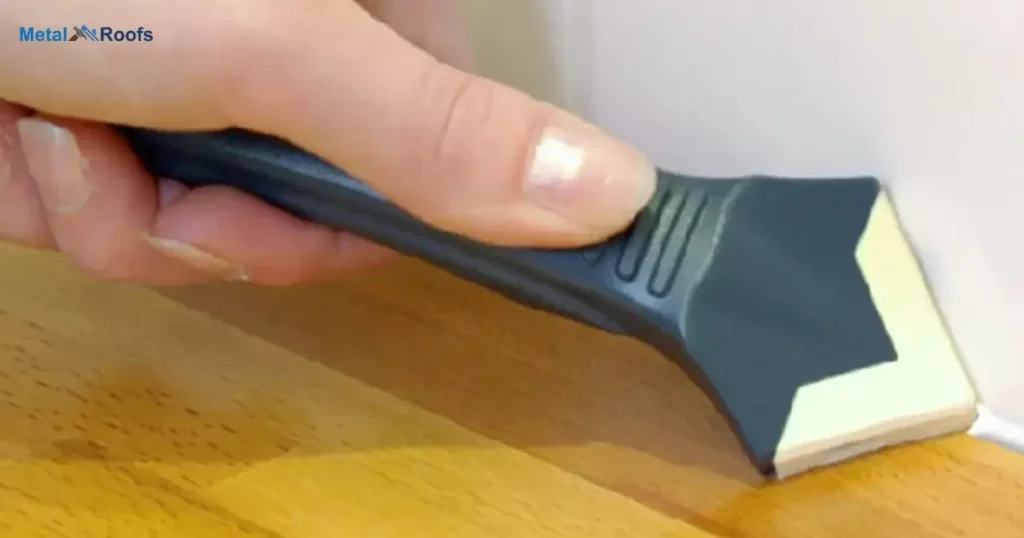
Ever wondered if you can use a putty knife instead of a caulk gun? Well, good news you can. A putty knife offers a simple alternative for applying caulk without the need for a specialized tool. Just scoop up the caulk with the knife and apply it directly to the desired surface. It’s a fuss-free method that works like a charm.
Using a putty knife for caulk application comes with its perks. Firstly, it’s cost-effective – no need to invest in an extra tool. Secondly, it provides good control over the amount of caulk you apply. So, if you don’t have a caulk gun on hand, grab a putty knife, and get your caulking job done effortlessly.
Apply Steady Pressure As You Squeeze Out The Caulk
When applying caulk, press steadily as you squeeze it out. Hold the caulk gun at a slight angle, around 45 degrees. Start at one end and move along in a continuous line. Maintain a consistent pressure to control the flow.
Keep the pace steady for a smooth application. Release the pressure before pulling the gun away to avoid excess caulk. Wipe away any excess with a damp cloth for a neat finish. Practice makes perfect; soon, you’ll caulk like a pro.
Wet Your Finger To Smooth Out The Caulk Seamlessly
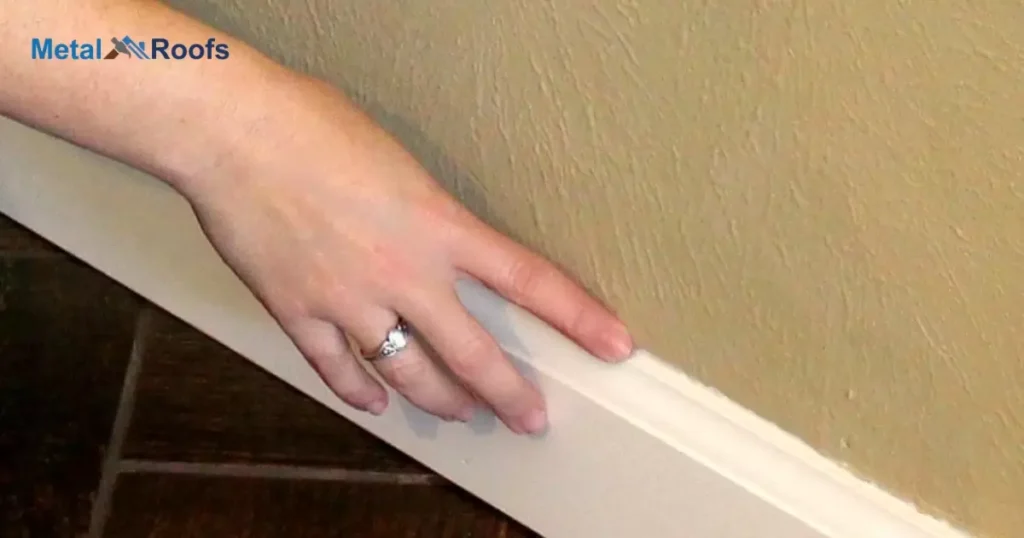
When caulking, wet your finger for a smoother finish. Once you’ve applied the caulk, dip your finger in water. Rub it along the caulk line. This helps to even it out. The wet finger prevents sticking, letting you glide effortlessly. It’s a simple trick but makes a big difference.
Water acts as a lubricant, making the caulk settle neatly. Smooth out any bumps or unevenness. Your finger does the job better when wet. So, keep a damp cloth handy and refine your caulk work with ease.
Allow Proper Curing Time Before Painting Over Caulked Areas
When caulking, patience is key. Allow the caulk to cure completely before picking up that paintbrush. Rushing invites future paint peeling headaches. Twenty-four hours is the magic number for most caulks. Read the label, follow the rules.
It’s a process, not a sprint. Skipping this step is like building a house on a shaky foundation. The caulk needs time to settle and grip. Respect the curing time, and your paint job will stand strong.
Clean Up Excess Caulk With Mineral Spirits And Rags
To clean up excess caulk, grab some mineral spirits and a few rags. Dampen a rag with the mineral spirits. Wipe away the excess caulk gently. The mineral spirits help dissolve and lift the caulk residue. Keep wiping until the surface is clean. Use a clean rag to ensure a thorough job.
Dispose of the used rags properly. Be cautious with mineral spirits as they are flammable. Store them safely away from heat sources. Proper ventilation is crucial when using mineral spirits. With a bit of patience and the right tools, cleaning up excess caulk becomes a simple task.
Use Masking Tape For Crisp Edges When Caulking Without A Gun
Grab some masking tape. Start by cleaning the area. Apply the tape on both sides of the joint, leaving a gap. Press it firmly for good adhesion. Next, cut the caulk tube nozzle at a 45-degree angle. Load the tube and puncture the seal. Squeeze the trigger, applying steady pressure.
Follow the joint, smoothly. Release the pressure before pulling away. Now, before the caulk dries, carefully peel off the tape. Pull it at a 45-degree angle for sharp lines. There you go – crisp edges without the gun fuss. So, tackle that caulking project like a pro!
Consider Caulk Strips For Quick Sealing Between Surfaces
Caulk strips offer a swift solution for sealing gaps between surfaces. These adhesive strips are easy to apply and don’t require any special tools. Just peel off the backing and press them into place. Perfect for quick fixes around windows, doors, or countertops.
These strips effectively keep out drafts, moisture, and pests. Plus, they provide a clean, finished look without the mess of traditional caulk. A practical choice for homeowners seeking a hassle-free way to improve insulation and keep spaces neat. Consider caulk strips for a speedy and efficient sealing solution.
Purchase Caulk In Smaller Tubes If Not Using A Caulk Gun
When buying caulk and skipping the caulk gun, opt for smaller tubes. Big tubes need the gun for smooth application. Smaller tubes fit your hand better. They’re easy to squeeze and control. No need for a bulky tool. Saves space and hassle.
Small tubes prevent waste. Once open, use it up. No leftovers going bad. Smaller is smarter without the gun. Easy to handle, no fuss, no waste. Keep it simple, keep it small.
Follow Any Specific Caulk Instructions
When caulking, heed specific instructions. First, clean surfaces thoroughly. Remove old caulk and debris using a scraper. Ensure the area is dry. Choose the right caulk type silicone for flexibility, acrylic for paintability. Cut the caulk tube nozzle at a 45-degree angle, matching the gap size.
Hold the gun at a 45-degree angle too. Steadily squeeze the trigger, moving in a straight line. Use a caulk smoother for a polished finish. Avoid gaps or overapplication. Wipe excess with a damp cloth immediately. Follow drying time recommendations. Check for paint compatibility if needed.
Caulk Without Caulk Gun
You can apply caulk without needing a caulk gun. First, pick up a squeezable tube or cartridge of caulk. Clean the surface where you plan to apply it. Next, puncture the seal inside the nozzle using a sharp object. Squeeze the tube gently to control the flow of caulk.
Smooth out the caulk with a damp cloth right after applying it. Wipe away any extra caulk to keep things neat. Finally, let the caulk dry completely before touching or disturbing it. This method works great for sealing and caulking tasks around your home.
How To Use Caulk Without A Gun?
Using caulk without a caulk gun involves choosing a type of caulk that comes in a tube or cartridge that can be squeezed by hand. Before applying the caulk, ensure the surface is clean and dry. Inside the nozzle of the caulk tube, there is usually a seal that needs to be punctured using a nail or a similar tool.
Once the seal is punctured, gently squeeze the tube to dispense the caulk. Start with a small amount and increase pressure as needed to control the flow. Immediately after applying the caulk, smooth it out using a wet finger or a caulk finishing tool.
Bathroom Sealant Without Gun
To seal gaps in your bathroom without using a caulking gun, opt for a caulk tube that you can squeeze by hand. Begin by thoroughly cleaning and drying the area where you intend to apply the sealant. Inside the nozzle of the caulk tube, there’s usually a seal that you need to puncture carefully with a nail or another sharp object.
Once the seal is punctured, gently squeeze the tube to dispense the caulk. Start with a light pressure to control the flow, gradually increasing if needed. Immediately after applying the caulk, smooth it out using a wet finger, a caulk finishing tool, or a damp cloth.
Frequently Asked Questions
What Can I Use If I Don’t Have A Caulking Gun?
Grab a sturdy plastic bag, load it with caulking, and snip a small corner. Squeeze like a pastry bag. Smooth with a putty knife for a makeshift solution that gets the job done.
Can Caulk Be Applied Without A Gun?
Yes, caulking without a gun is possible. Grab a caulk tube and cut the nozzle at a 45-degree angle. Insert a nail at the tube’s tip to break the seal, then squeeze and spread the caulk manually for a simple, gun-free application.
What Can I Use Instead Of Caulk?
If caulk isn’t your pick, try weatherstripping for small gaps or expanding foam for larger openings. Silicone or acrylic latex caulk alternatives work great on various surfaces, providing flexibility and durability.
Conclusion
Caulking without a gun is simple. Just cut open the tube’s tip. Squeeze out the caulk manually. Apply it where needed. Smooth with your finger. It seals cracks and gaps well. Useful for small caulking jobs. Saves buying a specialty tool.
Manual caulking has limits. Difficult for big jobs. Gun applies continuous bead. Easier to control. Faster for long cracks or gaps. But tubes work fine for windows or door frames. Small repairs only need a little caulk. Hand application gets the job done. Seals surfaces without a gun.