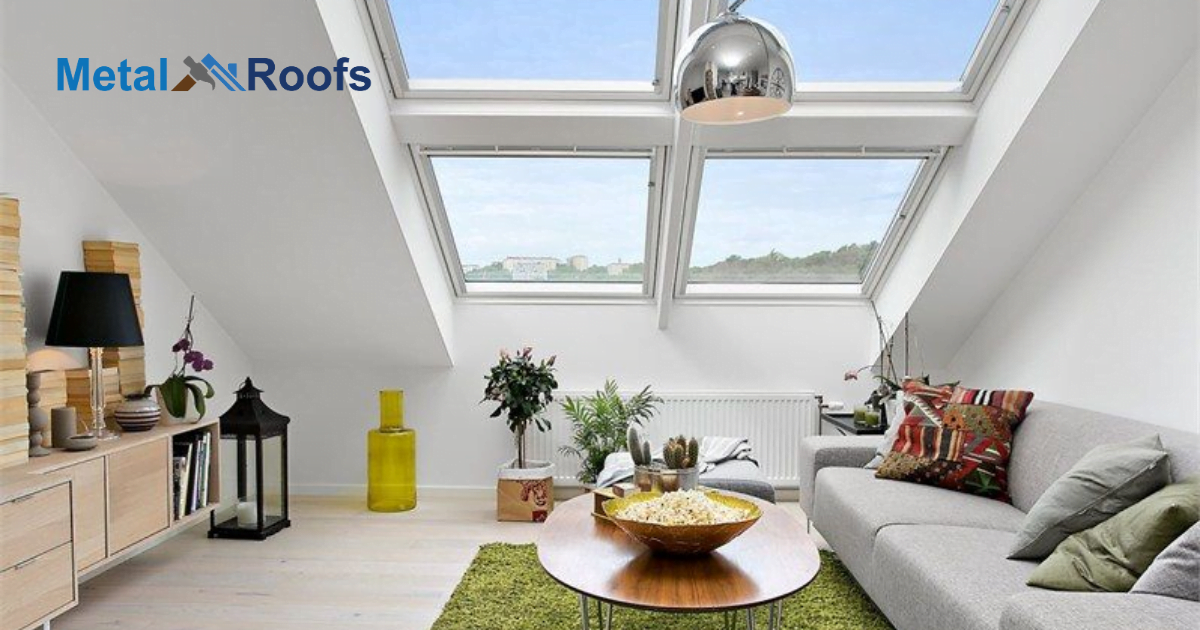
Skylights let sunlight into rooms. To add skylights between roof trusses, cut openings in the roof decking between the trusses. Secure a skylight frame into the openings. Then mount the glass skylight unit into the frame. Caulk around each skylight to prevent leaks.
Between roof trusses works well. It avoids rafters. Cut roof decking between trusses to make openings. Add skylight frames. Seal them to prevent leaks. Enjoy sunlight from above without changing home’s structure installing skylights between trusses.
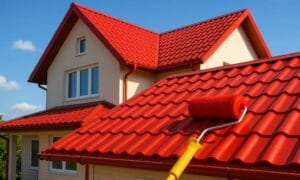
Skylights can brighten spaces and lift moods, but a poorly installed one can lead to leaks. To avoid issues, measure and cut carefully, secure frames tightly, and caulk thoroughly. Don’t rush the project, and pay attention to details like the gap between drip edge and gutter to prevent potential leaks.
Key Takeaway
- Check local building codes
- Carefully measure opening
- Install supportive framing
- Properly flash skylight
- Use shims when securing
- Seal edges and install flashing
Benefits Of Installing Skylights In Metal Roofing
Installing skylights in a metal roofing system can offer several benefits, enhancing both the aesthetic and functional aspects of a building. Here are some advantages of incorporating skylights into metal roofs.
Natural Lighting: Skylights allow natural sunlight to enter the interior of a building, reducing the need for artificial lighting during the day. This not only helps in saving energy but also creates a more comfortable and pleasant environment for occupants.
Energy Efficiency: By harnessing natural light, skylights contribute to energy efficiency by reducing reliance on electric lighting. This can lead to lower energy bills and a decreased carbon footprint.
Enhanced Ambiance: Skylights can significantly improve the ambiance of interior spaces. The soft, diffused natural light they provide can create a more inviting and positive atmosphere, positively impacting the mood and well-being of occupants.
Ventilation: Some skylights are designed to be operable, allowing for natural ventilation. This can be particularly beneficial in areas where fresh air circulation is important. Venting skylights can help improve indoor air quality and reduce the need for mechanical ventilation systems.
Aesthetic Appeal: Skylights add a unique architectural element to a building, enhancing its overall appearance. They can be customized in various shapes and sizes, contributing to the aesthetic design of the structure.
Daylight Harvesting: Skylights can be strategically positioned to maximize daylight harvesting, optimizing the distribution of natural light throughout a space. This can help reduce the reliance on electric lighting and create a more sustainable and eco friendly building.
Increased Property Value: The addition of skylights can enhance the overall value of a property. Potential buyers or tenants may be attracted to the benefits of natural light, energy efficiency, and the aesthetic appeal that skylights bring to a building.
Health Benefits: Exposure to natural light has been linked to various health benefits, including improved sleep patterns, mood, and productivity. Skylights can contribute to providing occupants with access to these positive effects.
Determine The Optimal Placement Of Skylights In Metal Roofing
When deciding where to install skylights on a metal roof, choose spots that maximize natural light. Pick locations free from obstructions like chimneys or vents. Measure and mark the desired opening accurately between the trusses. Cut the roof with a saw, ensuring precision and care not to harm truss members.
Install skylights in a metal roof by following manufacturer instructions, applying sealant generously, testing for water tightness, and completing interior finishing for a waterproof installation.
Integrating Skylights Into Metal Roofing Trusses
Cut an opening in the metal roof between trusses using a saw. Measure twice, cut once. Ensure precise dimensions for a snug fit. Install flashing to keep water out, following skylight manufacturer’s instructions. Secure skylight frame with screws or nails to trusses.
Place skylight in frame, seal edges with waterproof sealant. Test for leaks by spraying water over the roof. Finish interior with insulation, drywall, and trim for a polished look.
Sealing And Waterproofing When Installing Skylights In Metal Roofing
When installing skylights in a metal roof, sealing and waterproofing are crucial steps. Begin by marking and cutting the roof opening between trusses with care. Make sure to use a reliable flashing kit around the opening for effective waterproofing. Secure the skylight frame directly to the trusses using screws, ensuring a snug fit.
Install corrugated metal roof skylights following manufacturer’s instructions, seal edges to prevent leaks, test water tightness, and finish interior for a waterproof installation.
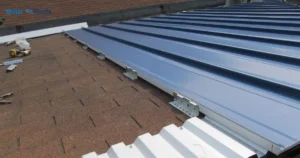
Do the Screws Go in the Ribs or in the Flats?
When installing skylights, it’s crucial to know where the screws go: in the ribs or in the flats. Choose the flats if possible, as it helps maintain a tight seal. Placing screws in the ribs can compromise the skylight’s integrity, leading to potential leaks.
Always follow the skylight kit instructions to make the right call it’s a simple step that ensures a watertight installation. A small decision like screw placement can make a big difference in keeping your space bright and dry.
Pro Rib Steel Roofing Screw Placement
When installing Pro Rib Steel Roofing, precise screw placement matters. Begin by marking where the screws will go. Make sure they hit the structural support, usually the trusses. Too few screws mean a weak roof too many may cause warping.
Space screws evenly along ribs every foot or two. Be careful at edges and peaks. Use weather-resistant screws to prevent rust. Avoid over tightening to prevent damage. Consider the cost of replacing a skylight when following these steps for a secure Pro Rib Steel Roofing installation.
Should You Replace Screws In Metal Roof
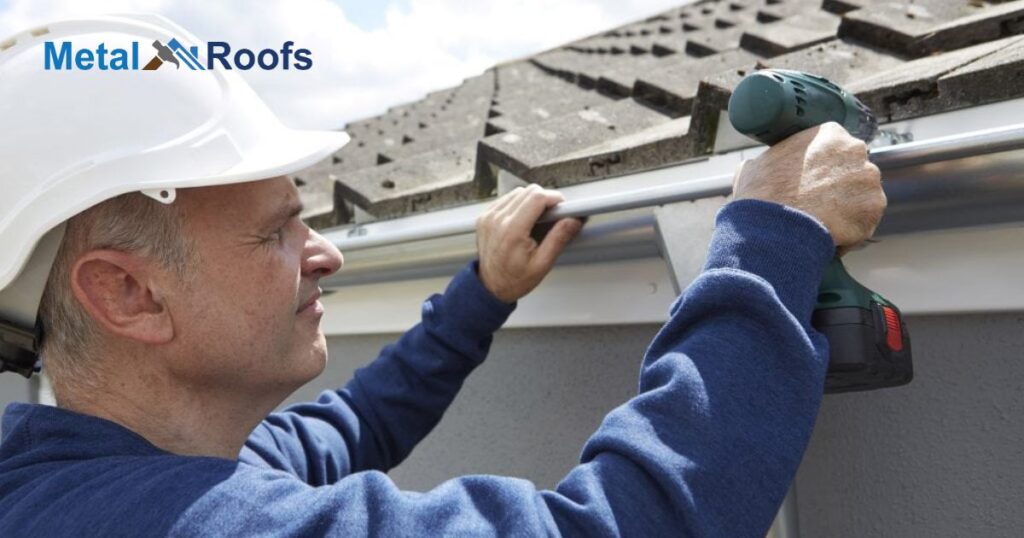
If your metal roof screws are rusted or loose, replacing them is crucial. Rusted screws can compromise the roof’s integrity, leading to leaks. Loose screws allow for movement, causing potential damage during storms. Check for any signs of rust or corrosion regularly.
Replacing screws is a straightforward process. Use a screwdriver or drill to remove the old screws and replace them with new ones. Ensure the new screws are of the same type and size as the originals. This simple maintenance step can extend the life of your metal roof and prevent costly repairs down the line.
Screws For Metal Roof To Wood
To secure a metal roof to wood, use self tapping screws. These screws have a sharp point, making drilling into the metal and wood easy. Start by marking the spots where the screws will go, ensuring they align with the wood structure underneath.
Get screws with weather resistant coatings to prevent rust. Use a drill with the appropriate bit size to create pilot holes in both the metal roofing and the wood. Once the holes are ready, drive the self-tapping screws through the metal and into the wood, ensuring a snug fit. This method ensures a secure attachment, keeping your metal roof firmly in place.
Framing For Skylight
Framing for a skylight is important. First, measure and mark the spot between the trusses. Cut the opening with a saw. Use 2x4s to build a frame inside the hole. This frame will support the skylight. Make sure it fits snugly.
Next, check the frame for stability. Secure it with screws or nails. Follow the skylight kit instructions for installation. Place the skylight in the frame. Seal the edges with roofing cement. This keeps water out and ensures a tight fit.
How To Install A Skylight In An Existing Roof?
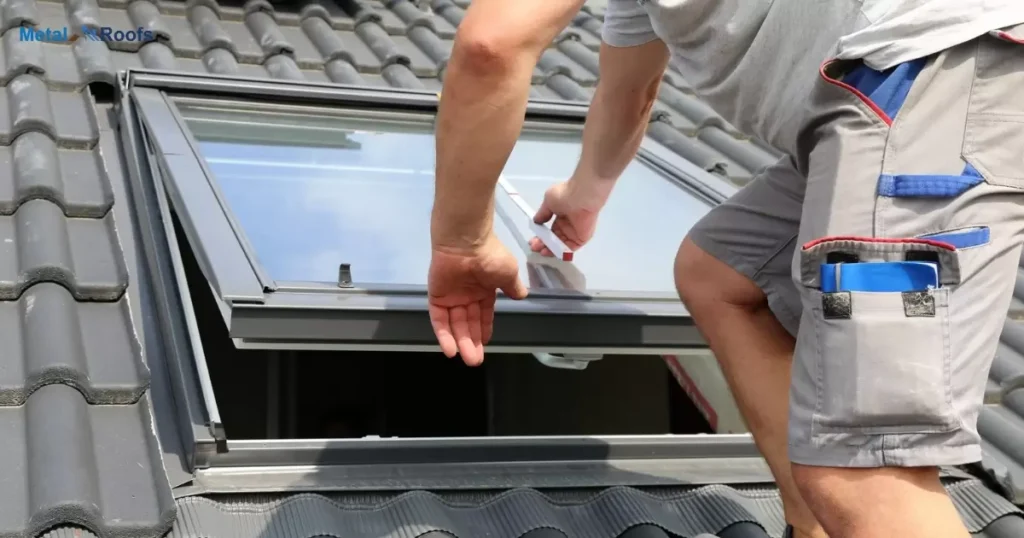
First, pick the right spot for your skylight. Check for wires or pipes. Measure the skylight and mark the spot on the ceiling. Use a saw to cut along the lines. Make sure you don’t cut any trusses. Next, build a frame inside the opening with 2x4s.
Place the skylight in the opening and secure it with screws. Follow the instructions in the kit. Install the flashing around the skylight to prevent leaks. Seal the edges with roofing cement. Check for any leaks. Make sure everything is sealed tight.
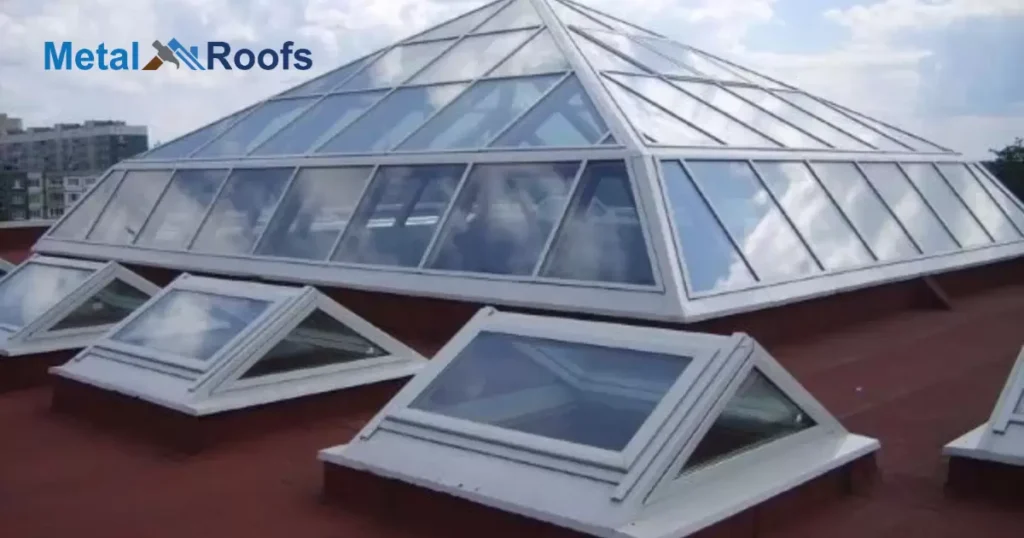
Skylights With Exposed Trusses
Skylights with exposed trusses look beautiful. They let in natural light and show off the structure of your home. The beams and skylights together create an open, airy feel. This design works well in living rooms, kitchens, and even bedrooms. It makes any space feel bigger and brighter.
Installing these skylights is straightforward. Start by measuring and marking the spot. Cut the opening carefully. Frame it with 2x4s for support. Place the skylight and secure it. Add flashing and seal the edges to prevent leaks. Check for any gaps to ensure it is watertight.
Frequently Asked Questions
Can You Put Skylights In Truss Roof?
Yep, you can add skylights in a truss roof. Pick a good spot, cut an opening, secure the frame, seal it tight, test for leaks, and finish the inside. Follow safety rules and local codes, or get a pro for help.
Do Skylights Fit Between Rafters?
Yes, skylights fit between rafters. Measure, cut, install, seal, and finish. Follow safety rules and get a pro if unsure.
Can I Cut A Rafter To Install A Skylight?
Yes, you can cut a rafter for a skylight. Measure, cut, secure the frame, seal joints, check for leaks, finish the interior. Enjoy the added light.
Conclusion
Skylights are worth the effort. Proper planning is required. Measure carefully between trusses. Cut openings accurately. Secure frames tightly. Waterproof connections thoroughly. Install glass neatly. Caulk generously. Enjoy sunlight. Skylights transform rooms. When done properly, skylights are wonderful.
They flood rooms with natural light. They lift moods and brighten spaces. But skylights must be installed correctly. Take time to measure right. Be meticulous with cuts and seals. Precision now prevents leaks later. The effort pays off for years when you can enjoy carefree solar lighting. Skylights add beauty and sunlight.