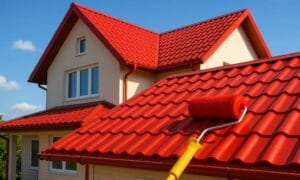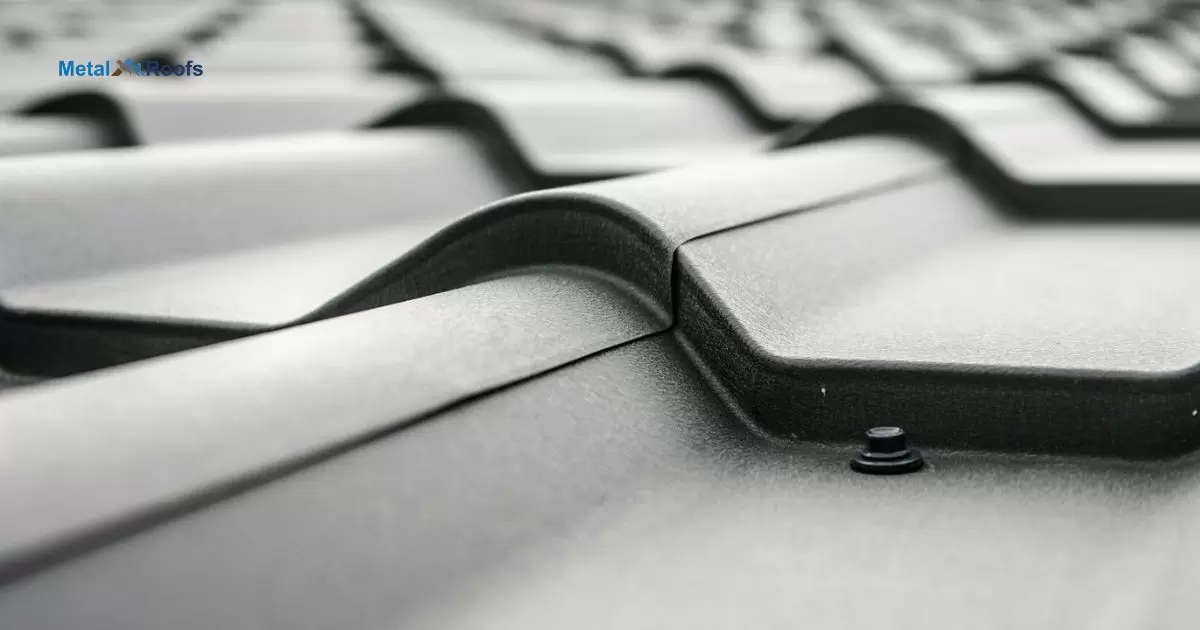
Metal roof screws are fasteners used to secure metal roofing panels. They can be installed on ribbed or flat surfaces. Ribbed roofs have raised sections that help with water drainage, while flat roofs are smooth. Proper screw placement ensures a watertight seal and prevents leaks.
Wondering about the best way to secure your metal roofing panels? Look no further than metal roof screws on rib or flat surfaces! These fasteners provide a sturdy hold, ensuring your roof stays secure and leak-free. Say goodbye to worries about water damage with this reliable solution.
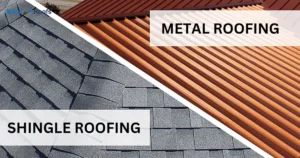
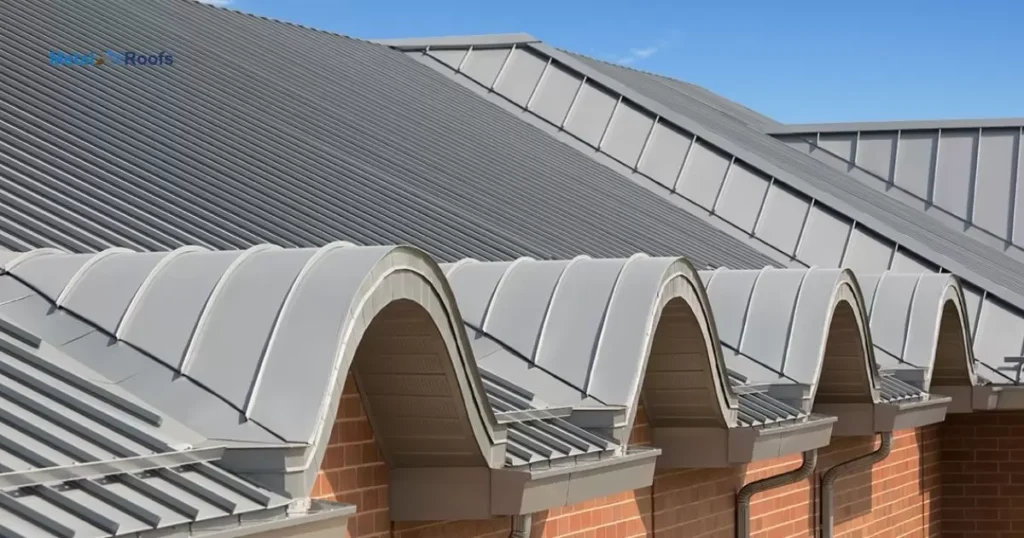
When it comes to choosing between ribbed and flat surfaces for metal roof screws, consider factors like drainage efficiency and aesthetics. Ribbed roofs offer better water runoff, while flat roofs provide a sleeker appearance.
Key Takeaways
- Metal roof screws on ribbed surfaces aid in efficient water drainage and reduce the risk of leaks.
- Screw placement on flat surfaces offers a smooth appearance and easier maintenance.
- Following structural engineer recommendations ensures long-term stability and performance.
- Proper tightening of screws is crucial to avoid damage or leaks.
- Cleaning up after installation maintains a tidy and professional finish.
Screw Placement on Ribs vs. Flats
| Aspect | Screw Placement on Ribs | Screw Placement on Flats |
| Water Drainage Efficiency | Ideal due to natural channels for runoff. | Not applicable; flat surfaces don’t channel water as ribs do. |
| Risk of Leaks | Reduced due to effective drainage. | Risk exists but mitigated with tight seals. |
| Structural Integrity | Enhanced by screwing into structural ribs. | Relies more on seal quality than structure. |
| Appearance | Screws may be more visible on ribbed surfaces. | Screws can be more discreet on flat surfaces. |
| Maintenance | Requires careful placement to avoid misalignment. | Easier to inspect and adjust if needed. |
- Metal roof screws on ribs: Ideal for efficient water drainage due to natural channels.
- Prevents water accumulation and reduces the risk of leaks.
- Screw placement crucial for optimal performance on ribbed surfaces.
- Metal roof screws on flat surfaces: Offer a smoother appearance.
- Careful positioning ensures a tight seal and structural integrity.
- Consider aesthetics and functionality when choosing placement.
Advantages of Screwing on Ribs
Efficient Water Drainage: Ribs create natural channels for water runoff, reducing the risk of leaks and water accumulation on the roof.
Enhanced Durability: Proper screw placement on ribs ensures a secure hold, enhancing the roof’s overall structural integrity.
Weather Resistance: The effective drainage system provided by ribs helps the roof withstand various weather conditions, such as heavy rainfall or snow.
Screwing on ribs offers advantages such as efficient water drainage, enhanced durability, and improved weather resistance, making it a practical choice for metal roofing installations.
Advantages of Screwing on Flats
Smooth Appearance: Screwing on flat surfaces provides a sleek and seamless look to the metal roof, enhancing its overall aesthetics.
Tight Seal: Careful screw placement on flat areas ensures a tight seal, reducing the risk of water leaks and improving weatherproofing.
Easy Maintenance: Flat surfaces are easier to inspect and maintain, making it simpler to identify and address any potential issues with the roof.
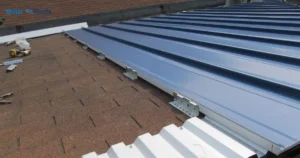
When installing screws on a metal roof, spacing them properly is crucial for durability and performance. Typically, screws should be placed 12 to 24 inches apart along the seams of the metal panels. However, in areas with strong winds or heavy snow, closer spacing may be needed for added strength.
Structural Engineer’s Recommendation
A structural engineer’s recommendation emphasizes screwing on ribs for optimal load distribution across metal roofing panels. This approach enhances stability and structural integrity, especially in areas prone to high winds or heavy snow loads.
By following the engineer’s advice, you can ensure long-term performance and durability of your roof, minimizing the risk of structural issues over time.
Self-Drilling Tips for Metal Roofing Screws
Here are some self-drilling tips for metal roofing screws:
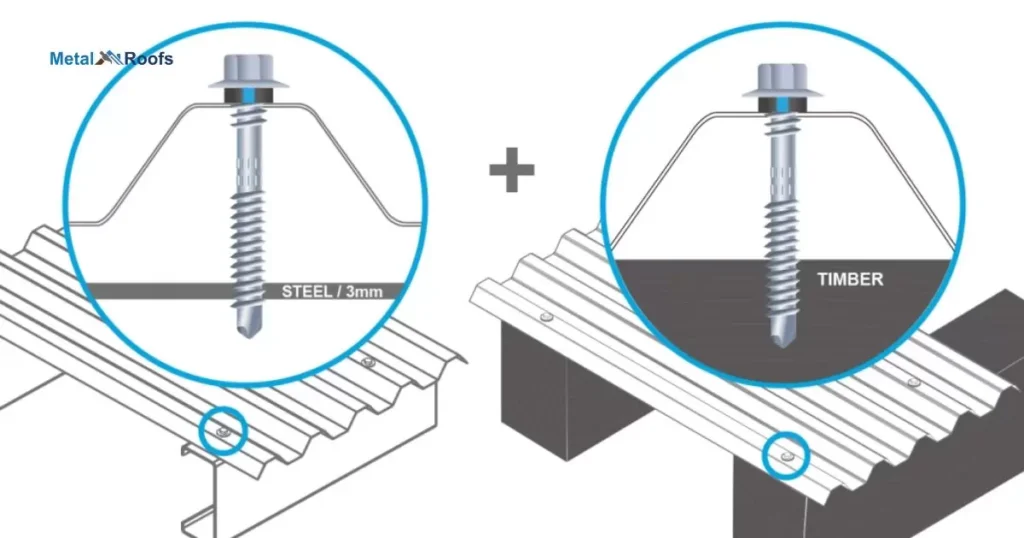
Select the Right Screw: Choose self-drilling screws specifically designed for metal roofing applications. These screws typically have a sharp point and flute to drill through metal surfaces efficiently.
Use Correct Size and Type: Ensure that the screws are the correct size and type for the thickness and type of metal you are working with. Using the wrong size or type can lead to inadequate drilling or damage to the material.
Pre-Drill Pilot Holes (Optional): While self-drilling screws eliminate the need for pre-drilling pilot holes in most cases, for thicker or harder metals, you may still benefit from drilling small pilot holes to guide the screws accurately.
Check Drill Speed: Set your drill or driver to the recommended speed for self-drilling screws. Operating at the correct speed prevents overheating and ensures optimal drilling performance.
By following these self-drilling tips, you can effectively use metal roofing screws for secure and reliable installations.
Pre Drilling Holes in Metal Roofing
Pre-drilling holes in metal roofing is essential for precise screw placement. It helps prevent damage to the roofing material and ensures a secure fit. Use the appropriate drill bit size recommended for the screws to achieve the best results.
Pre-drilling holes facilitates easier and faster installation of metal roof screws. It reduces the risk of misalignment and makes the process smoother overall. Taking this step can significantly improve the efficiency and quality of your metal roofing project.
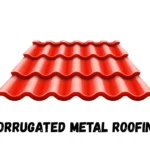
Screw Placement for Corrugated Metal Panels
Screw placement for corrugated metal panels is crucial. It ensures a secure hold and prevents leaks. Proper placement also enhances the roof’s overall durability and weather resistance.
Consider the panel’s design and structural support. Placing screws at the panel’s crest and valleys offers optimal stability. Follow manufacturer guidelines for the best results.
Tightening Metal Roofing Screws
When tightening metal roofing screws, use a screw gun or drill for efficiency. Ensure screws are snug but not over-tightened to avoid damaging the panels. Follow manufacturer guidelines for the correct torque and spacing of screws.
Regularly inspect and retighten screws as needed to maintain a secure roofing system. Consider using rubber washers under the screw heads for added weatherproofing. Proper tightening prolongs the lifespan of your metal roof and prevents leaks or structural issues.
Overtightening vs. Under-tightening
Overtightening:
Definition: It’s applying excessive force during fastening, which can damage the fastener, materials, and lead to structural weaknesses.
Effects:
- Damaged fasteners (e.g., stripped threads).
- Material deformation or crushing.
- Increased stress concentration and potential failures.
- Difficulty in future removal.
Under-tightening:
Definition: It’s not tightening sufficiently, resulting in loose joints, reduced stability, and potential leaks or part failures.
Effects:
- Weakened joint integrity and risk of part separation.
- Increased chances of fastener failure.
- Potential for leaks or gaps in sealed joints.
- Loss of functionality or performance.
- Guidelines for Proper Tightening:
Follow manufacturer or engineering specifications.
- Use calibrated tools like torque wrenches.
- Consider material strength, conditions, and loads.
- Regularly inspect and maintain tightness.
- Seek professional advice when unsure.
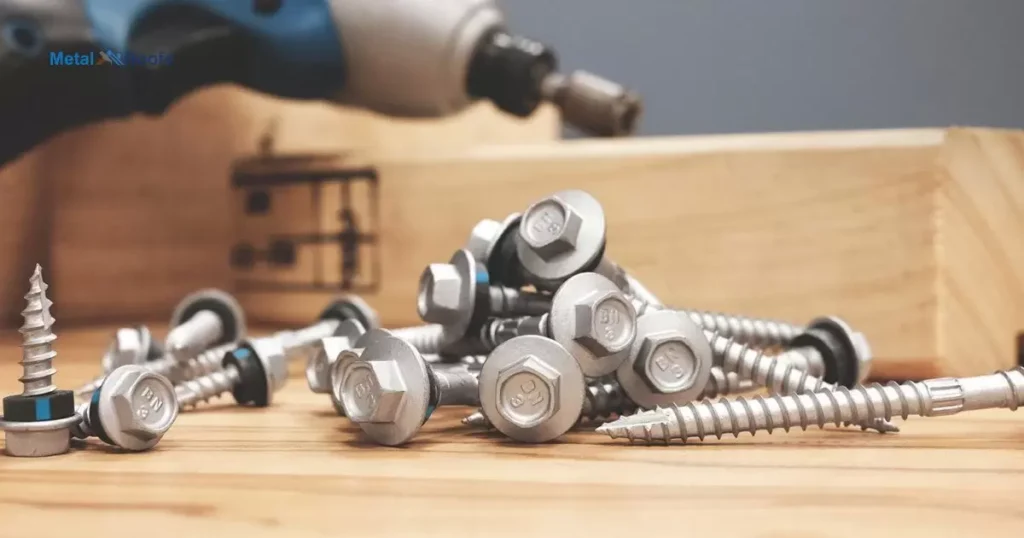
Tools for Installing Metal Roofing Screws
Installing metal roofing screws requires specific tools to ensure accurate placement, proper fastening, and efficient installation. Here are the essential tools for installing metal roofing screws:
Power Drill/Driver: A corded or cordless power drill/driver is indispensable for driving self-drilling metal roofing screws. Choose a drill/driver with variable speed settings for control and adjustability based on the material and screw size.
Screw Gun: A dedicated screw gun designed for metal roofing screws can streamline the installation process. Screw guns often have adjustable depth settings and quick-change features for efficient screw driving.
Hex Head Adapter or Socket Driver: For hex-head metal roofing screws, use a hex head adapter or socket driver that fits the screw heads precisely. This tool allows you to apply consistent torque and prevent stripping or damaging the screw heads.
Roofing Nailer: In some cases, a roofing nailer may be used alongside screws for additional fastening strength, especially in high-wind or heavy-load areas. Ensure the nailer is compatible with metal roofing applications and use appropriate nails.
Tape Measure and Marking Tools: Accurate measurements and markings are crucial for aligning roofing panels and determining screw placement. Use a quality tape measure, chalk line, or other marking tools for precision.
By using the right tools and equipment, you can effectively install metal roofing screws with accuracy, efficiency, and safety, resulting in a durable and secure roofing system.
Cleaning Up After Installing Metal Roofing Screws

Cleaning up after installing metal roofing screws is crucial for a tidy and professional finish. Here are some tips:
Debris Removal: Clear any debris such as metal shavings or dust from the installation area. Use a broom or vacuum for thorough cleaning.
Metal Swarf: Dispose of metal swarf (shavings) responsibly to prevent injuries and keep the area clean.
Final Inspection: Inspect the roof for any leftover materials, ensuring a clean and polished appearance.
By following these steps, you can ensure a clean and safe environment after installing metal roofing screws.
Frequently Asked Questions
Do you put metal on a flat roof?
Yes, metal roofing can be installed on a flat roof using appropriate installation methods and materials.
What is a rib on a metal roof?
A rib on a metal roof refers to the raised portion between two flat sections of the roof panel, providing structural support and aiding in water drainage.
Which side of metal roofing goes on top?
The raised side of metal roofing panels goes on top to facilitate water drainage and prevent leaks.
Conclusion
The choice between metal roof screws on rib or flat surfaces depends on your specific needs. Consider the roof’s design and water drainage requirements. Ribbed roofs excel at channeling water away, while flat roofs offer a more streamlined appearance.
Ultimately, the goal is a secure and leak-free roof. Properly placed screws ensure this outcome, regardless of the surface type. With these considerations in mind, you can make an informed decision and enjoy a durable, weather-resistant roofing solution.