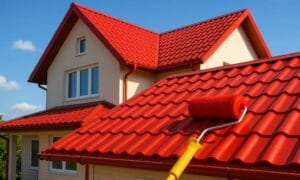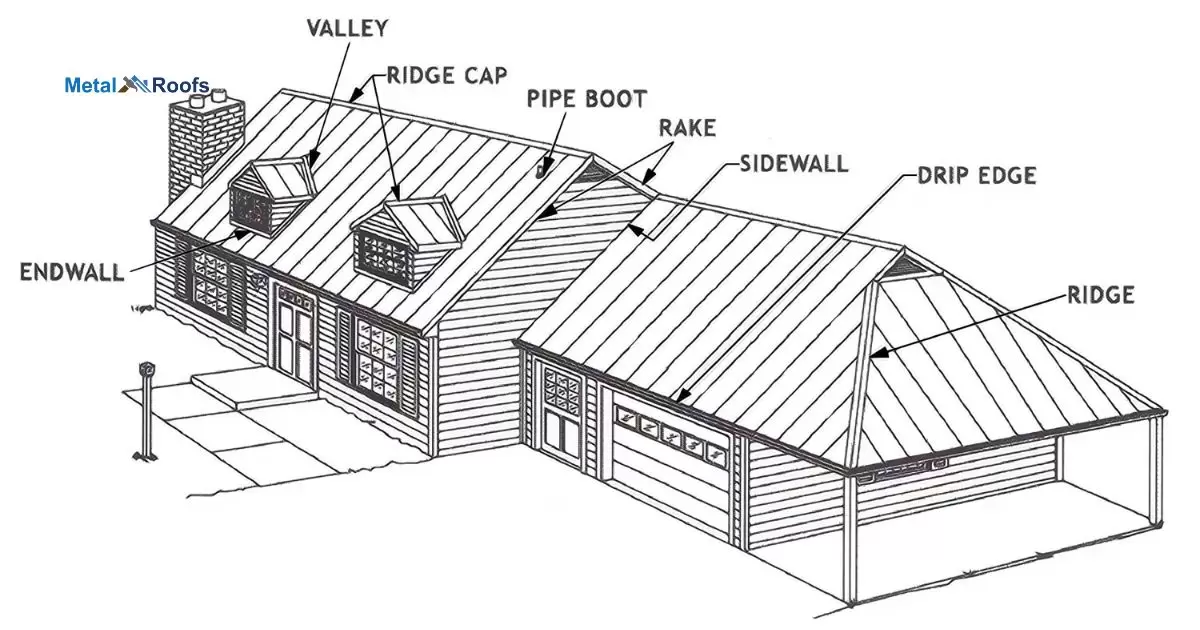
Outside corner drip edge is a metal or plastic strip installed on the outer edge of a roof to direct water away from the building’s walls. It helps prevent water damage and keeps the structure safe from leaks by guiding rainwater away from vulnerable areas.
The outside corner drip edge a crucial shield against water damage. With its metal or plastic strip, it deflects rain away from your walls, ensuring a sturdy, leak-free structure. Say goodbye to worries about water seeping into your building’s corners.
The outside corner drip edge plays a vital role in safeguarding your building. Guiding water away from vulnerable spots, it prevents costly damage. With this simple addition, you can ensure your structure remains sturdy and secure against the elements.
Key Takeaways
- Outside corner drip edges vital for water damage prevention.
- Made of metal or plastic, they divert rain away from walls.
- Proper installation ensures a sturdy, leak-free structure.
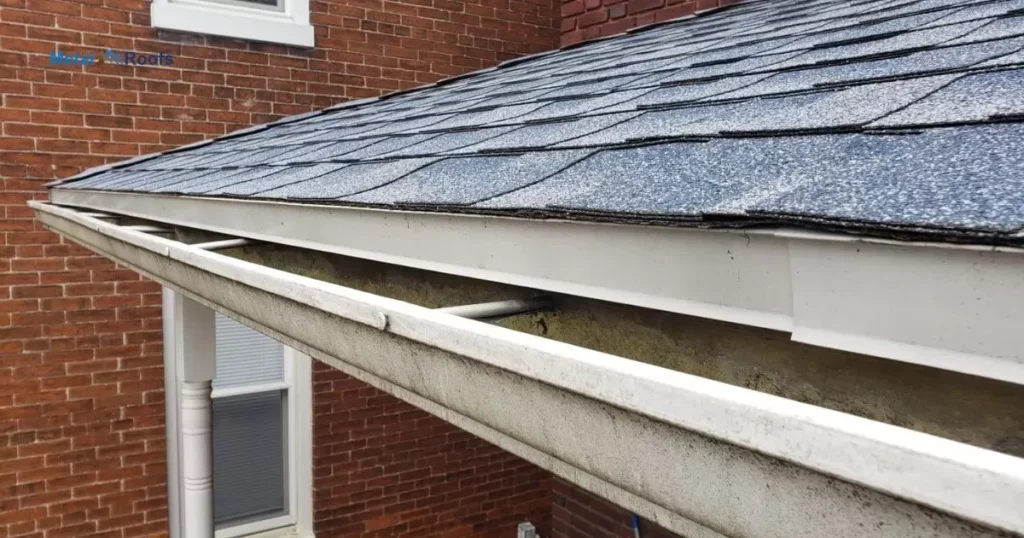
What Is A Drip Edge And Why Is It Important For Gutters?
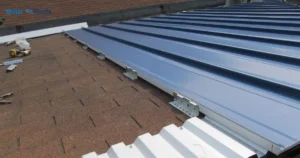
A drip edge is a metal strip installed along the edges of a roof to help channel water away from the structure. It is crucial for gutters because it prevents water from seeping into the roof decking or fascia board. Without a drip edge, water can cause damage to the roof’s structure over time.
The gap between the drip edge and gutter can cause water seepage, leading to potential damage. It’s important to ensure a snug fit to protect the roof and building structure.
Different Types Of Drip Edge Available For Outside Corners

| Drip Edge Type | Description |
| L-shaped Drip Edge | Forms an L-shape, suitable for typical outside corners |
| Hemmed Drip Edge | Features folded edges for added strength and durability |
| Pre-formed Drip Edge | Comes pre-bent for easy installation on corners |
| Decorative Drip Edge | Offers aesthetic appeal with various design options |
| Adjustable Drip Edge | Allows for customization to fit different corner angles |
There are several types of drip edges available for outside corners, each serving a specific purpose and offering unique advantages:
L-Shaped Drip Edge: This is a common type used for outside corners. It has one leg that goes over the roof edge and another that extends down the fascia. It helps direct water away from the fascia and protects the roof edge from water damage.
T-Style Drip Edge: This type is similar to the L-shaped drip edge but has a third leg that extends under the shingles. It provides additional protection against water intrusion under the shingles.
Hemmed Edge Drip Edge: This type of drip edge has a folded edge, or hem, which adds strength and rigidity. It is often used in areas with high wind or other extreme weather conditions.
Adjustable Drip Edge: This type of drip edge can be adjusted to fit different roof pitches. It is useful when the roof pitch changes, such as at a corner or a dormer.
Wide-Faced Drip Edge: This type of drip edge has a wider face than standard drip edges, providing extra protection against water intrusion.
Decorative Drip Edge: Some drip edges are designed to be more aesthetically pleasing, with decorative features or finishes. These can add a decorative element to the roof while still providing the necessary protection.
It’s essential to choose the right type of drip edge for your specific roofing needs to ensure proper water drainage and protection against water damage.
Choose The Right Drip Edge For A Specific Roof Type
Choosing the right drip edge for your roof is important for ensuring proper water drainage and protection against water damage. Here are some tips for selecting the right drip edge for different types of roofs:
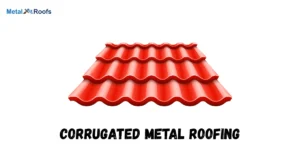
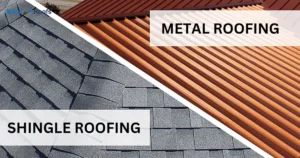
Metal Roofs: For metal roofs, consider using a metal drip edge that matches the material of the roof. Aluminum or galvanized steel drip edges are commonly used and offer good durability and corrosion resistance.
Asphalt Shingle Roofs: For asphalt shingle roofs, a drip edge made of galvanized steel or aluminum is suitable. Make sure the drip edge is compatible with the shingles and provides a proper overhang to direct water away from the fascia.
Flat Roofs: For flat or low-slope roofs, a drip edge with a wider flange that extends onto the roof surface is recommended. This helps prevent water from seeping under the roofing material.
Tile or Slate Roofs: For tile or slate roofs, a drip edge that can be installed under the roofing material is ideal. This provides a clean edge and helps prevent water from getting under the tiles or slates.
Wood Shake Roofs: For wood shake roofs, a drip edge made of corrosion-resistant metal is best. The drip edge should be installed at the eaves and gables to protect the edges of the roof decking.
When choosing a drip edge, consider the climate and weather conditions in your area, as well as the specific requirements of your roof type. It’s also important to ensure proper installation to maximize the effectiveness of the drip edge in protecting your roof.
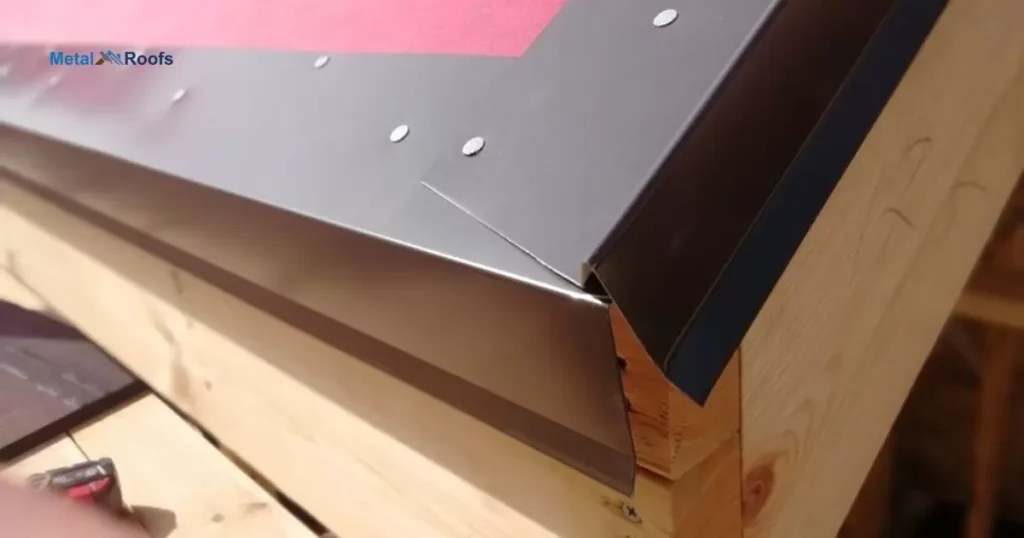
Bending Drip Edge Corners
When bending drip edge corners, use a proper tool like a metal brake. Measure and mark the bend location accurately. Position the drip edge in the brake and align the mark with the bending edge.
Press the brake’s handle to bend the drip edge to the desired angle. Repeat the process for the other side if needed. Double-check the angle before installing to ensure a proper fit. Bending drip edge corners correctly helps prevent water damage and ensures a professional finish.
Cutting Drip Edge for Outside Corners
When cutting drip edge for outside corners, start by measuring the length needed. Use a tape measure for accuracy. Mark the measurement on the drip edge with a pencil. Next, use tin snips to carefully cut along the marked line.
Make sure to follow the line closely for a clean cut. After cutting, check the edge for any rough spots or burrs. Smooth out any rough edges using a metal file or sandpaper. This ensures a clean finish and reduces the risk of injury during installation.
Gaps and Overhangs
Gaps and overhangs in roofing can cause problems if not addressed. Gaps between roofing materials can let water seep in, leading to leaks and damage. Overhangs that are too long can create areas where water pools, increasing the risk of leaks and structural issues.
To prevent these problems, it’s important to ensure that roofing materials are properly aligned and secured. Any gaps should be filled and overhangs trimmed to the correct length. Regular maintenance and inspections can help catch and fix these issues early, preventing costly repairs down the line.
90 Degree Corner Flashing
A 90-degree corner flashing is a piece of metal used in roofing to cover and protect the corners where two walls meet at a right angle. It helps prevent water from seeping into the building by directing it away from the corner.
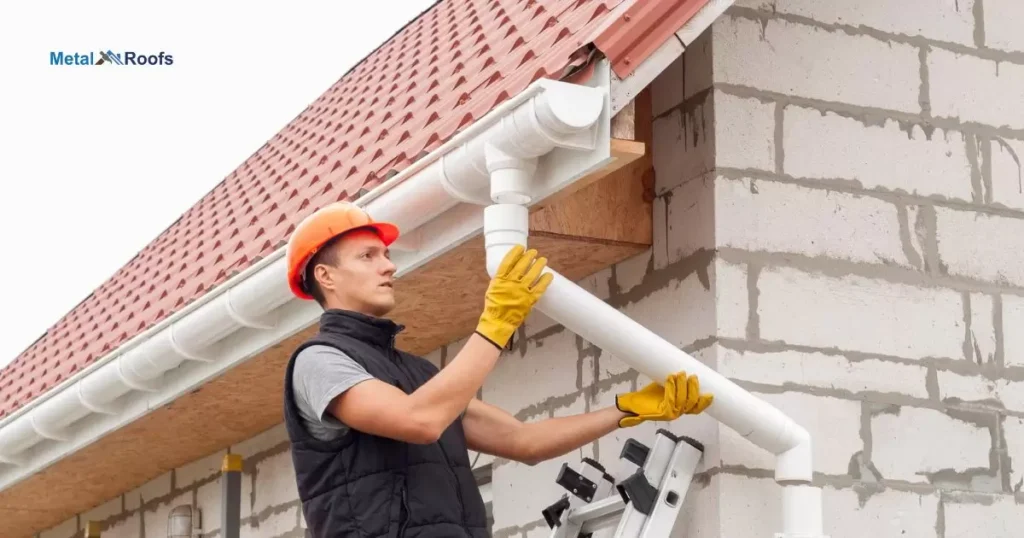
Installing 90-degree corner flashing is essential to ensure the integrity of the roof and walls. It should be installed securely and sealed properly to prevent leaks. Regular inspection and maintenance of the flashing are also important to ensure its effectiveness over time.
Outside Corner Flashing Roof
Outside corner flashing is a vital part of a roof’s protection. It directs water away from the roof’s corners, preventing leaks and water damage. Made of metal, it’s shaped to fit snugly over the corner, ensuring water flows off the roof efficiently.
When installing outside corner flashing, ensure it overlaps properly with the adjacent roof sections. Use roofing cement or sealant to secure it in place and prevent water infiltration. Regular inspection and maintenance of the flashing can help prolong the life of your roof and prevent costly repairs.
How To Cut Drip Edge Inside Corners?
To cut drip edge inside corners, measure the length needed for each side. Use tin snips to make straight cuts on the vertical leg of the drip edge. Then, create a miter cut on the horizontal leg for a precise fit.
For a seamless finish, apply a sealant where the two pieces meet to prevent water from seeping through. It’s crucial to maintain a consistent angle for a tight fit. With careful measuring and cutting, you can achieve a professional look that protects your roof from water damage.
Frequently Asked Questions
What Are The 2 Types Of Drip Edge?
The two types of drip edge are L-shaped and T-shaped. L-shaped directs water away, while T-shaped offers extra protection. Both are vital for preventing water damage.
Where Should Drip Edge Be Installed?
Drip edge should be installed along the outer edges of the roof to divert water away from walls, ensuring protection against water damage.
What Is The Purpose Of A Drip Edge?
A drip edge’s purpose: prevent water damage by directing rain away from walls, ensuring a sturdy, leak-free structure.
Conclusion
The outside corner drip edge stands as a vital protector against water damage. Its simple design effectively guides rainwater away from vulnerable building areas. With proper installation, buildings can maintain their integrity and durability.
The purpose and importance of drip edges, property owners can enhance their structure’s resilience. These small additions play a significant role in preventing costly leaks and structural deterioration.