Furring strips are thin wood pieces nailed across roof trusses or purlins. They create an air gap under metal roof panels. This air space allows airflow and prevents condensation buildup. Furring strips provide a flat, secure nailing surface for attaching metal roofing panels. They extend the roof’s lifespan by promoting proper ventilation.
Proper furring strip size is crucial for metal roofs. Choose thin strips to create sufficient air space. Too thick can impede ventilation and cause problems. What size furring strips for metal roofs? Standard widths range from 1×2 to 1×4 inches. Ensure strips align with roofing specifications for optimal performance.
Furring strips create an essential air gap beneath metal roofing, allowing for proper ventilation. This ventilation space is crucial as it prevents moisture buildup, ultimately extending the roof’s lifespan by eliminating condensation issues. Proper installation with correct sizing of furring strips is key to ensuring the effectiveness of sheets of metal roofing.
Key Takeaways
- Furring strips for metal roofs are typically 1×3 or 1×4 in size.
- They create a level surface for attaching metal roofing panels.
- They also allow for ventilation between the roof deck and the metal panels.
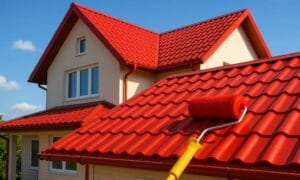
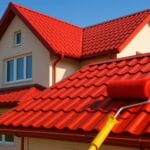
Why Install Metal Roof Over Shingles?
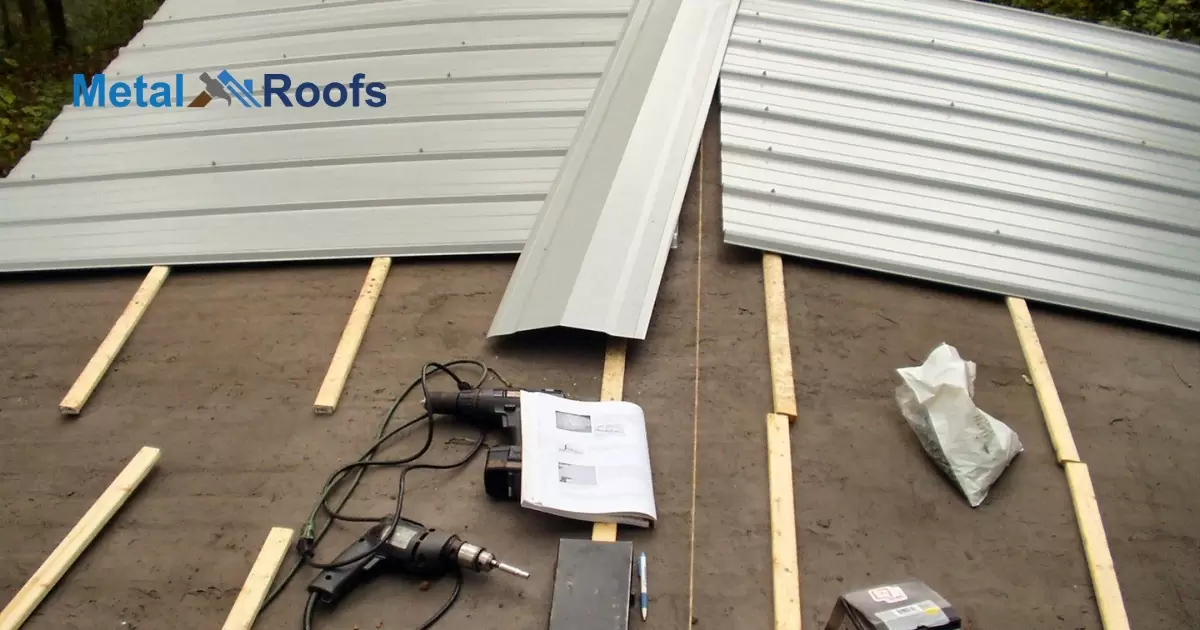
Installing a metal roof over shingles is feasible. First, assess the existing roof’s condition. Remove any damaged shingles. Next, install furring strips for ventilation and a level surface. Then, add underlayment to protect against moisture. Finally, attach the metal roofing panels securely. Remember to follow local building codes.
Pros of Metal Roofing
Durability: Withstands harsh weather conditions better than many other materials.
Low Maintenance: Resistant to rot, mildew, and insects, requiring minimal upkeep.
Energy Efficiency: Reflects solar heat, reducing cooling costs in hot weather.
Fire Resistance: Non-combustible, safer in fire-prone areas.
Lightweight: Easier installation and potentially lower structural support needs.
Environmentally Friendly: Highly recyclable and reduces landfill waste.
Aesthetic Variety: Comes in various colors, styles, and finishes to suit any home.
Long-Term Cost Savings: Despite initial costs, its longevity and energy efficiency can save money over time.
Cons of Metal Roofing
| Cons of Metal Roofing | Description |
| Initial Cost | Metal roofing can be more expensive to install compared to traditional asphalt shingle roofing. |
| Noise | Some people find that metal roofs can be noisy, especially during heavy rain or hailstorms. |
Initial Cost: Higher upfront expense compared to some other roofing materials.
Noise: Can be noisy during heavy rain or hailstorms.
Expansion and Contraction: Metal expands and contracts with temperature changes, potentially causing loosening of fasteners and leaks.
Denting: Susceptible to dents from heavy impacts like hail or falling branches.
Compatibility: May not suit all architectural styles and could clash with the aesthetics of certain homes.
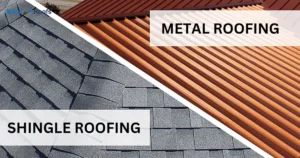
Comparing Metal Roof and Shingle Roof
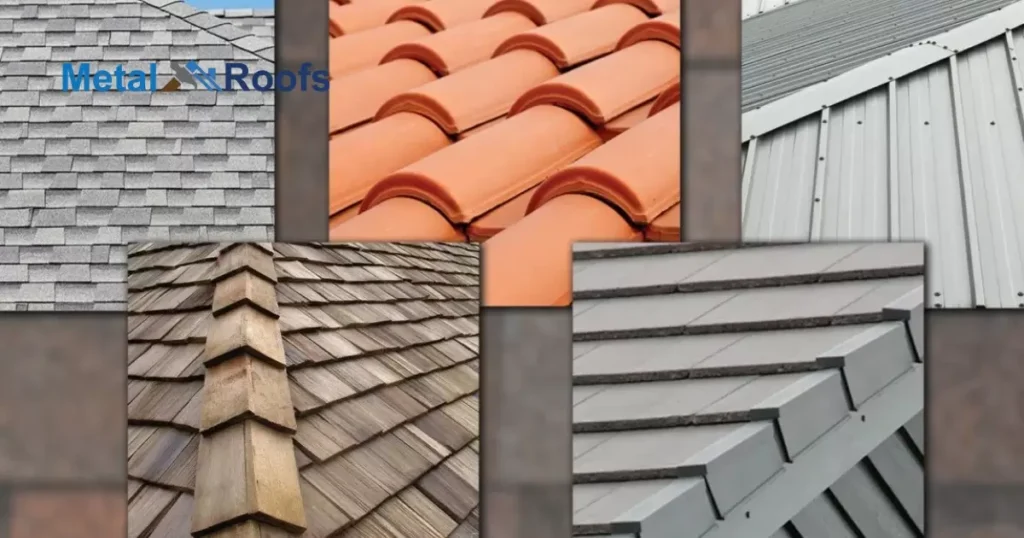
Comparing Metal Roof and Shingle Roof:
Durability:
- Typically lasts 30-50 years or more, resistant to weather, fire, and pests.
- Lifespan varies from 15 to 30 years depending on material, susceptible to weather damage and algae growth.
Cost:
- Higher upfront cost but lower long-term maintenance expenses.
- Lower initial cost but may require more frequent repairs and replacements, leading to higher long-term costs.
Maintenance:
- Requires minimal maintenance, periodic inspections, and occasional cleaning.
- Regular maintenance needed, including inspections, repairs, and occasional replacement of damaged shingles.
Installation:
- Typically requires professional installation due to complexity and specialized tools.
- Can be installed by experienced DIYers or professionals, generally less complex than metal roofing.
Aesthetics:
- Offers a modern, sleek appearance with various color and style options.
- Traditional look available in a wide range of colors and textures, suitable for various architectural styles.
Energy Efficiency:
- Reflective properties can reduce cooling costs, especially in sunny climates.
- Less energy efficient compared to metal roofing, may absorb heat and increase cooling expenses.
Environmental Impact:
- Highly recyclable and can contain recycled material, reducing environmental footprint.
- Asphalt shingles contribute to landfill waste and require petroleum-based materials for production.
Noise:
- Can be noisy during heavy rain or hailstorms, though insulation can mitigate this.
- Generally quieter than metal roofing during rain or hail events.
Weight:
- Lightweight, potentially reducing structural support needs and simplifying installation.
- Heavier than metal roofing, may require stronger support structures.
Compatibility:
- May not suit all architectural styles, potentially clashing with certain aesthetics.
- Versatile and suitable for various architectural designs and styles.
Preparation and Precautions
Preparing for any task is crucial. Assess the situation first. Gather all necessary tools and materials. Measure twice, cut once. Follow instructions carefully. Prioritize safety at all times. Wear appropriate protective gear. Double-check everything before proceeding. Take necessary precautions to avoid accidents.
Building Codes
Before starting any construction, understand building codes. Check local regulations thoroughly. Ensure compliance with standards. Codes dictate materials and methods. Violations can lead to fines. Adhering to codes ensures safety. Seek guidance if unsure. Consulting professionals is wise.
Checking Existing Roof
Look for signs of damage. Check for leaks or weak spots. Ensure the structure is sound. Inspect the roof’s integrity thoroughly. Note any areas needing repair. Take photos for reference if necessary. Address any issues before proceeding.
Safety Precautions
When it comes to safety, never compromise. Always wear safety gear. Follow safety guidelines strictly. Keep work areas clean and organized. Use tools properly and responsibly. Take breaks when needed. Stay alert and focused. Trust your instincts—if something feels unsafe, stop and reassess.
Required Tools and Materials
Check your list twice to ensure nothing is missed. Tools may include hammers, screwdrivers, and measuring tapes. Materials might include wood, nails, and screws. Make sure everything is within reach. Organize your workspace for efficiency. Being prepared saves time and reduces stress.
Spacing Guidelines for Furring Strips
Furring strips for metal roofs should be spaced according to specific guidelines. Typically, they are spaced 16 inches apart for 1×3 strips and 24 inches apart for 1×4 strips. These measurements ensure proper support and stability for the metal roofing panels. Incorrect spacing can lead to sagging or other structural issues.
Properly spaced furring strips also allow for proper ventilation between the roof deck and the metal panels. This ventilation helps prevent moisture buildup, which can lead to mold and rot. Following these spacing guidelines is crucial for the overall integrity and longevity of a metal roof installation.
Furring Strips Installation

To install furring strips for metal roofs, start by measuring and cutting the strips to the required length. Then, attach them perpendicular to the roof rafters using screws or nails. Ensure they are evenly spaced and aligned for a level surface. Once installed, you can then proceed to attach the metal roofing panels to the furring strips using appropriate fasteners.
Proper installation of furring strips is crucial for the success of your metal roof. It provides a stable base for the metal panels and allows for ventilation, preventing moisture buildup. By following these steps carefully, you can ensure a secure and durable metal roof installation for your building.
Choosing and Measuring Furring Strips
Choose straight, outdoor-grade lumber in 1×3 or 1×4 size for furring strips. Measure and cut strips to fit the spacing of your metal roofing panels, typically 16 to 24 inches apart. Keep strips straight and defect-free for a secure installation.
Horizontal Rows and Layout
When installing furring strips for a metal roof, lay them out horizontally from the bottom up, ensuring straight alignment with a level. Maintain consistent spacing between rows for flat, even panel installation. This meticulous approach creates a sturdy base for your metal roof, enhancing its durability and appearance.
Attaching the Furring Strips
When attaching furring strips for a metal roof, start at one end and work across, using screws or nails. Ensure the strips are perpendicular and evenly spaced, checking for levelness. Double-check alignment and spacing for stability before installing metal panels according to instructions.
Common Mistakes to Avoid When Installing Furring Strips
When installing furring strips for a metal roof, it’s important to avoid common mistakes. Firstly, ensure the strips are the correct size, typically 1×3 or 1×4 inches, to provide a level surface for the metal panels. Secondly, avoid spacing the strips too far apart, as this can lead to sagging and improper support for the panels.
Make sure the furring strips are securely attached to the roof deck, using appropriate fasteners to prevent movement or separation. Lastly, don’t overlook the importance of ventilation. Properly spacing the strips allows for air circulation, which helps prevent moisture buildup and extends the life of the roof.
Furring Strip Spacing For Drywall
When installing drywall, the spacing of furring strips is crucial. These strips are usually placed 16 inches apart horizontally. Vertically, they should be positioned to match the studs in the wall. Proper spacing ensures the drywall has enough support to prevent sagging or cracking over time.
Using the right spacing for furring strips also allows for better insulation and soundproofing. The gap between the drywall and the wall surface created by the strips can be filled with insulation material. This helps improve the energy efficiency of the wall and reduces noise transmission between rooms.
Tips for Properly Securing Metal Roofing to Furring Strips
Securing metal roofing to furring strips requires proper technique to ensure durability and weather resistance. Here are some tips:
Use the Right Fasteners: Use corrosion-resistant screws or nails that are designed for metal roofing. These should penetrate the roofing material and furring strip without overdriving or underdriving.
Pre-Drill Holes: Pre-drill holes in the metal roofing to prevent the metal from splitting and to ensure the fasteners go in straight.
Proper Spacing: Follow the manufacturer’s recommendations for fastener spacing. Typically, this is around 12 to 24 inches apart along the furring strips.
Correct Placement: Fasten the metal roofing to the furring strips, not just to the roof deck. This helps provide additional support and prevents the metal from flexing.
Avoid Over-Tightening: Tighten the fasteners snugly, but be careful not to over-tighten, as this can distort the metal and reduce its effectiveness.
Weatherproofing: Consider using a neoprene washer or similar material under the head of the fastener to create a weatherproof seal and prevent water infiltration.
Follow Local Codes: Ensure that your installation meets local building codes and regulations for metal roofing installation.
Frequently Asked Questions
What kind of wood do you use under a metal roof?
Furring strips for metal roofs are typically made of treated pine or cedar for durability and resistance to rot, providing a stable base for the metal panels.
What is the distance between strapping strips for a metal roof?
Strapping strips for a metal roof are usually spaced 16 to 24 inches apart to support the panels and distribute weight evenly.
What are furring strips used for in roofing?
Furring strips in roofing provide a level surface for attaching metal panels and create space for air circulation, preventing moisture buildup and improving insulation.
Conclusion
In summary, furring strips are a vital component for metal roofs. They create an air space that promotes airflow and ventilation. This space prevents condensation buildup and extends roof longevity. Correct sizing ensures optimal performance and functionality.
When installing furring strips, follow manufacturer guidelines for width and spacing. Use high-quality wood strips for durability. Proper nailing techniques are essential for secure attachment. With the right furring strips, your metal roof will perform efficiently for years.