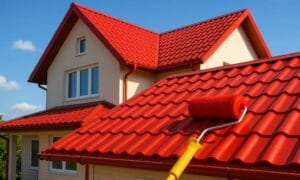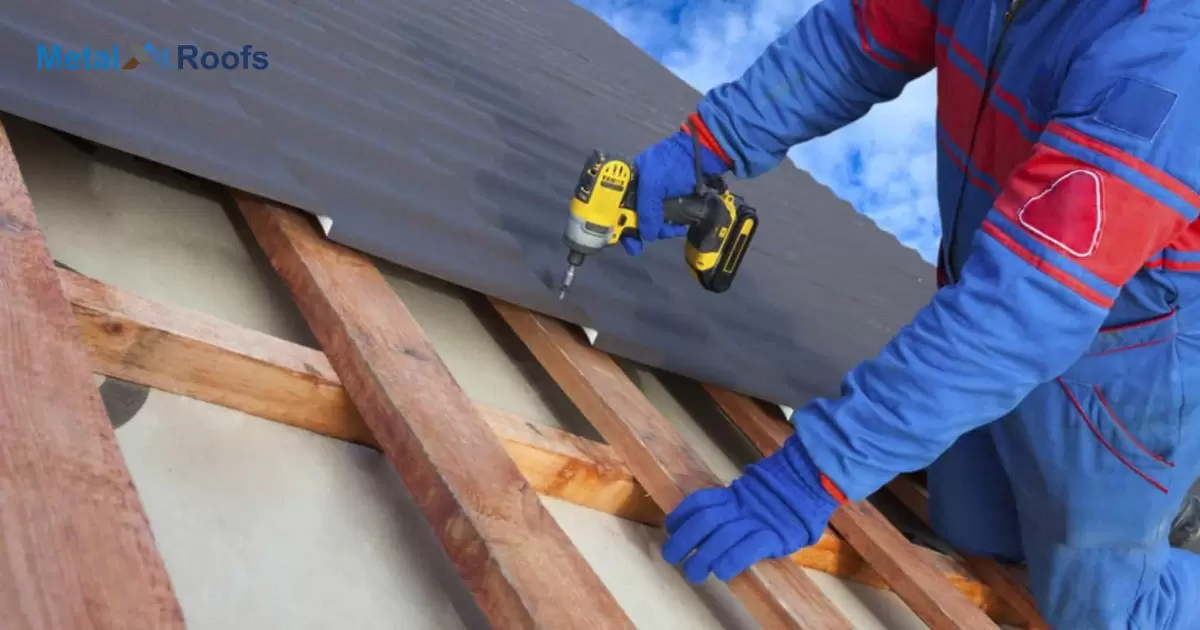
Screws on metal roofs fasten roofing panels to roof decking. They penetrate panels and decking to bind them together. Proper fastening prevents wind uplift and leakage. Screws must be corrosion-resistant and correctly sized to secure the roof while allowing for expansion and contraction.
Metal roofs need screws to stay on in wind and weather. Where do you put screws on metal roof panels? You screw along the length of the panels in the valleys to grab the deck below. Proper screw lines prevent uplift, leakage, and failure while allowing movement.
When installing a metal roof, the proper insulation in your attic is crucial. Screws play a key role in securing roof panels, preventing issues like leaks and loosening. Achieving the right torque during fastening is essential to seal panels without buckling. Consider insulation needs in your attic for a successful metal roof installation.
Key Takeaways
- Focus on screws within the ribs for secure attachment.
- Keep screws away from flat sections for a neat appearance.
- Adhere to manufacturer’s recommendations for screw type, length, and spacing.
- Proper placement is crucial for overall stability and weather resistance.
- Professional Consultation: Seek advice from experts when in doubt for a reliable installation.
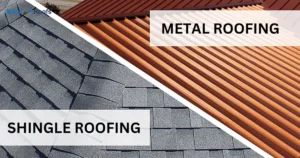
What is metal roofing?
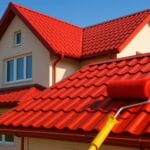
Metal roofing is a durable option for covering homes and buildings. It consists of metal panels that secure tightly to create a weather-resistant barrier.
These roofs vary, with metal roofs featuring standing seam types having concealed screws, while others like corrugated metal showcase exposed fasteners. Metal Roofs Interfere With Cell Phone Reception. Metal roofing offers longevity and a sleek appearance, making it a popular choice for diverse architectural styles.
Types of metal roofing materials
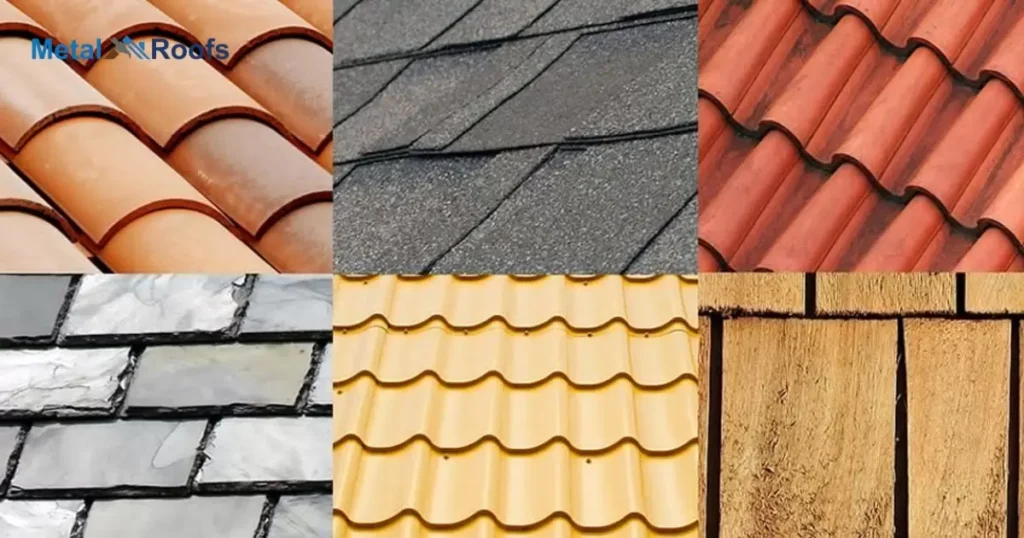
Aluminum Roofing- It is corrosion-resistant, lightweight, and suitable for use in coastal areas.
Copper Roofing- A very durable roof that will change color and form a protective layer. Most costly material for roofing.
Tin Roofing- Out of use. Steel is now commonly referred to as a “tin roof.”
Zinc Roofing- An extremely costly and long-lasting roofing material that will change color and patina.
Metal or Steel- This is the most popular kind of metal roofing, and it comes in various finishes.
Common Applications For Metal Roofing
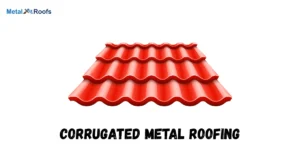
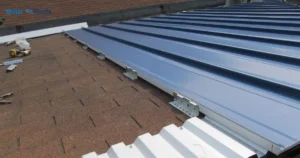
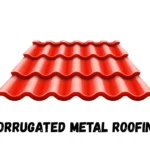
Metal roofs are used in various settings. For standing seam roofs, screws go in panel seams. Corrugated roofs get screws in the raised parts, while exposed fasteners secure metal in valleys.
Concealed fastener roofs keep screws hidden at panel edges or seams. Follow manufacturer instructions for precise placement.
Metal roofing suits residential and commercial buildings. It’s common for its durability and weather resistance. Whether it’s standing seam, corrugated, or concealed fastener, proper screw placement matters. It’s not just about keeping things secure; it’s about doing it right.
Choosing the Right Screws for Your Metal Roofing Project
Picking the right screws for your metal roof is vital. For standing seam, place screws where panels overlap. Follow manufacturer’s guidelines for a leak-free and durable roofing project.
Factors To Consider When Selecting Screws For Metal Roofing
Selecting screws for metal roofing requires attention to key factors. Consider the type of metal roof whether it’s standing seam, corrugated, or another style.
Follow manufacturer guidelines for correct screw type, length, and spacing. Prioritize proper installation to ensure long-term durability and prevent issues like leaks.
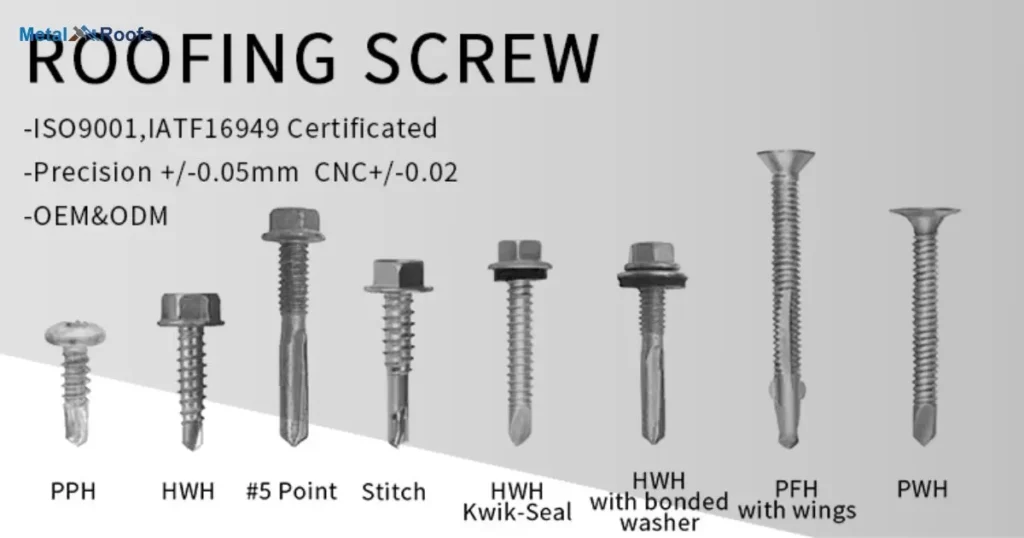
Types Of Screws Suitable For Metal Roofing
- Use self-tapping screws for metal roofing to ensure easy and effective installation.
- Opt for screws with a corrosion-resistant coating to prevent rust and enhance durability.
- Choose hex-head screws for better grip, making them suitable for use with power tools.
- Refer to the manufacturer’s guidelines for the specific type of metal roofing to determine the correct screw type, length, and spacing.
- Prioritize these considerations to achieve a sturdy installation that withstands the elements over time.
How To Determine The Appropriate Screw Size And Type For Your Project?
To find the right screw for your project, check the metal roof’s specifications. Look at the manufacturer’s guide for recommended screw types and sizes. Place screws in seams or corrugations according to the instructions.
Following these guidelines ensures a secure and effective installation, preventing issues down the line.
Step-By-Step Guide To Installing Screws On Metal Roofing
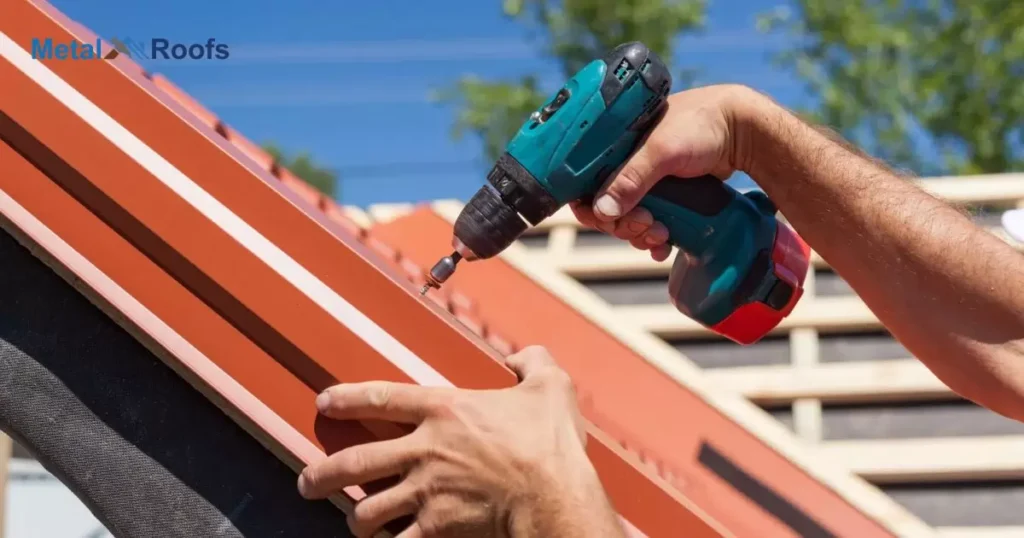
Check Specifications:
Refer to the metal roofing specifications provided by the manufacturer to identify the recommended screw types and sizes for your project.
Prepare the Roofing Surface:
Ensure the roofing surface is clean, flat, and free from debris. This sets the foundation for a secure and effective installation.
Mark Screw Locations:
Use a chalk line or other marking method to indicate the locations for screw placement. Follow the guidelines provided by the manufacturer.
Choose the Right Screw:
Select screws that match the recommended specifications. Consider the type of metal roof and follow guidelines for the appropriate screw type.
Use Correct Tools:
Employ the right tools, such as a drill with the appropriate bit, to ensure precise and efficient screw installation.
Start at Edges and Seams:
Begin placing screws at the edges and seams of the metal panels. Follow the designated pattern or spacing outlined in the manufacturer’s instructions.
Securely Drive Screws:
Drive the screws firmly into the roofing material without overtightening, as this can damage the panels. Achieve a snug fit to ensure stability.
Repeat the Process:
Continue the installation, systematically placing screws along the predetermined locations. Maintain consistency to achieve a uniform and secure attachment.
Inspect the Installation:
Once all screws are in place, visually inspect the roof to ensure proper alignment and tightness. Make any necessary adjustments for a well-installed metal roof.
Refer to Manufacturer’s Guidelines:
Throughout the installation process, refer to the manufacturer’s guidelines for any specific details or considerations unique to your metal roofing system.
Following these steps ensures a systematic and effective installation of screws on your metal roofing, contributing to the longevity and performance of the roof structure.
Tips For Ensuring Proper Screw Placement And Alignment
Follow Manufacturer Guidelines:
Adhere to the manufacturer’s recommendations for screw type, size, and placement.
Start at Edges and Seams:
Initiate screw installation at the edges and seams to ensure structural stability.
Maintain Consistent Spacing:
Keep a uniform spacing between screws as specified by the manufacturer.
Avoid Over-tightening:
Secure screws firmly without over-tightening to prevent damage to metal panels.
Double-Check Alignment:
Periodically check and adjust the alignment of metal panels during screw installation.
Common Mistakes To Avoid During Screw Installation

| Mistake | Recommendation |
| Incorrect Placement | Follow roof type guidelines: screws in seams for standing seam, and in ridges for corrugated. |
| Wrong Screw Selection | Check the manufacturer’s manual for specific screw recommendations tailored to your roof type. |
| Over-tightening | Secure screws firmly without over-tightening to prevent damage to the roof structure. |
| Inconsistent Spacing | Maintain uniform spacing specified by the manufacturer for stability. |
| Neglecting Alignment | Periodically check and adjust alignment to ensure a well-installed and visually appealing roof. |
One common mistake is putting screws in the wrong places on a metal roof. Always follow the roof type guidelines for standing seam, go for the seams; for corrugated, stick to the ridges. Messing this up can mess up your roof.
Another good is using the wrong screws. Different roofs need different screws. Check the manual. It’s like a recipe for a good roof. Don’t wing it; your roof won’t thank you.
Maintaining Your Metal Roofing and Screws
When caring for your metal roof, regularly inspect for loose screws. Tighten any exposed fasteners found along the seams or ridges. This prevents potential leaks and ensures the roof’s longevity.
Refer to the manufacturer’s guidelines for proper screw maintenance. Follow the recommended schedule for inspections and tighten or replace screws as needed. Consistent upkeep safeguards your metal roof against weathering and secures its structural integrity.
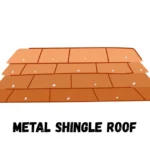
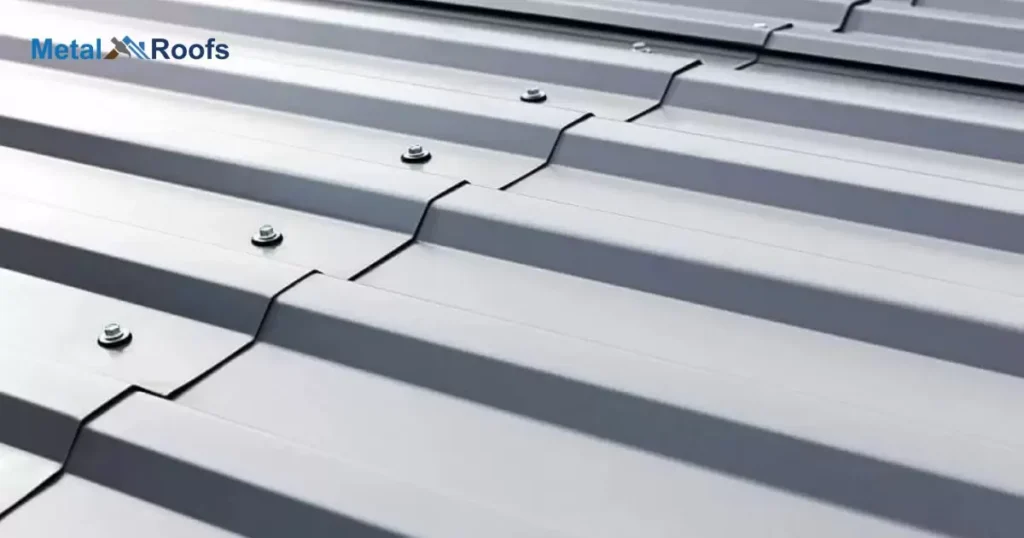
Metal Roof Screws On Rib Or Flat
When installing metal roof screws on ribbed panels, focus on placing them within the raised ribs for a secure fit. This ensures a clean appearance and proper attachment to the underlying structure. Follow manufacturer guidelines for recommended spacing and screw types.
For flat metal roofs, avoid placing screws in the flat sections to maintain aesthetics. Instead, concentrate on securing screws along seams or designated attachment points.
Always refer to the manufacturer’s instructions for precise details on screw placement to guarantee a reliable and visually appealing metal roof installation.
5 Rib Metal Roofing Screw Placement
When installing a 5 Rib metal roof, place screws strategically within the ribs to ensure secure attachment. Avoid placing screws in flat areas to maintain a neat and cohesive appearance on the roof surface.
Consult the manufacturer’s guidelines for the recommended screw type, length, and spacing. Proper screw placement is crucial for the structural integrity of the metal roofing system, preventing potential leaks and ensuring long-term durability.
Roof Metal Screws
When you’re putting screws into a metal roof, make sure they go into the raised parts of the panels for better support. Space them out evenly, usually every 12 to 24 inches along the length of the panel.
Keep them away from the edges, at least 1 to 2 inches, so the panels don’t split. After screwing them in, seal around each one with the right sealant to stop water from leaking through. If you’re not sure how to do it right, ask a pro or check the manufacturer’s instructions.
Roofing Tin Screws
When installing roofing tin screws, place them within the raised ribs of the metal panels for better support. Follow the manufacturer’s guidelines for screw spacing, usually 12 to 24 inches apart. Maintain a distance of 1 to 2 inches from the edges to prevent splitting.
If using overlapping panels, secure screws through both layers for stability. After placing screws, seal around them with appropriate sealant to prevent water leakage. If unsure, consult a roofing professional or refer to manufacturer instructions for guidance.
Steel Roofing Screws
When you’re putting steel roofing in place, where you put the screws matters a lot. They should go into the raised parts of the panels, not the flat areas. Also, follow the manufacturer’s instructions on how far apart to space them and keep them a bit away from the edges.
Seal around the screws well to keep water out. If you’re not sure about the right way to do it, it’s smart to get advice from an expert or check the instructions that came with your roofing. Doing all this makes sure your steel roof stays put and doesn’t leak.
Metal Roof Screw Pattern
When setting a metal roof screw pattern, start by identifying the panel ribs. These are the raised sections of the metal panels. Place screws within these ribs for better support. Keep spacing between screws even, usually around 12 to 24 inches apart. This ensures the load is evenly distributed and prevents warping. Make sure screws are a proper distance from panel edges, typically 1 to 2 inches.
If panels overlap, secure screws through both layers. Follow a designated fastening pattern for structural stability and wind resistance. Seal around screws to prevent water leakage. Always consult installation instructions for precise guidance.
Frequently Asked Questions
What is the distance between screws on a metal roof?
The distance between screws on a metal roof depends on the type of roofing system; refer to the manufacturer’s guidelines for specific spacing recommendations.
Where do you put the screws on 5v metal roofing?
Place screws along the raised ridges of 5V metal roofing, ensuring secure attachment and preventing leaks. Follow manufacturer guidelines for optimal placement.
What is the best screw to use in metal roofing?
Use self-tapping metal roofing screws with neoprene washers for optimal performance, ensuring a secure and weather-resistant installation.
Conclusion
Screws are critical to metal roof performance. They must withstand corrosion while allowing expansion and contraction of panels. Careful torquing seals without leakage or distortion. Matching screw size and spacing to roofing products and climate is essential. Correct fastener selection and installation prevents roof failure.
Where screws penetrate affects durability. Overdriving causes leaks, underdriving enables wind uplift. Proper spacing accommodates movement while keeping uplift resistance.