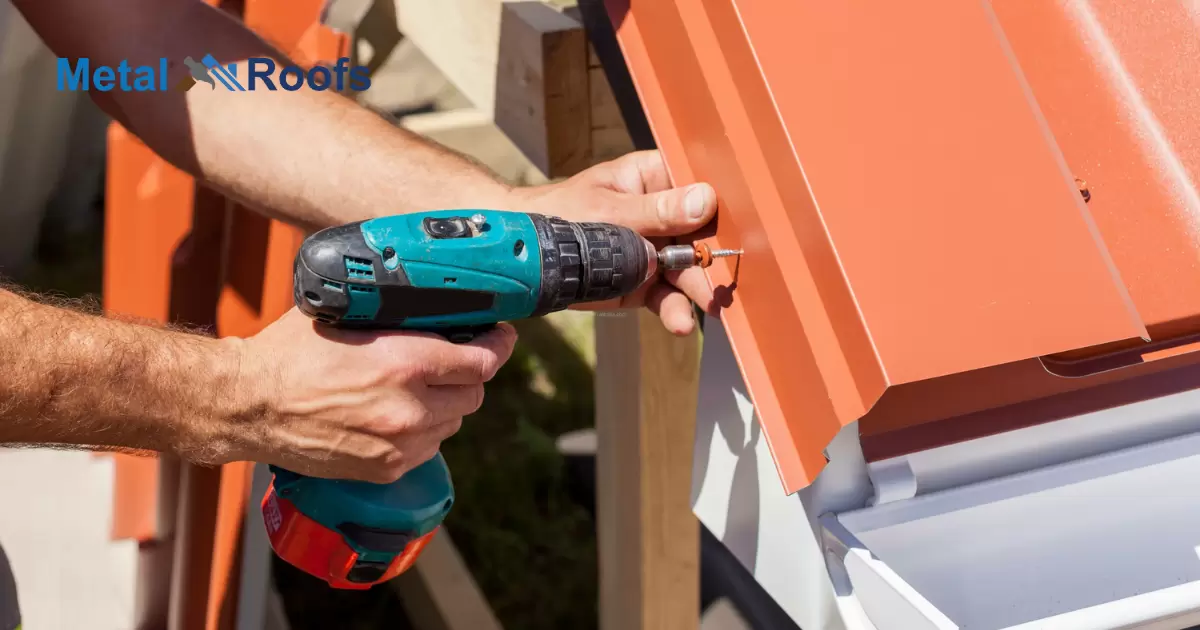
Screws fix metal roofing panels to roof decking. They pierce the metal and decking to bind them together. Screws resist pull out under wind uplift better than nails. Proper screw type, size, spacing and installation torque secure the roof against wind forces.
Where do you put the screws on a metal roof ? Screws pierce the metal and decking. Proper placement resists wind uplift. Screws bind panels to decking. Their spacing carries roof loads. Precision installation prevents leaks. Correct torque seals joints. Knowledge positions screws.
When installing Polycarbonate Pergola Covers, adhere to manufacturer-recommended spacing. Using too few screws may lead to blow off, while excessive screws can weaken panels. Proper torque is essential to prevent issues such as leaks or fractures. Match screw size to panel thickness for optimal installation.
Key Takeaway
- Screws go in the raised ribs, not flat pans.
- Stagger screws evenly in repeating left right patterns.
- For standing seam roofs, screws can only be installed at overlap seams.
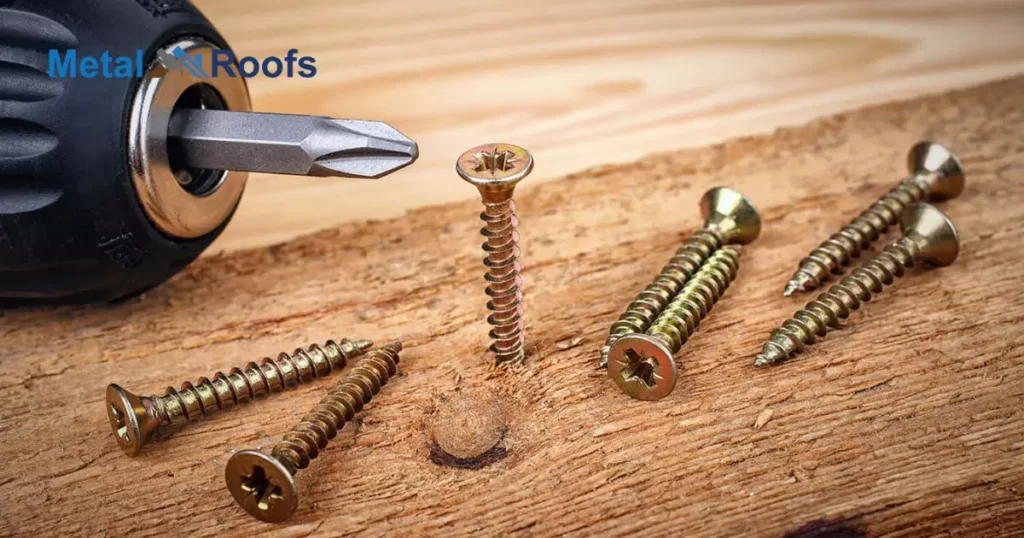
- Use neoprene washer screws made for metal roofs.
- Proper torque is crucial when fastening screws.
Considerations For Screw Placement In Metal Roofing
When installing a metal roof, think about where to place screws. Follow the guidelines of your metal roofing system. In standing seam roofs, put screws in flat areas between seams. For corrugated roofs, screws go through the crests or tops of corrugations. Securely place screws where panels overlap and along the roof’s ridge and eave.
Pay attention to edge flashing and trim; screws hold them in place. Manufacturers provide a recommended fastening pattern. Follow it for proper installation. Always check the specific guidelines for your metal roofing system to ensure a secure and watertight roof. If unsure, seek professional help.
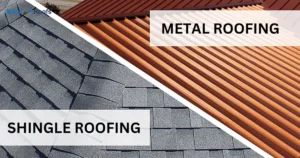
How Does The Type Of Metal Roofing Influence Screw Placement?
| Metal Roofing Type | Screw Placement Influence |
|---|---|
| Standing Seam | Typically attached in the raised seams to avoid water penetration. |
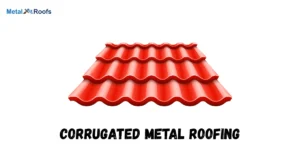
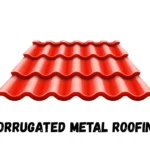
| Corrugated Metal | Screws placed in the valleys to secure the roofing and prevent leaks. |
| Ribbed Metal | Screws often positioned in the low points or ribs for stability and water drainage. |
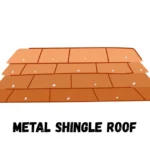
| Metal Shingles | Fasteners located in the overlap areas to secure individual shingles. |
| Snap-Lock Panels | Screws placed at the snaps or interlocking points to maintain a secure fit. |
The type of metal roofing determines where to put the screws. In standing seam roofs, screws go in flat areas between raised seams to keep water out. Corrugated roofs often have screws through the top of corrugations, sometimes in the valleys too. Secure screws where panels overlap, ensuring a tight fit.
Ridge and eave areas get screws for stability, and edge flashing needs them too. Stick to the manufacturer’s guide for screw spacing on each panel and between rows. Following these guidelines ensures a solid installation, meeting warranty requirements for a reliable metal roof.
Screw Placement Guidelines
When installing a metal roof, follow precise screw placement guidelines. Standing seam roofs, put screws in the flat areas between raised seams. Corrugated roofs, secure screws through the crests. Ensure panels overlap and fix screws in these areas. Fasten screws along the roof’s ridge and eave.
Secure edge flashing and trim with screws for a finished look. Always follow the manufacturer’s recommendations for the right screw spacing. This ensures correct installation and meets warranty requirements. Seek professional help if needed to guarantee a secure and industry standard installation.
What Are The General Guidelines For Screw Placement In Metal Roofing?

When installing a metal roof, where you put the screws matters. Follow the guidelines for your specific metal roofing system. Standing seam roofs, screws go in the flat areas between the raised seams. In corrugated metal roofing, aim for the crests. Secure overlap areas with screws and don’t forget the ridge and eave.
Edge flashing and trim need screws for that polished finish. Stick to the recommended fastening pattern, respecting the spacing and rows specified by the manufacturer. Always follow their instructions for a secure, watertight installation.
Factors Affecting Screw Placement
When putting screws in a metal roof, it’s key to follow guidelines. Standing seam roofs, screws go in flat areas between raised seams. Corrugated roofs often get screws in the corrugation crests. Overlap areas and critical zones like ridge and eave also need screws. Edge flashing and trim pieces are secured with screws.
Always check the manufacturer’s instructions for the right screw placement. Adhering to the recommended fastening pattern is crucial for a secure and durable metal roof. Professional help may be wise for a flawless installation.
Tools For Screw Placement
When installing a metal roof, using the right tools for screw placement is crucial. Begin by identifying the flat areas between raised seams for standing seam roofs or the crests of corrugations for corrugated metal roofs. Secure the panels where they overlap and along the critical ridge and eave sections.
Use screws to fasten edge flashing and trim pieces for a polished finish. Always follow the manufacturer’s guidelines for the recommended fastening pattern, ensuring proper spacing and alignment. This ensures a secure and watertight metal roof installation.
Specialized Tools Used For Accurate Screw Placement In Metal Roofing
When putting screws in a metal roof, using specialized tools is key. These tools help ensure accurate placement, preventing water leaks. In standing seam roofs, screws go in the flat parts between raised seams, and for corrugated roofs, they typically go through the tops of the corrugations.
Overlap areas and crucial spots like the ridge and eave also get screws. Edge flashing and trim pieces get secured with screws for a polished finish. Always stick to the manufacturer’s instructions for the right spacing and pattern. Following these guidelines guarantees a secure metal roof installation that stands up to the elements.
Benefits of Using Screws instead of Nails or Staples?
Using screws instead of nails or staples offers several advantages in various applications. Here are some key benefits.
Stronger Hold: Screws generally provide a stronger and more secure hold compared to nails or staples. The threaded design of screws allows them to grip the material tightly, reducing the likelihood of the fastener pulling out over time.
Adjustability: Screws can be easily adjusted or removed, making them ideal for situations where you may need to disassemble or modify a structure. This is particularly useful in woodworking or construction projects.
Greater Holding Power: Screws often have greater holding power, especially in materials like hardwoods or dense surfaces. The threading helps the screw to grip the material more effectively, preventing the joint from loosening.
Less Likely to Split Wood: Nails, especially when used in hardwoods, have a higher tendency to split the wood. Screws, with their threading and gradual entry, are less likely to cause splitting, making them a better choice in such scenarios.
Improved Structural Integrity: In applications where structural integrity is crucial, such as framing or furniture construction, screws are preferred due to their ability to create strong and reliable joints.
Better for Joining Different Materials: Screws are versatile and can be used to join different types of materials, including wood to metal or plastic. Their adaptability makes them suitable for a wide range of applications.
Reduced Surface Damage: Screws are less likely to cause surface damage compared to nails, as they don’t require the same force to be driven in. This is particularly important when working with delicate or finished materials.
Precision and Control: Screws provide better precision and control during installation. With a power drill or screwdriver, you can control the depth and torque, ensuring that the screw goes in exactly as intended.
Importance of Knowing Where to Place Screws on Metal Roofing
Knowing where to place screws on a metal roof is crucial. The screws secure panels together, preventing water seepage. Proper placement in the flat areas between raised seams is essential for a standing seam metal roof. Corrugated roofing, screws go through the tops of corrugations, ensuring a watertight seal.
Along the ridge and eave, screws play a key role, securing panels in critical areas. Following the manufacturer’s guidelines for spacing and patterns is a must, ensuring a secure and warranty compliant installation. Professional help may be wise for those unfamiliar with metal roof installations.
Make Your Metal Roofing Installation a Success
A successful metal roofing installation, start by placing screws strategically. In standing seam roofs, fix screws in the flat areas between raised seams. In corrugated roofs, aim for the crests. Secure overlapping panels with screws, focusing on ridge and eave areas. Don’t forget edge flashing and trim they need screws too.
Follow the manufacturer’s fastening pattern, ensuring correct spacing and alignment. Adhering to these guidelines ensures a secure metal roof that looks good and keeps water out. Trust the process for a successful metal roofing installation.
Screw Placement On Metal Roofing
Place screws on the high points of the metal roof panels. These are the ridges of the corrugations. Avoid putting screws in the low points between the ridges. Follow the spacing guidelines from the manufacturer. Typically, screws are placed 12 to 24 inches apart. Use screws with rubber washers for a tight seal.
Tighten the screws without overdoing it. Over-tightening can damage the panels. Check that all screws are securely fastened. Proper placement prevents leaks and ensures durability. Always follow the specific instructions from the metal roof manufacturer.
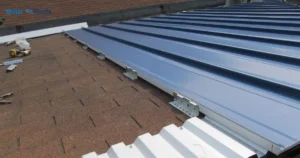
Metal Roof Screw Installation
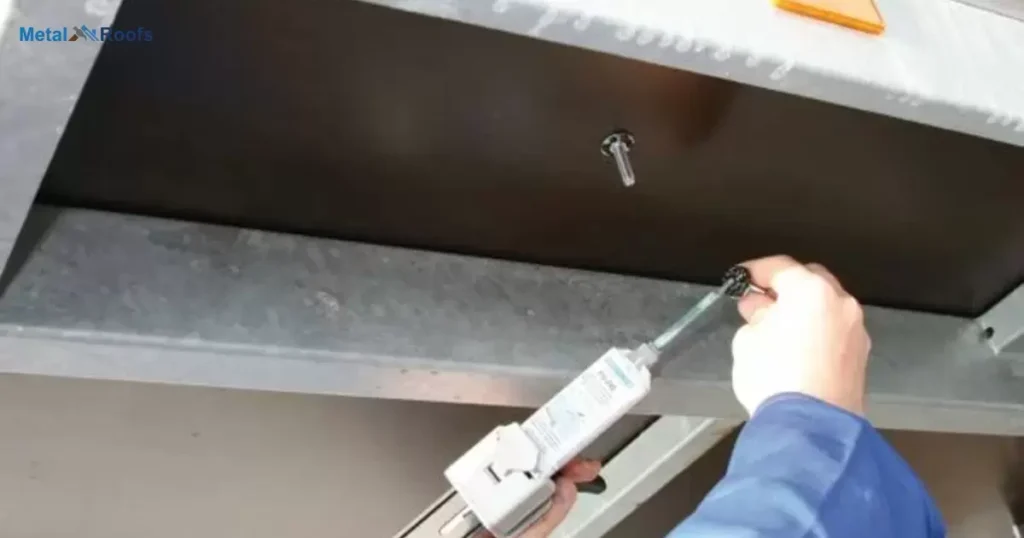
Start by finding the high points of the metal roof panels. Place the screws on top of these ribs or corrugations. Space the screws 12 to 24 inches apart based on the manufacturer’s guide. Use screws with a rubber washer to prevent leaks. Tighten the screws firmly but do not overdo it.
Check that all screws are evenly spaced and secure. Follow the roof panel manufacturer’s instructions carefully. Ensure each screw is aligned with the ribs. Avoid placing screws in the low points of the roof. This method helps create a strong and leak-proof roof.
Frequently Asked Questions
How Many Screws Do You Put In A Metal Roof?
When installing a metal roof, place screws in flat areas between raised seams. Ensure screws secure overlapping panels and along ridge and eave. Follow manufacturer’s guidelines for spacing and patterns, preventing water infiltration.
How Far Apart Are Screw Lines For Metal Roof?
Place screws between seams for water tightness. Corrugated roofs get screws on top. Secure overlaps, ridge, eave, and flashing. Follow spacing in the manual for a solid, warranty approved setup. If unsure, get professional assistance.
How Do You Keep Screws Straight On A Metal Roof?
Secure screws in flat areas between seams for metal roofs. Choose standing seam or corrugation crests, and don’t forget overlap, ridge, and eave.
Conclusion
Proper screws secure metal roofing. Their type suits the roofing. Their size fits the thickness. Their numbers follow guidance. Their torque seals without damage. Knowledgeable installation resists wind. It prevents leaks over time. Skilled trades position screws.
Screws bind roofing for decades. They pierce panels and decking. Spacing distributes loads. Torque resists uplift. Washers seal holes. Planning gives correct numbers. Quality screws endure weather. Correct installation rewards owners. Proper screws outlast storms.