Are you tired of a damp, musty laundry room? Proper venting is crucial. Dryer be vented through the roof is key for efficient drying. It prevents moisture buildup, mold growth, and fire hazards. Ensure your dryer vents directly outside for a fresh, safe environment.
Can you vent a dryer through the roof? It’s not recommended. Many inexperienced people mistakenly choose to vent their dryer this way. Experts in dryer vents advise against it. Venting a dryer vertically through the roof is ineffective and poses a fire hazard if not properly maintained.
Venting a dryer through the roof is the ideal solution. It’s the most direct path outside for expelled hot air and lint. Horizontal venting can lead to clogs and poor airflow. Vertical roof venting maximizes drying efficiency and safety. Proper installation is crucial for optimal performance.
Key Takeaways
- Yes, a dryer can be vented through the roof.
- Ensure compliance with local regulations.
- Proper installation is crucial for safety and efficiency.
- Maintain clearance and ventilation around the vent pipe.
- Regular maintenance prevents lint buildup and fire hazards.
- Consider hiring a professional for installation if inexperienced.
What Is a Roof Dryer Vent?
A roof dryer vent is a system used to expel hot air and moisture from a dryer through the roof of a building. It allows for efficient ventilation while minimizing the risk of fire hazards. Typically, a vent pipe is installed from the dryer to the roof, ensuring proper clearance and sealing to prevent leaks.
Proper installation of a roof dryer vent is crucial, ensuring adherence to local building codes. Homeowners should also explore whether roof repairs, such as vent installation, could be tax deductible.
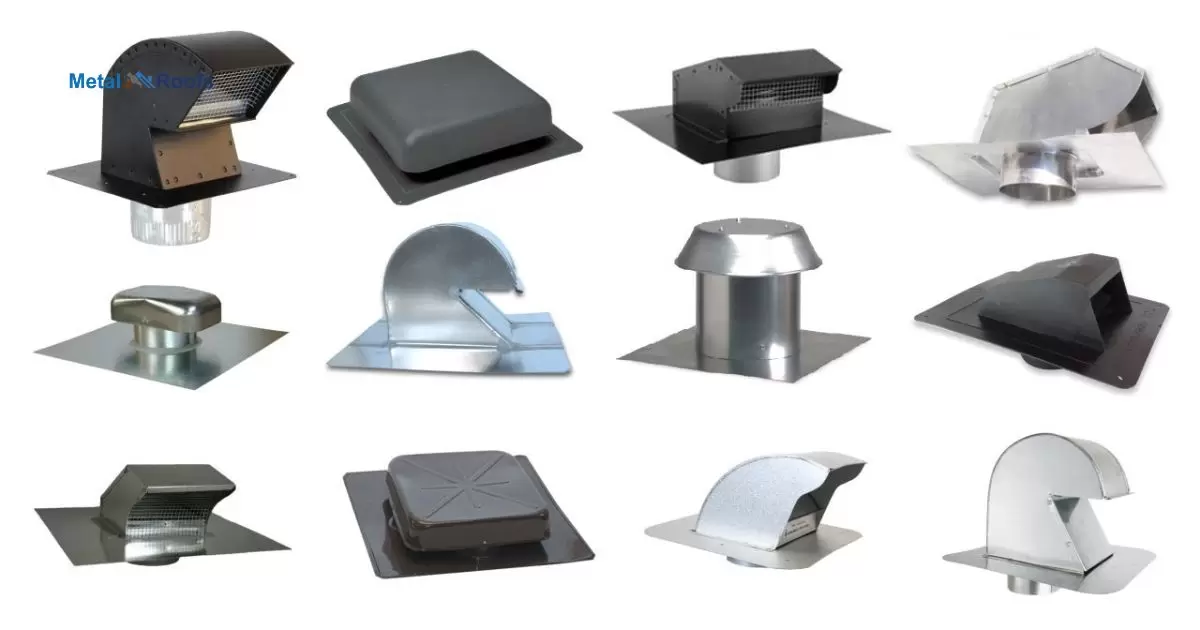
Types of Roof Dryer Vents
There are several types of roof dryer vents commonly used to safely exhaust air from clothes dryers out of a building. These vents help prevent moisture buildup and reduce the risk of fire hazards. Here are some common types:
Standard Roof Cap Vent: This is a basic vent cap that sits atop the roof and has a flapper or damper to prevent backdrafts when the dryer is not in use. It typically has a round or rectangular shape.
Roof Louver Vent: Roof louvers are designed to allow airflow while preventing pests, debris, and weather elements from entering the vent. They often feature slatted openings to facilitate ventilation.
Roof Dryer Vent with Bird Guard: These vents are similar to standard roof cap vents but come equipped with a bird guard or bird screen to deter birds and other animals from nesting in the vent.
Low-Profile Roof Vent: Low-profile vents are sleeker in design and sit closer to the roof surface, offering a more streamlined appearance. They still provide adequate airflow for dryer exhaust.
Ridge Vent: Some homes use ridge vents, which run along the peak of the roof. These vents provide continuous ventilation along the entire length of the roof ridge and can be effective for exhausting dryer air if properly installed.
Roof Dryer Vent Kit: These kits come with all the necessary components, including the vent cap, flashing, and duct connectors, for installing a roof dryer vent system. They often include instructions for DIY installation.
When selecting a roof dryer vent, it’s essential to consider factors such as the type of roof material, the climate in your area, local building codes, and any specific requirements for dryer venting in your home.
Drawbacks Of A Roof Dryer Vent
Venting a dryer through the roof has its drawbacks. Firstly, it requires strict adherence to local regulations, adding potential complications to the installation process. Proper sealing and securing of the vent pipe are crucial to prevent leaks, demanding meticulous attention to detail.
Secondly, maintaining adequate clearance and ventilation around the vent pipe can be challenging, especially in confined spaces. Lint buildup poses a significant fire hazard, necessitating regular maintenance to ensure safety. Given these challenges, it’s advisable to seek professional assistance for installation to mitigate risks effectively.
Is Roof Dryer Vent Installation Diy-Able?
| Aspect | Description |
| Difficulty Level | Moderate to difficult |
| Tools Required | Screwdriver, drill, duct tape |
| Safety Considerations | Risk of falling, working at heights |
| Time Required | Several hours to half a day |
| Professional Recommendation | Advised for safety and proper installation |
Yes, installing a dryer vent through the roof can be a DIY project if you’re confident with roofing and handy work. Check local regulations before starting. Proper installation ensures safety and efficiency, so follow instructions carefully.
Make sure there’s enough clearance and ventilation around the vent pipe. Regular maintenance is crucial to prevent fire hazards, so clean the vent regularly. If you’re unsure, it’s wise to hire a professional for a safe installation.
Cost For Pro Roof Dryer Vent Installation
When considering the cost for pro roof dryer vent installation, it’s crucial to comply with local regulations. Proper installation ensures safety and efficiency. Hiring a professional for installation is advisable if you lack experience. They’ll secure the vent pipe and seal connections to prevent leaks.
Regular maintenance prevents lint buildup and potential fire hazards. Ensuring proper ventilation around the vent pipe maintains efficiency. Professionals can advise on the best materials and techniques for your roof. By adhering to these guidelines, you can ensure a safe and effective dryer vent installation.
Roof Dryer Vent Maintenance
Maintaining your roof dryer vent is crucial for safety and efficiency. Ensure compliance with local regulations when installing or maintaining the vent. Regularly check for any obstructions or damage to the vent pipe. Clear any debris to prevent airflow blockage.
Regular maintenance prevents lint buildup and reduces the risk of fire hazards. Clean the vent pipe and dryer vent outlet periodically. Hire a professional if you’re unsure how to properly maintain the vent. By keeping your roof dryer vent well-maintained, you can ensure optimal performance and safety for your home.
Efficiency And Safety Considerations
When venting a dryer through the roof, efficiency and safety are paramount. Make sure to follow local regulations to avoid any issues. Proper installation is key for both safety and effectiveness. Ensure the vent pipe is securely attached to the dryer and sealed tightly.
Adequate clearance around the vent pipe is necessary to prevent obstructions. Regular maintenance keeps the system clean and prevents lint buildup. If you’re unsure about the installation process, it’s wise to hire a professional. They can ensure everything is done correctly and safely.
A Better Roof Termination With Dryerjacks?
Installing a dryer vent through the roof can be improved with DryerJacks. These are roof terminations designed to enhance airflow efficiency and reduce the risk of lint buildup. With DryerJacks, you can ensure proper ventilation while complying with local building codes.
They provide a secure and weatherproof connection for the vent pipe, preventing leaks and potential damage to your roof. DryerJacks simplify maintenance, making it easier to clean the vent pipe and prevent fire hazards.
By eliminating sharp bends and obstructions, they promote optimal airflow, improving the performance of your dryer. Hiring a professional for DryerJack installation ensures correct placement and adherence to safety standards, giving you peace of mind.
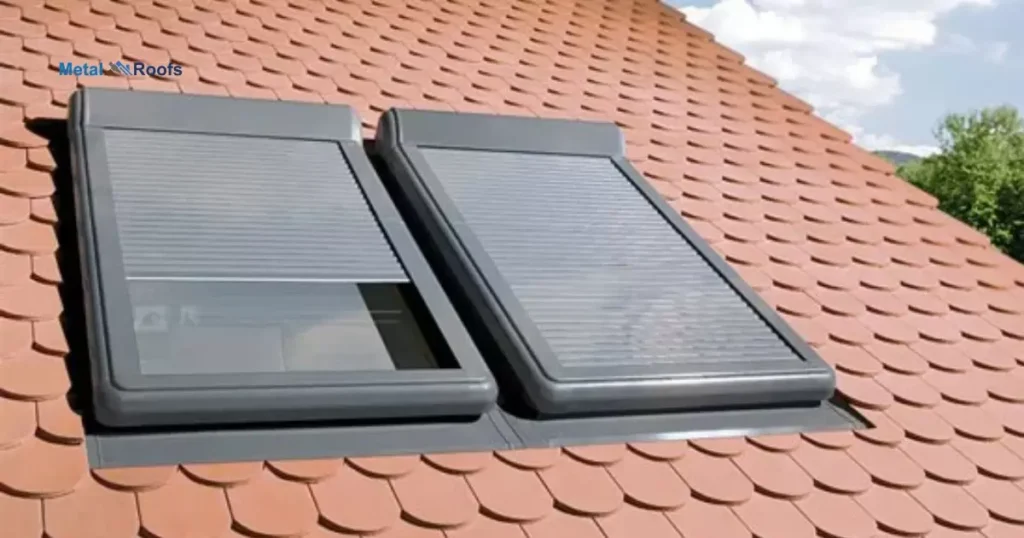
Assessing The Roof Condition
When assessing the roof condition, start by visually inspecting for any visible damage. Look for missing or broken shingles, cracks, or signs of wear and tear. Next, check for leaks by examining the interior ceiling for water stains or mold growth, which could indicate a roof problem.
After the visual inspection, consider the age of the roof. Older roofs may be more prone to damage and may require closer scrutiny. Assess the condition of the flashing around chimneys, vents, and skylights, as damaged flashing can lead to leaks.
Finally, consider hiring a professional roofer for a more thorough inspection if you’re unsure about the roof’s condition or if you suspect any issues.
Determining The Ideal Vent Location
When determining the ideal vent location for your dryer, consider local regulations first. These rules guide where and how you can install the vent. Next, focus on finding a spot that allows for efficient airflow.
This typically means choosing a location with a short, straight path to the outside. Aim for a spot that minimizes the risk of obstructions. Avoid areas near windows, doors, or other openings that could block the vent.
Lastly, prioritize safety by ensuring proper clearance from combustible materials. By following these steps, you can determine the best vent location for your dryer, promoting both efficiency and safety.
Tools And Materials Required
To vent a dryer through the roof, you’ll need specific tools and materials. First, gather a venting kit, which typically includes a vent hood, duct connector, and clamps. You’ll also need a vent pipe appropriate for your dryer’s exhaust size.
Gather basic tools such as a screwdriver, drill, and tape measure for installation. Depending on your roof type, you might need a roof vent or flashing kit to seal the vent pipe penetration. It’s essential to have roofing sealant or caulk to ensure watertight seals.
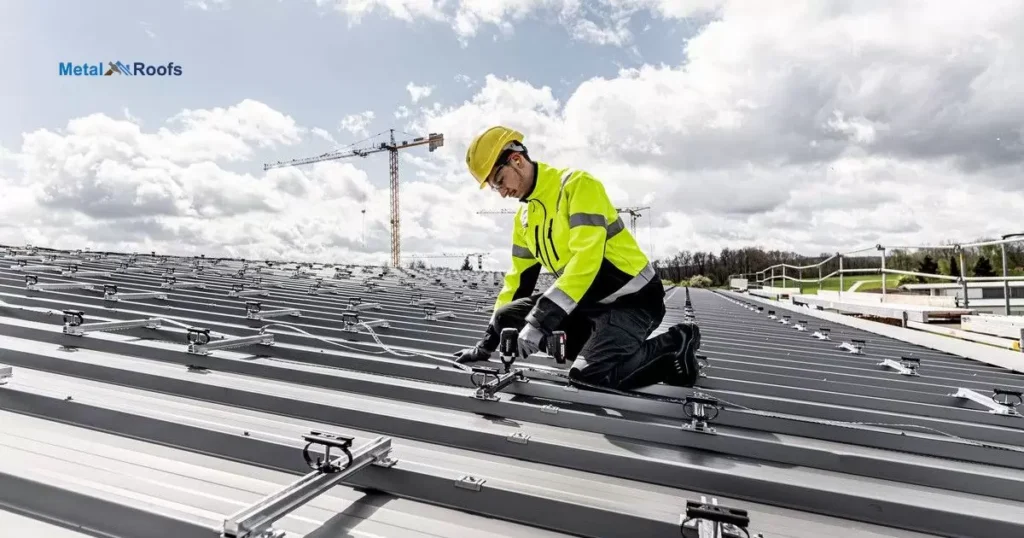
Installation Steps
Installing a dryer vent through the roof involves several key steps. First, gather all necessary materials, including the vent pipe, roof flashing, and roofing sealant. Next, locate the optimal position on the roof for the vent exit, ensuring it’s away from windows and doors.
Once the hole is cut, install the roof flashing around it, securing it tightly to prevent leaks. After that, attach the vent pipe to the dryer and feed it through the hole in the roof. Ensure the vent pipe is properly secured and sealed to the roof flashing. Finally, test the dryer to ensure proper airflow and ventilation.
Frequently Asked Questions
What Is The Proper Way To Vent A Dryer Through The Roof?
To vent a dryer through the roof: 1. Check regulations. 2. Attach the vent securely. 3. Seal gaps. 4. Ensure clear airflow. 5. Clean regularly. 6. Consider professional help.
Is It Safe To Vent A Dryer Into The Attic?
Venting a dryer into the attic is not safe. Lint buildup poses a fire risk. Always vent dryers outside.
How Far Can A Dryer Vent Be From The Roof?
When venting a dryer through the roof, keep the vent pipe’s distance as short as possible, usually around 3 feet, for optimal efficiency and safety.
Conclusion
In summary, venting your dryer through the roof is the recommended approach. It minimizes hazards and ensures optimal drying performance. The direct vertical path prevents lint buildup and moisture issues. Proper installation following local codes is essential for safety.
Don’t compromise on this crucial aspect of your laundry room. Invest in professional installation for peace of mind. Regular maintenance and cleaning are also key. With the right venting, you’ll enjoy fresh, dry laundry efficiently. Make dryer be vented through the roof your mantra for a well-functioning system.