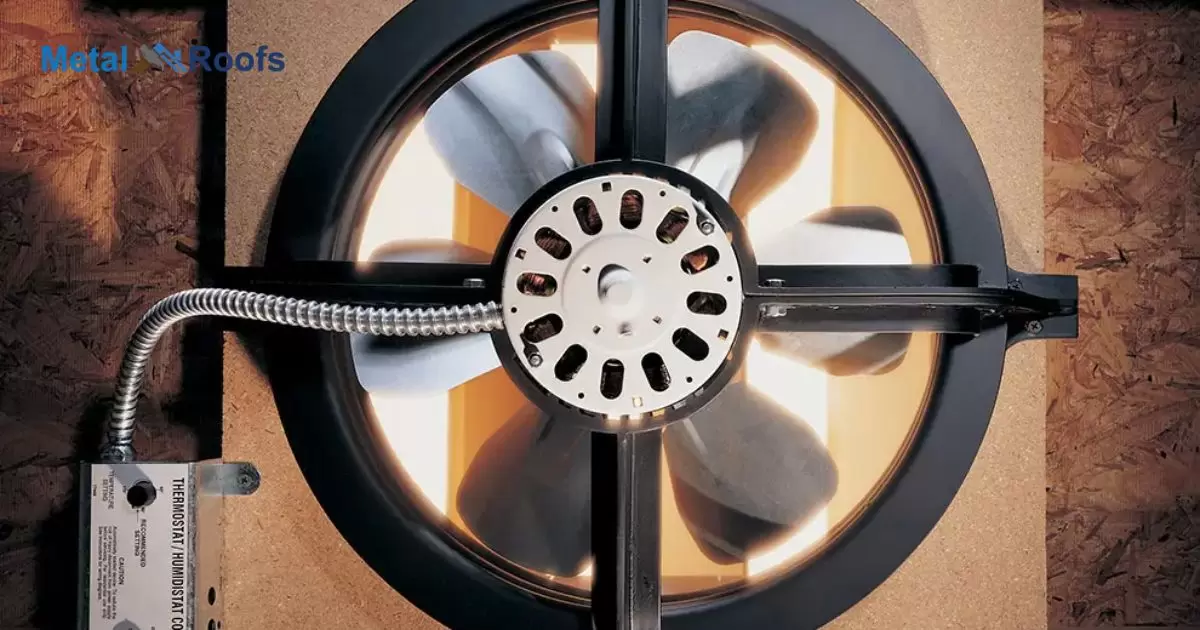
Attic fans are ventilation systems set in a home’s attic that pull hot air out and draw cooler air in through open windows. Spinning blades mounted in a housing fit into the attic gable or roof powered by a motor to exhaust warm attic air outside
Looking to make your attic cooler? Installing an attic fan properly is key to effectively pulling hot air out of your attic and drawing cooler replacement air inside your home to lower heat. First step when installing an attic fan is to cut a hole in the roof or gable matching the fan size you select.
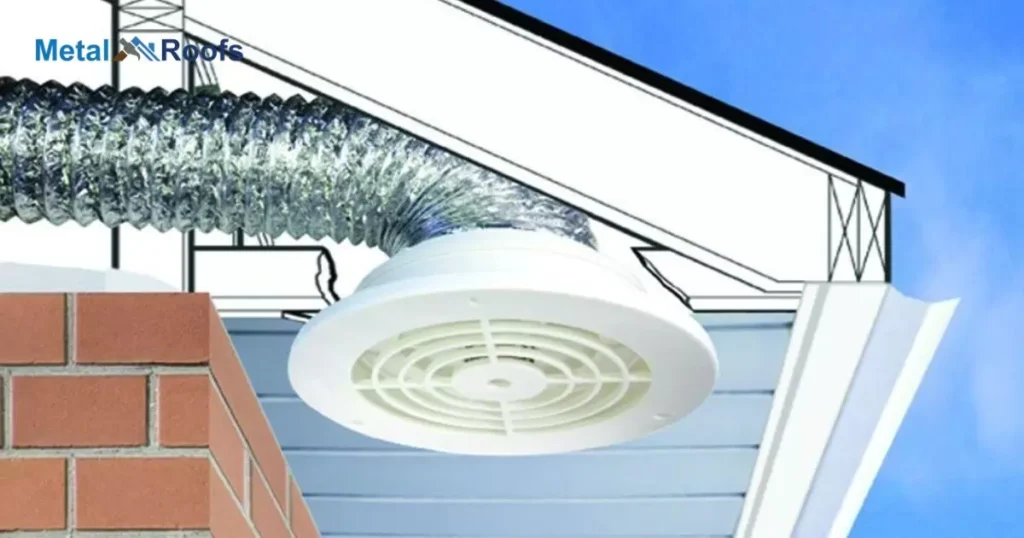
The attic fan size must match the cut roof hole. Mount fan mounting brackets into the roof joists. Set the attic fan into the roof hole and screw it firmly to the brackets to prevent vibration. Connect ducting to the attic fan to route air outside. Install screens and louvers over the ducting exterior vents.
Key Takeaways
- Attic fans aid in regulating temperature and reducing moisture.
- Proper installation near the peak enhances airflow efficiency.
- Regular maintenance ensures optimal performance and longevity.
- Consider hiring a professional for safety and precision.
Preparing The Metal Roof For Attic Fan Installation
Installing an attic fan on a metal roof requires careful preparation to ensure proper installation and long-term. Here are the steps you should follow to prepare the metal roof for attic fan installation:
Select the Location: Choose the optimal location for installing the attic fan. It should be near the peak of the roof for efficient ventilation.
Measure and Mark: Use a tape measure and chalk line to accurately mark the location for the fan on the roof. Double-check the measurements to ensure precision.
Drill Pilot Holes: Use a drill with a metal drill bit to create pilot holes at the marked location. These pilot holes will guide the placement of the fan’s mounting brackets.
Apply Sealant: Apply a high-quality roofing sealant around the edges of the pilot holes. This will help prevent water from seeping into the roof through the mounting holes.
Install Mounting Brackets: Attach the mounting brackets provided with the attic fan to the roof using screws or bolts. Make sure the brackets are securely fastened to the roof surface.
Cut an Opening: Using a reciprocating saw or another appropriate cutting tool, carefully cut out the opening for the fan according to the manufacturer’s instructions. Take care to follow the marked lines precisely.
Apply Flashing: Install flashing around the perimeter of the opening to provide a waterproof seal. Secure the flashing with roofing nails or screws, making sure it overlaps the edges of the opening and the surrounding roof surface.
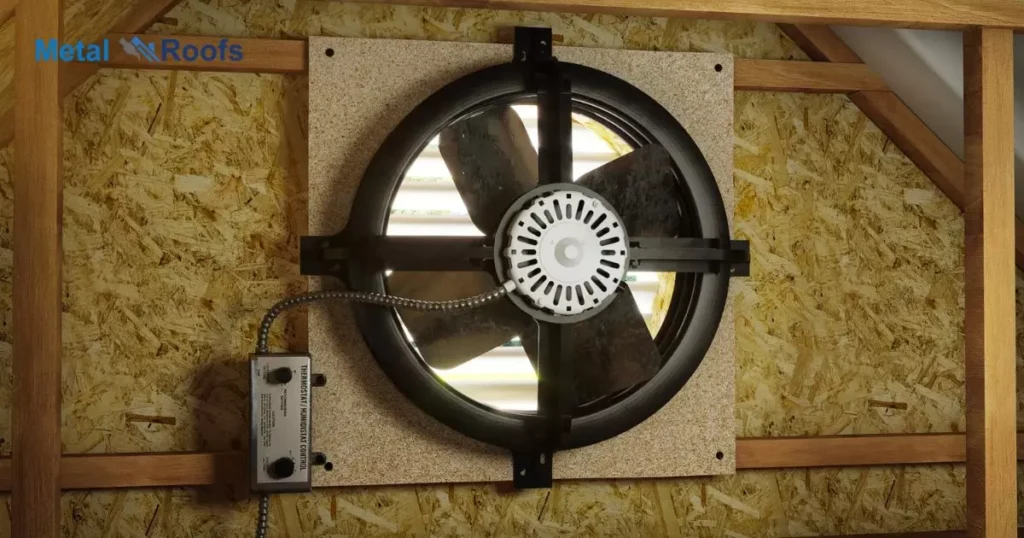
Install Attic Fan: Place the attic fan unit into the prepared opening, following the manufacturer’s instructions. Secure it in place using the provided fasteners or brackets.
Connect Electrical Wiring: If the attic fan requires electrical wiring, follow all safety precautions and local building codes when connecting the wiring. It’s recommended to hire a qualified electrician for this step if you’re not experienced with electrical work.
Test the Fan: Once the attic fan is installed and wired properly, test it to ensure that it’s functioning correctly. Verify that it’s effectively ventilating the attic space and check for any signs of leaks or issues with the installation.
Seal Edges: Apply additional roofing sealant around the edges of the flashing and any other areas where water could potentially penetrate the roof.
Inspect Regularly: Periodically inspect the attic fan and surrounding roof area to ensure that everything remains in good condition and there are no signs of damage or leaks.
By following these steps carefully, you can prepare your metal roof for the installation of an attic fan effectively and ensure proper ventilation of your attic space.
Metal Roofing Considerations For Attic Fan Installation
When installing an attic fan on a metal roof, choose a location near the ridge for optimal ventilation. Measure and mark the spot carefully, ensuring no structural members are in the way. Use a jigsaw to cut the opening neatly, wearing gloves and goggles for safety.
Once the hole is cut, securely mount the fan according to the manufacturer’s instructions. Connect the wiring to a nearby power source, following electrical safety guidelines. Seal the edges with caulking to prevent air leaks and ensure efficient operation.
Advantages Of Metal Roofing For Attic Fan
Metal roofing offers five advantages for attic fan installation:
Durability: Metal roofs offer long-lasting support for attic fans, withstanding harsh weather conditions and maintaining structural integrity over time.
Weather Resistance: Metal roofing materials provide excellent protection against moisture, UV rays, and temperature fluctuations, ensuring reliable performance of attic fans in all weather conditions.
Lightweight: The lightweight nature of metal roofs makes them easy to work with during attic fan installation, reducing strain on the roof structure.
Fire Resistance: Metal roofs are non-combustible and highly resistant to fire, enhancing safety and peace of mind when installing attic fans.
Energy Efficiency: Metal roofs reflect solar heat, helping to reduce cooling costs and enhance the effectiveness of attic fans in ventilating the attic space.
Overall, the advantages of metal roofing make it an excellent choice for installing attic fans, providing a durable, weather-resistant, and energy-efficient surface that supports effective attic ventilation.
Challenges In Installing Attic Fans On Metal Roofing
Installing attic fans on metal roofing poses unique challenges. Cutting through the metal requires specialized tools like tin snips or a metal-cutting blade on a saw. Ensuring a proper seal around the fan is crucial to prevent leaks.
Accessing the attic space on a metal roof can be trickier due to the slippery surface. Safety precautions, like using a stable ladder and wearing non-slip footwear, are essential. Hiring a professional with experience in metal roof installations may be wise to ensure the job is done correctly and safely.
Choosing The Right Attic Fan For Metal Roofing
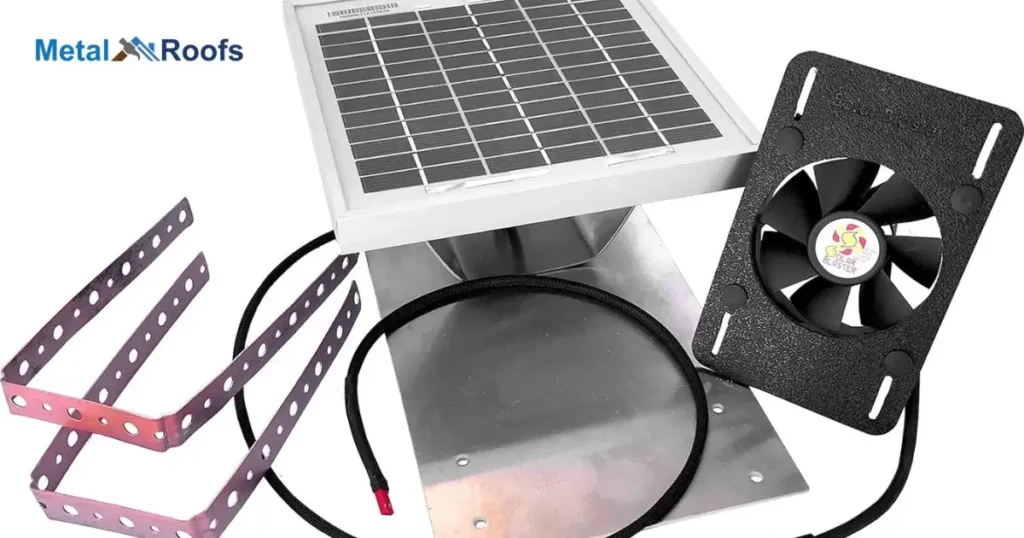
When selecting an attic fan for a metal roof, opt for models designed for such roofs. These fans often come with special mounting brackets suited for metal roofing. Choose a fan with adequate airflow capacity to efficiently ventilate your attic space.
Ensure the fan’s size matches your attic’s dimensions for optimal performance. Look for features like adjustable thermostat settings to regulate temperature effectively. Prioritize energy-efficient models to minimize electricity consumption and save on utility bills.
Can Attic Fans Be Installed On Metal Roofing Without Professional Help?
Yes, attic fans can be installed on metal roofing without professional help. Measure and mark the location carefully. Use a jigsaw to cut the opening accurately. Ensure the fan fits securely, fastening it with screws or nails.
Connect the wiring safely, following electrical guidelines. Test the fan to confirm proper function. Seal the edges with caulking to prevent air leaks. Clean up any debris and perform regular maintenance, ensuring optimal performance, especially when using Synthetic Roof Underlayment.
Proper Ventilation And Insulation With Attic Fans On Metal Roofing
Proper ventilation is crucial for metal roofing. Attic fans help regulate temperature. They prevent moisture buildup, enhancing roof longevity. Install fans near the peak for optimal airflow. Choose a location carefully, avoiding structural members. Measure and mark the fan’s outline accurately.
Cut the opening using a jigsaw. Connect the wiring securely to a power source. Test the fan for proper function. Seal edges to prevent air leaks. Regular maintenance ensures peak performance. Hiring a professional is advisable if unsure. Safety always comes first in home projects.
Common Mistakes To Avoid When Installing Attic Fans On Metal Roofing
Poor Sealant Application: Inadequate sealing around mounting brackets and flashing can lead to water leaks and roof damage.
Incorrect Placement: Improper positioning of attic fans can reduce ventilation efficiency. Ensure they’re installed near the peak of the roof for optimal airflow.
Using Incorrect Fasteners: Using the wrong type or size of fasteners can compromise the stability of the installation.
Inadequate Flashing: Improper or insufficient flashing around the fan opening can result in water infiltration and leaks.
Neglecting Electrical Safety: Improper electrical wiring or grounding can pose safety hazards and increase the risk of electrical fires. Always adhere to electrical codes and guidelines.
Install An Attic Fan With Metal Roofing
To install an attic fan on a metal roof, follow these steps:
Select the Location: Choose a spot near the peak of the roof for optimal ventilation.
Measure and Mark: Use a tape measure and chalk line to mark the exact location for the fan.
Drill Pilot Holes: Use a drill with a metal drill bit to create pilot holes at the marked location.
Apply Sealant: Apply roofing sealant around the edges of the pilot holes to prevent water infiltration.
Install Mounting Brackets: Attach the mounting brackets to the roof using screws or bolts.
Cut an Opening: Use a reciprocating saw to cut out the opening for the fan according to the manufacturer’s instructions.
Apply Flashing: Install flashing around the perimeter of the opening to create a weatherproof seal.
Install Attic Fan: Place the attic fan into the opening and secure it with the provided fasteners.
Connect Electrical Wiring: Follow all safety precautions and local building codes when connecting the wiring.
Test the Fan: Once installed, test the attic fan to ensure it’s functioning correctly.
Seal Edges: Apply additional roofing sealant around the edges of the flashing for added protection.
Inspect Regularly: Periodically inspect the attic fan and surrounding area for any signs of damage or leaks.
By following these steps carefully, you can successfully install an attic fan on a metal roof, ensuring efficient ventilation of your attic space.
Any Long-Term Benefits Of Installing Attic Fans On Metal Roofing
| Long-Term Benefits | Description |
| Enhanced Roof Longevity | Attic fans regulate temperature and reduce moisture, extending the lifespan of the metal roof. |
| Improved Energy Efficiency | Reduced strain on HVAC systems leads to potential energy savings over time. |
| Prevention of Moisture Damage | Attic ventilation minimizes mold, mildew, and structural damage caused by trapped moisture. |
| Consistent Temperature Regulation | Maintains consistent temperatures in the attic and home, prolonging HVAC system lifespan. |
| Reduction of Cooling Load | Expelling hot air decreases interior heat, potentially lowering reliance on air conditioning. |
| Preservation of Insulation | Prevents insulation saturation, preserving its thermal efficiency and lifespan. |
Proper ventilation is crucial for metal roofing. Attic fans help regulate temperature. They prevent moisture buildup, enhancing roof longevity. Install fans near the peak for optimal airflow. Choose a location carefully, avoiding structural members.
Measure and mark the fan’s outline accurately. Cut the opening using a jigsaw. Connect the wiring securely to a power source. Test the fan for proper function. Seal edges to prevent air leaks. Regular maintenance ensures peak performance. Hiring a professional is advisable if unsure. Safety always comes first in home projects.
Frequently Asked Questions
Do I need an electrician to install an attic fan?
Yes, if you’re not comfortable with wiring. Hiring an electrician ensures safety and proper installation.
Why are attic fans not used anymore?
Attic fans are still used for ventilation, but newer methods like ridge vents and soffit vents are preferred for more efficient airflow and energy conservation.
Is it worth installing an attic fan?
Yes, attic fans are worth installing. They regulate temperature and prevent moisture buildup.
Conclusion
With the attic fan secured in the roof and ductwork in place, run electrical wires from the breaker panel up to the fan motor. Carefully connect the wires to the fan motor according to instructions. Seal gaps around edges of the fan to prevent attic air leaks. Test the attic fan to ensure adequate airflow before insulation. Enjoy a cooler, more comfortable attic space.
Once functioning, the attic fan pulls hot air from the attic and draws cooler replacement air into the home through open windows. Effective airflow is key for proper attic ventilation and temperature regulation. Operate the attic fan when outdoor air is cooler than indoor to maximize benefits. Proper installation results in an efficiently exhausting attic fan.